10 Acrylic Pour Painting Ideas PLUS The Pouring Technique To Create Them
Acrylic pouring is gaining a lot of popularity across the world! It’s fun, fast and easy to create beautiful works of art.
But, as an artist, you may find yourself at a loss for what to do or create next?
So, don’t worry we have got you covered with 10 of the best acrylic pour painting ideas below.


[TS_Poll id=”1″]
There are endless possibilities to get you feeling inspired and ready to go create some magic. There’s unlimited colours and designs you can make with pour painting.
To help jumpstart your creativity, here’s 10 awesome acrylic pouring recipes you can try.
Table of Contents:
- Dutch Flower Bloom on a Vine
- Chameleon Cells
- Ocean Wave Swipes
- Water Balloon Dip
- Flower Glass Bottom Pour
- Eye Acrylic Pour
- Butterfly Chain Pull
- Snowflake Stencil Pour
- Coral Reef Open Cut Pour
- Sunflower Strainer Pour
- Unusual Acrylic Pouring Ideas
- What to be Aware of in Acrylic Pouring?
- How to be Creative with Ideas?
- What Looks Good on a Wall?
- FAQ
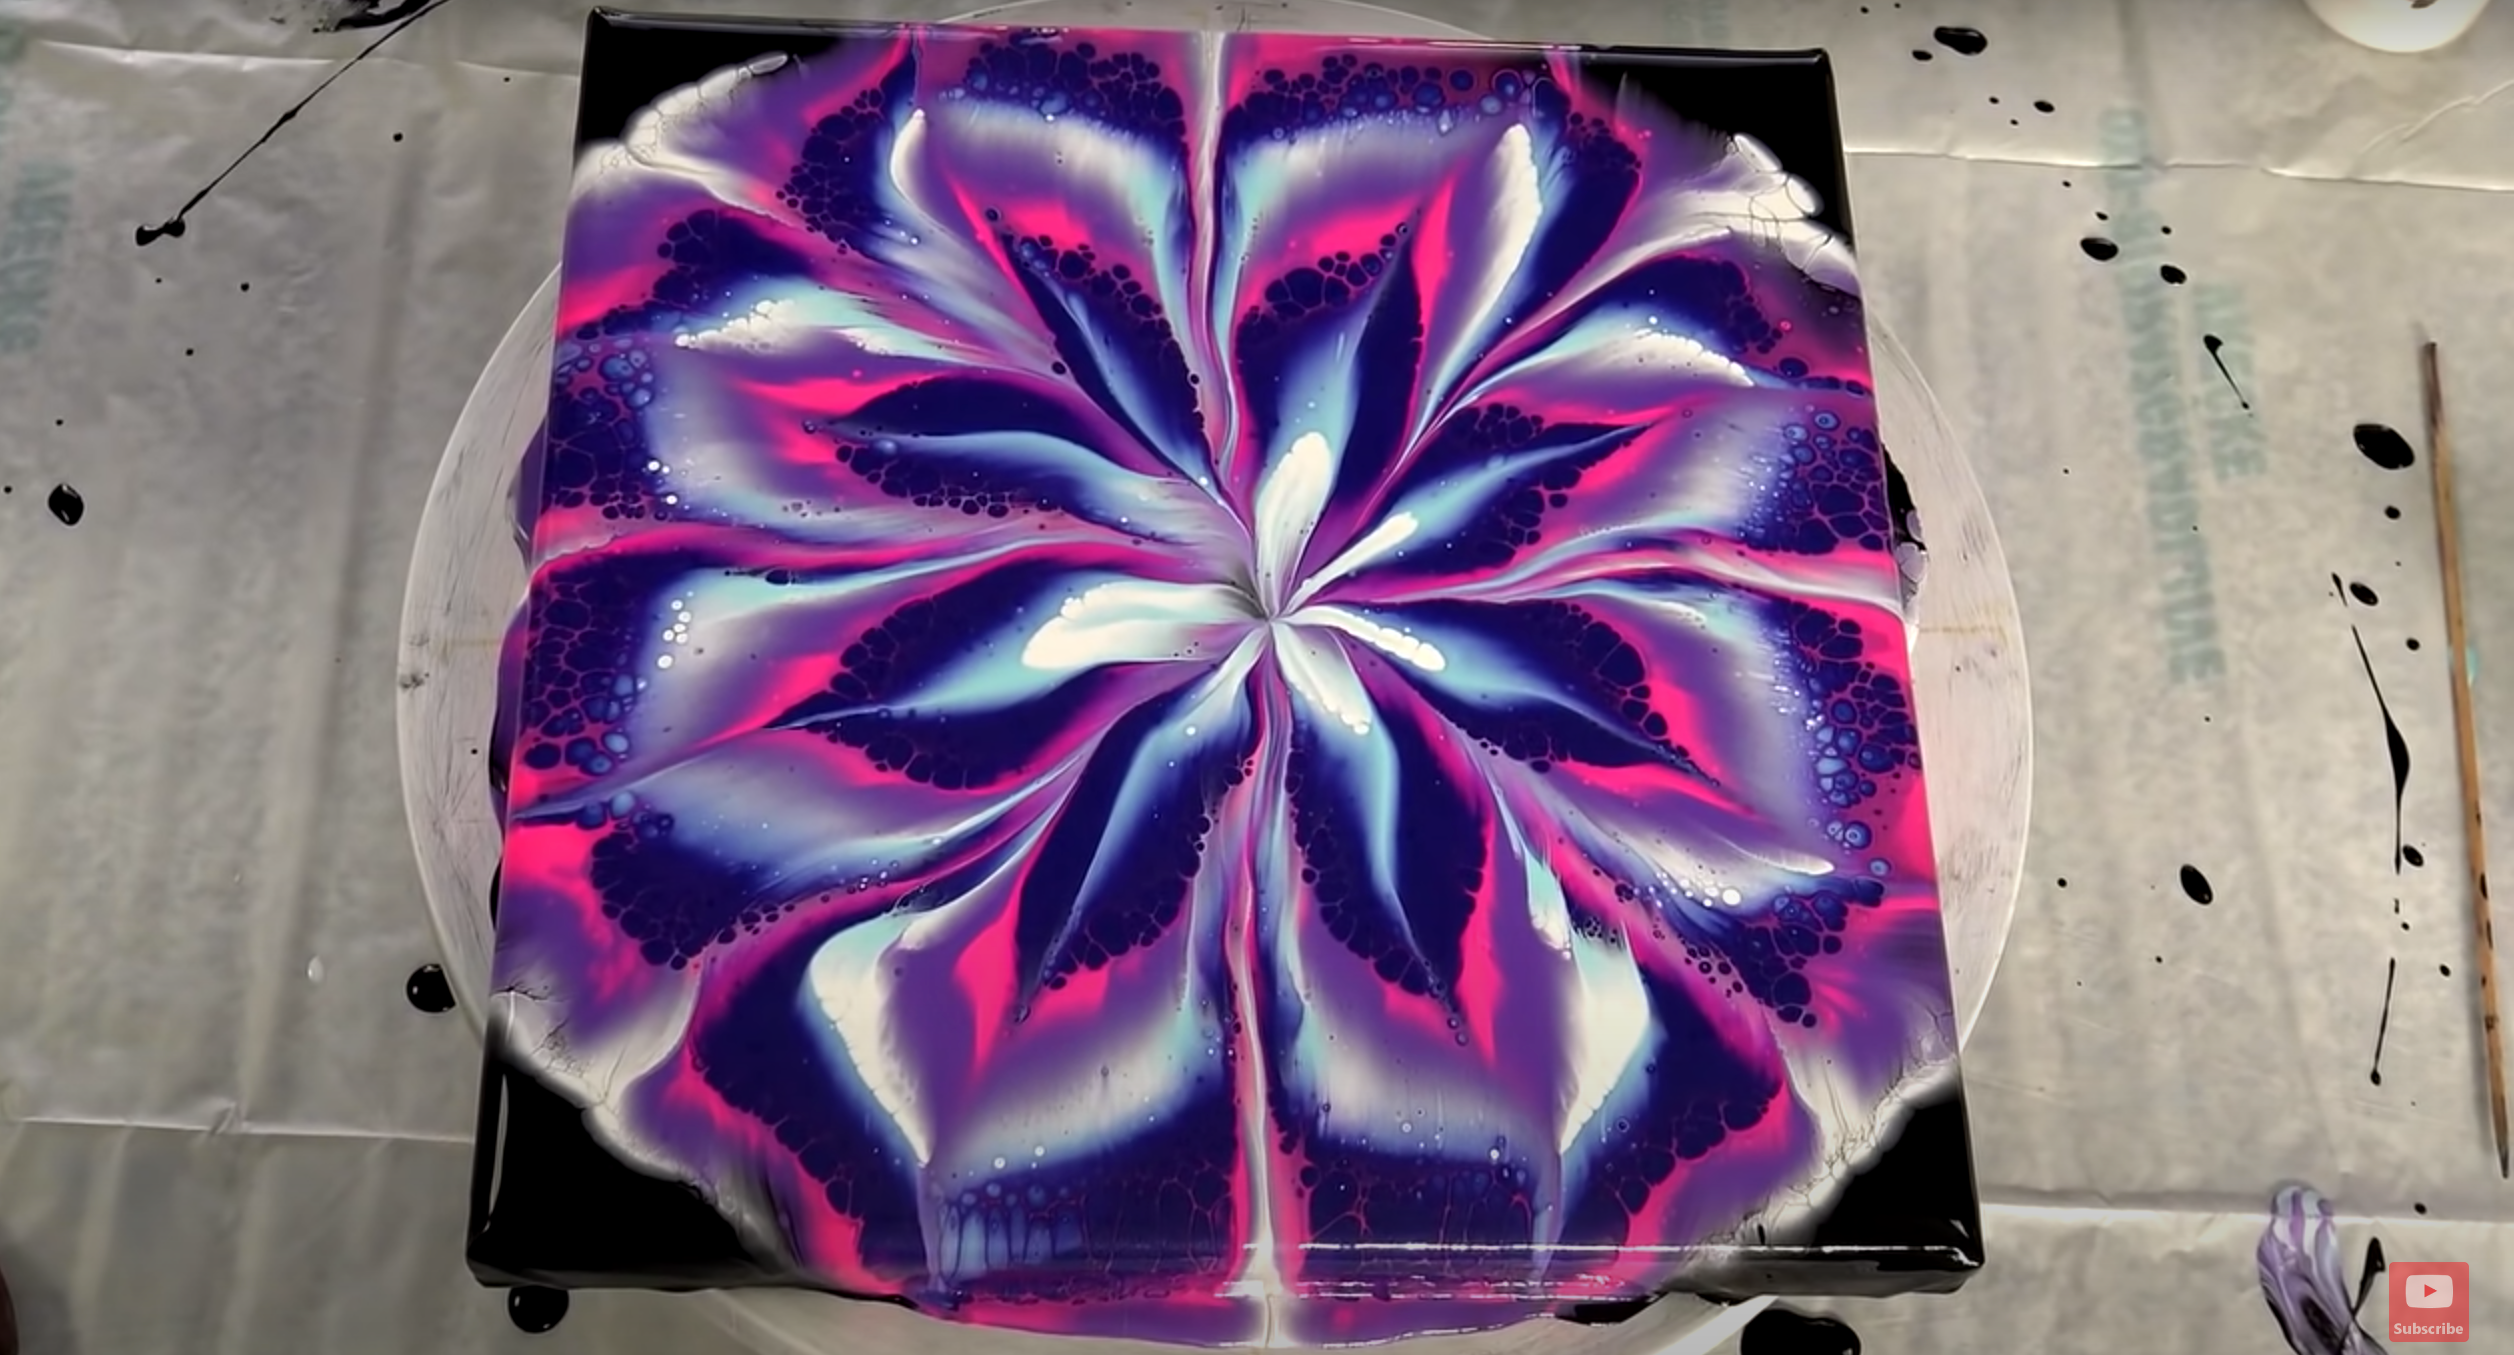
#1 Dutch Flower Bloom on a Vine
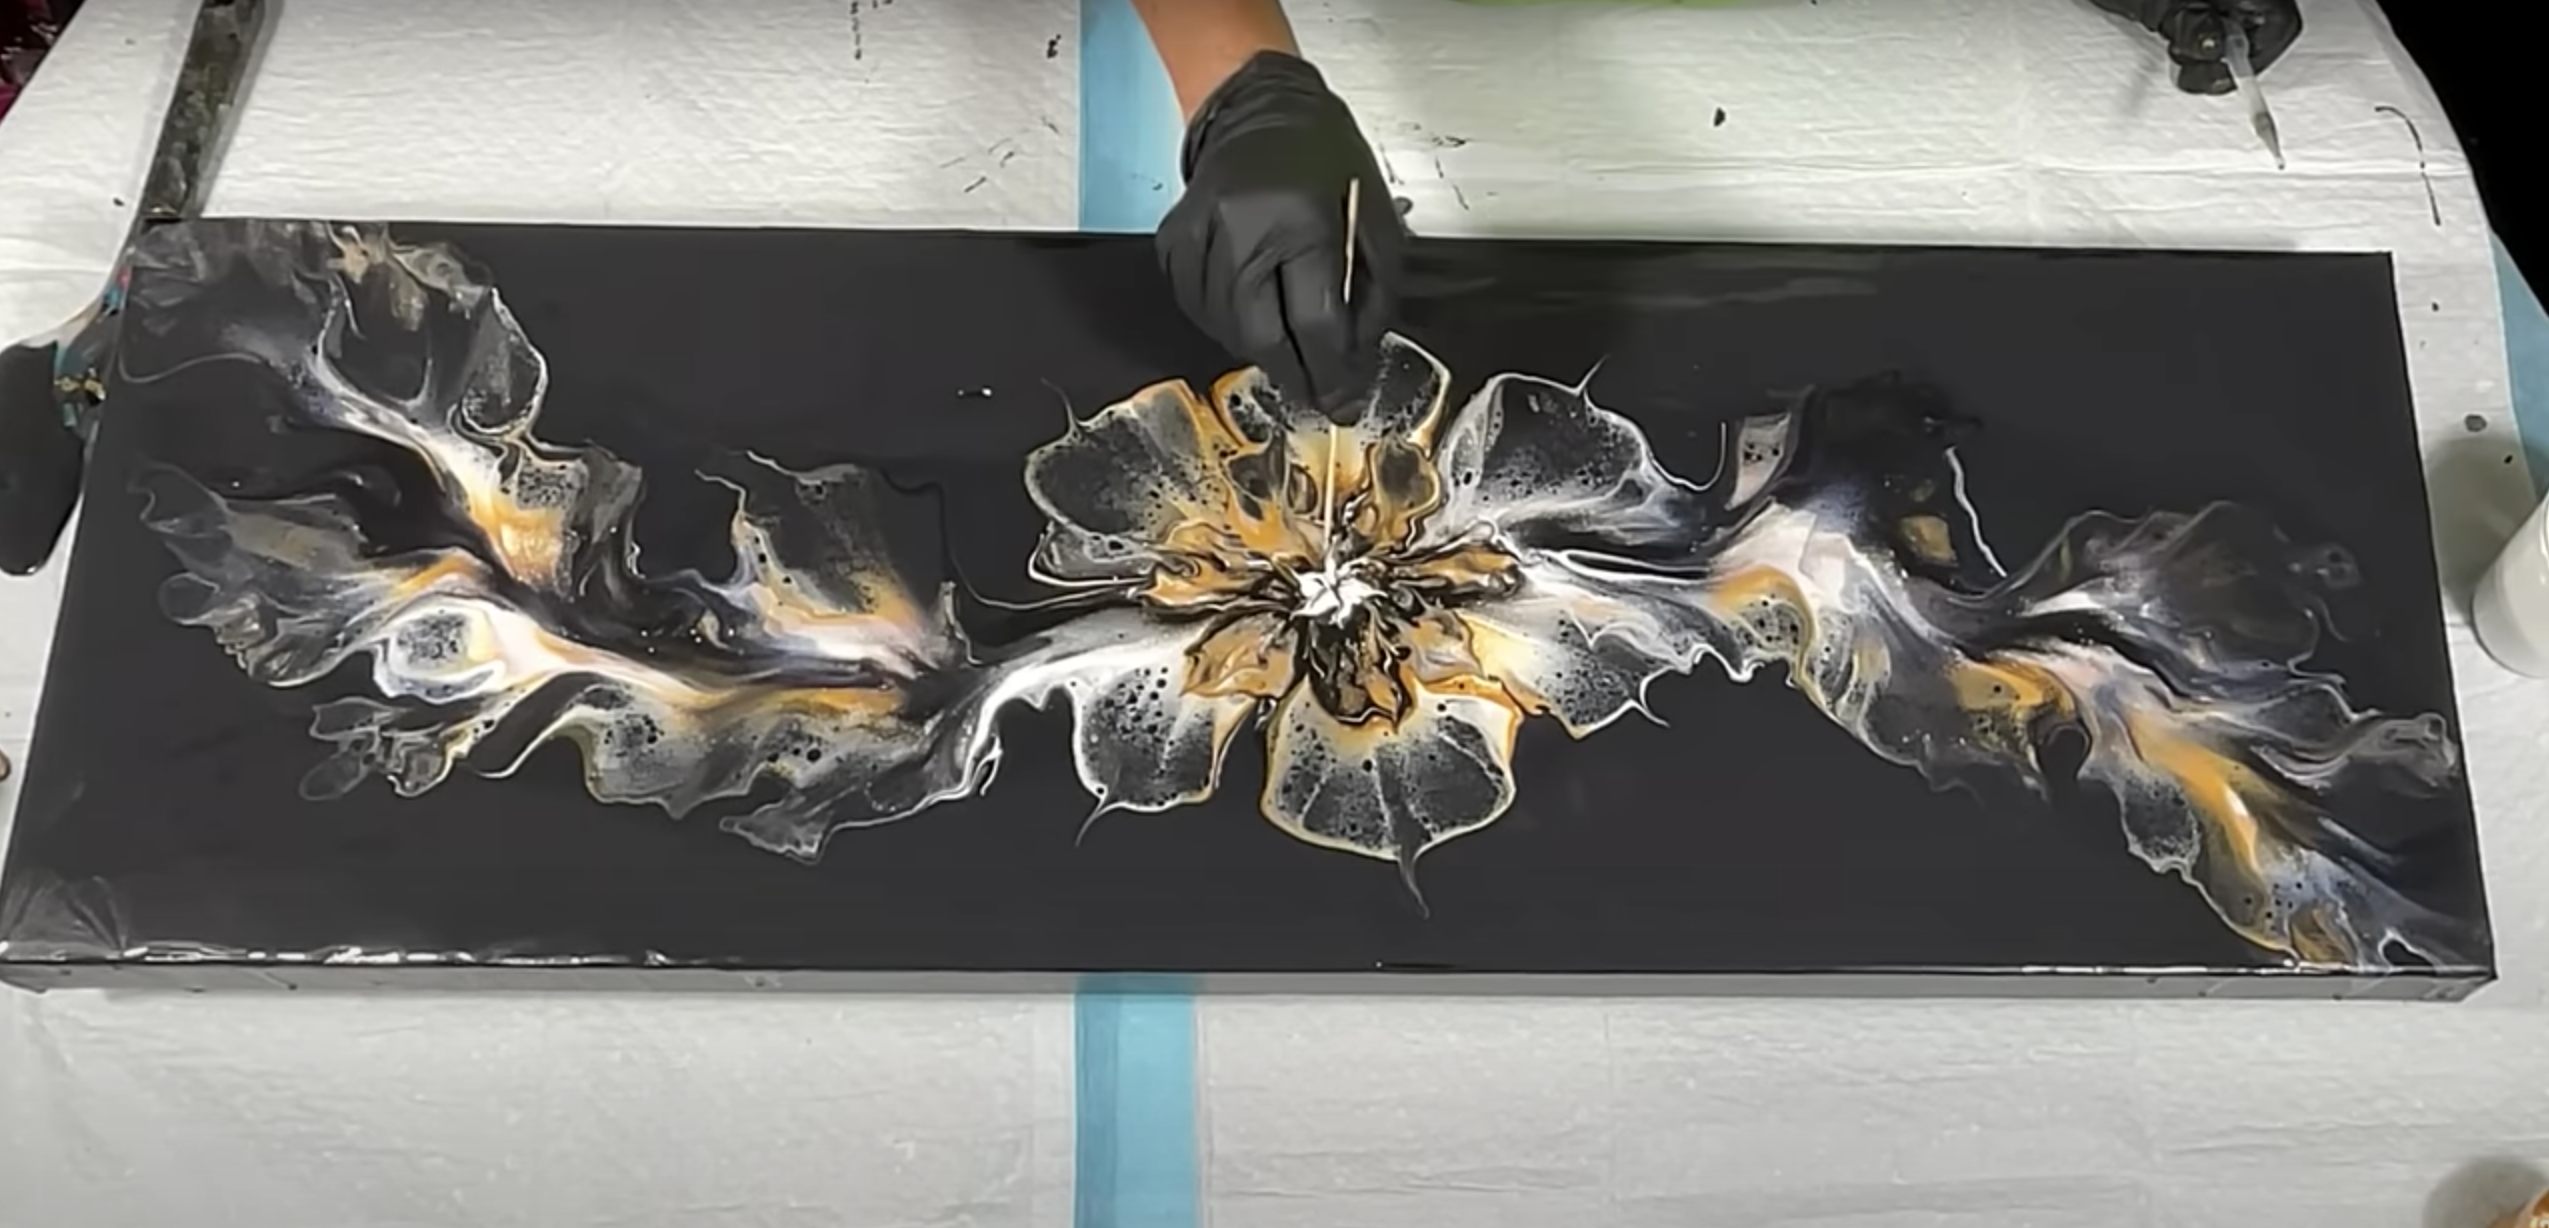
The Dutch bloom is one of the most classic acrylic pouring techniques perfect for creating floral designs.
How to create the above artwork:
- Start by pouring a decent amount of base colour paint onto your canvas.
- Secondly, pour the colours in a line making the letter “S” or a vine like shape across the canvas.
- Add them one by one to form a layering of colours across the canvas.
- Add a circle of your desired colour in the middle of the vine.
- Once you have added all your colours, use an air blower or straw to blow slightly on the wet paint, starting from inside the circle and working your way out.
- This will cause the colours to bloom and spread outwards, creating a flower-like effect, this pouring technique is called a dutch pour.
- Once the middle circle is done, work on the vine part of the painting by blowing on the paint to spread it outwards. This will give the illusion of a vine with flowers blooming on it.
You can add finishing touches using a chopstick or other sharp object to slightly swirl the colours around and create more interesting effects!
#2 Chameleon Cells
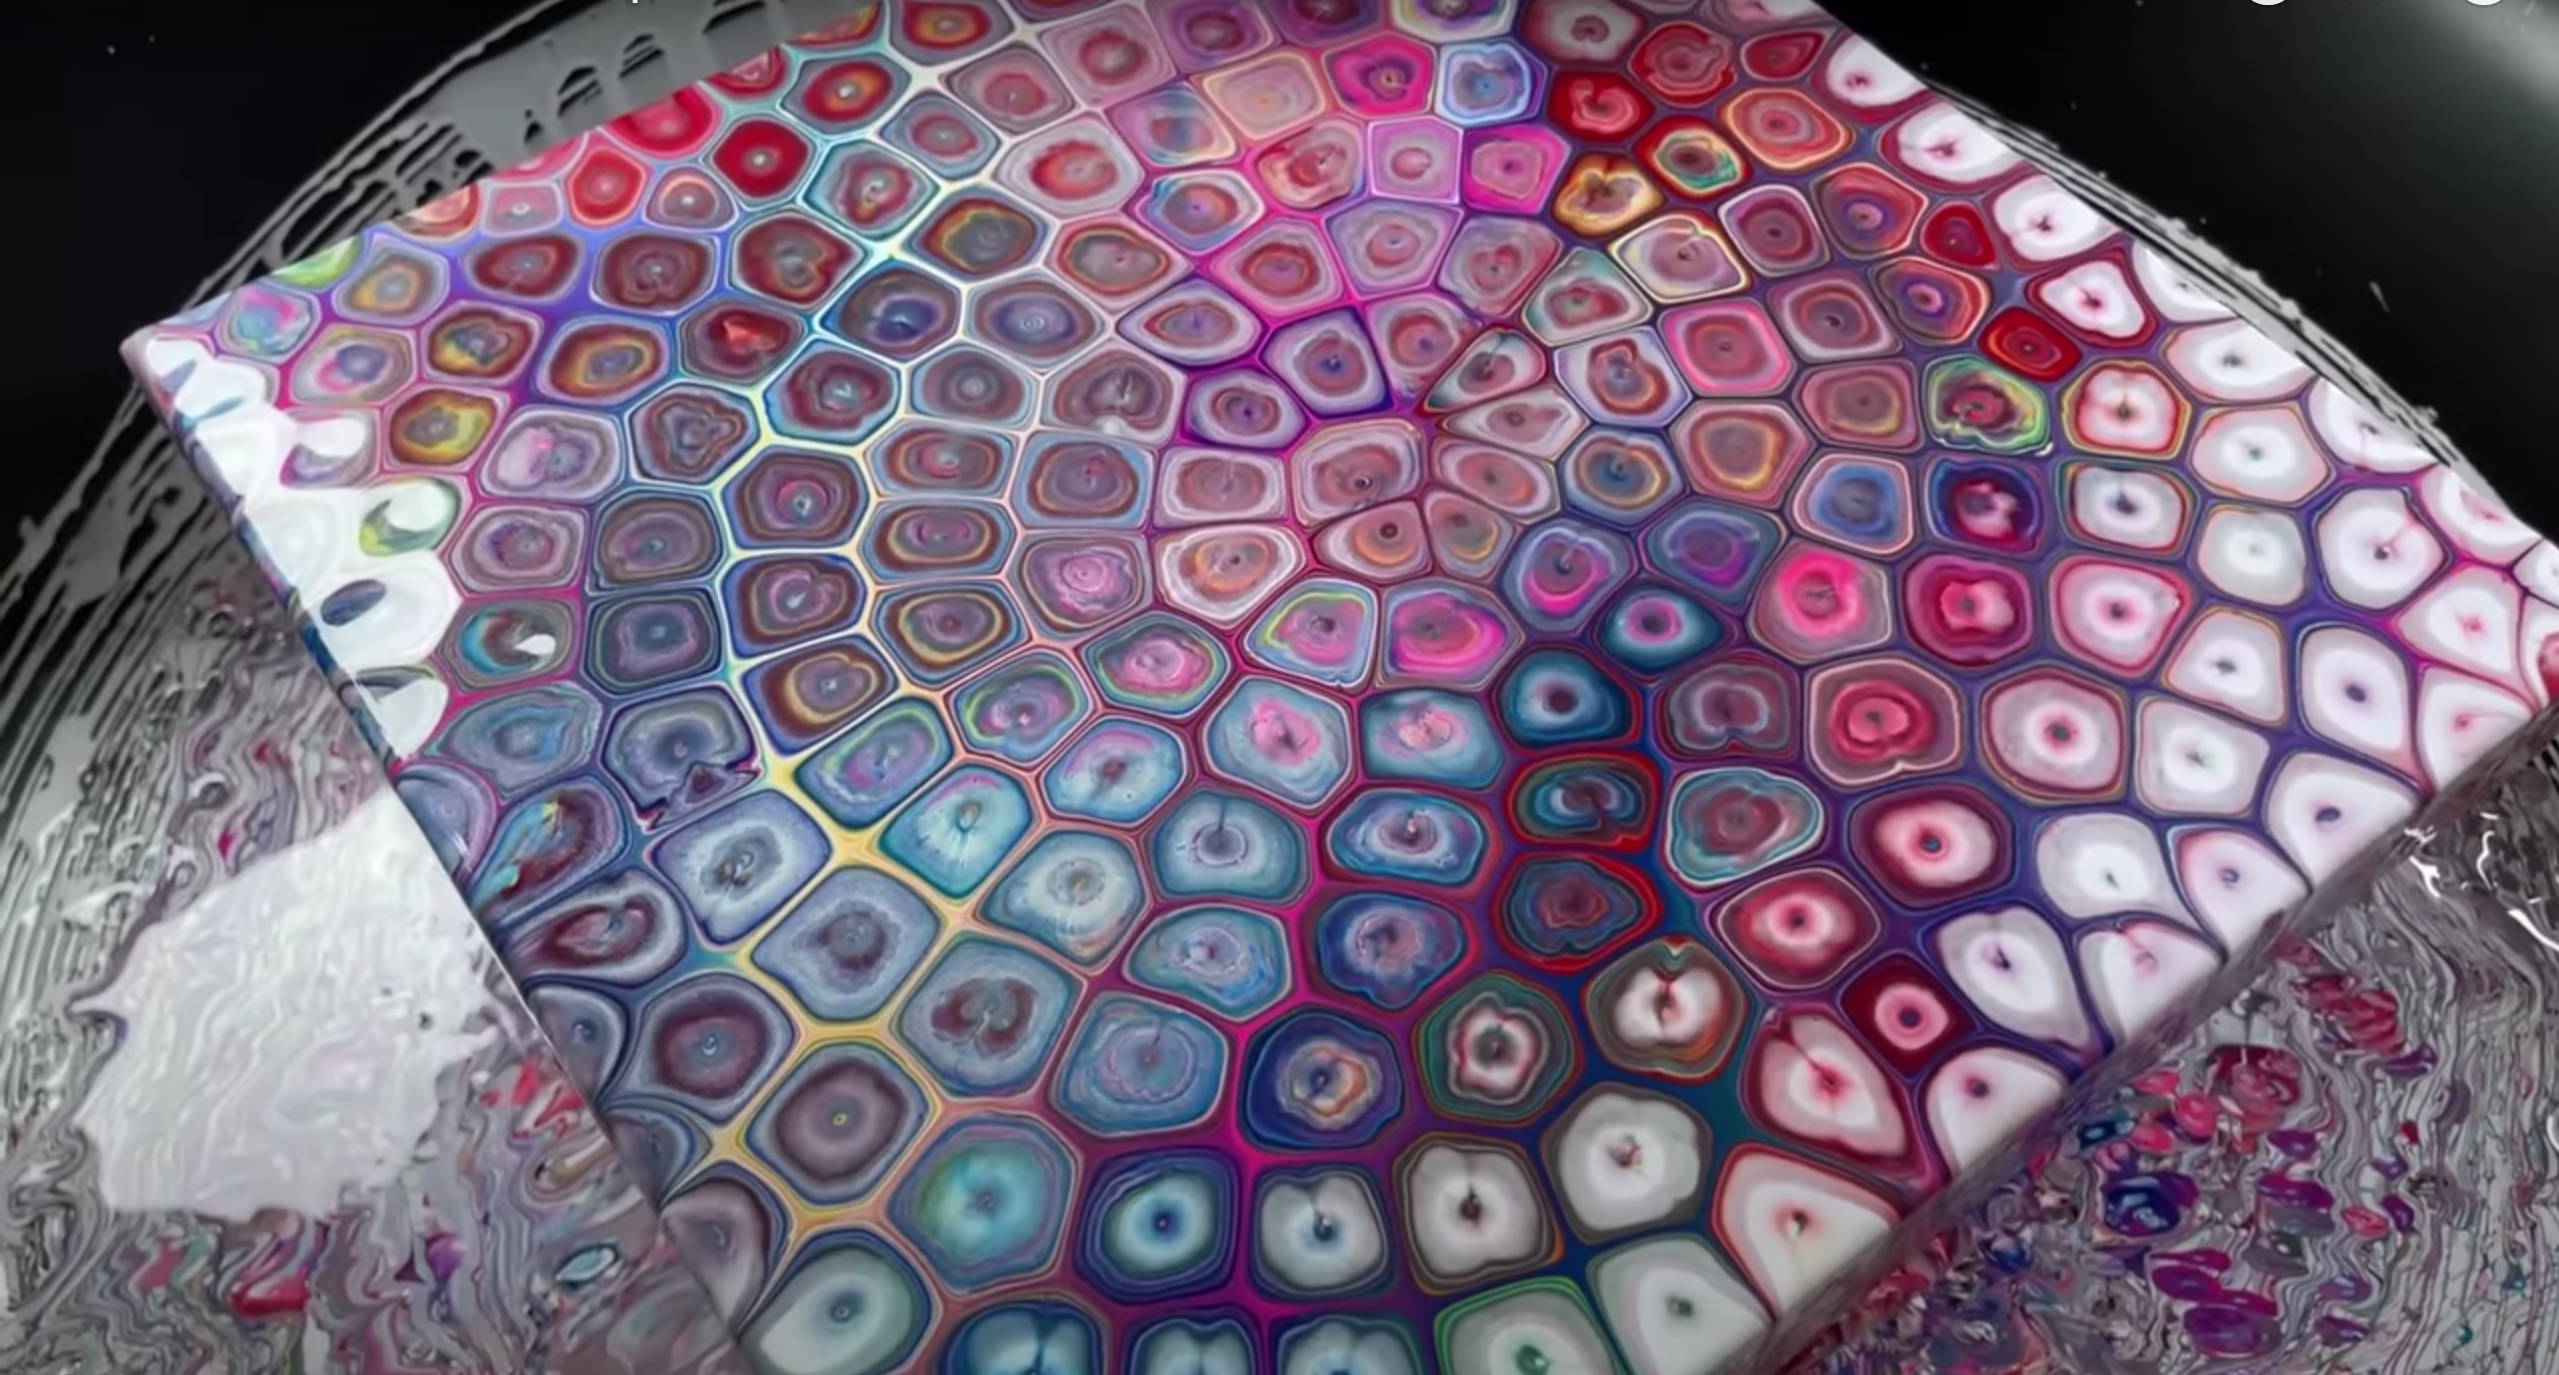
This is a fun and easy fluid painting technique that anyone can do regardless of your experience level!
Chameleon cells are created by poking holes into wet paint and waiting until the paint spreads out. The colours will blend to create a chameleon effect.
- Begin by adding the paint one by one into the cup to create a layer of colours. You can use any colours you like, but complementary colours often create a more eye-catching effect.
- Create the white base coat on your canvas.
- Next, use the dirty pour technique, which is to pour the colours inside the cup all at once.
- Now slightly tilt or spin the canvas so that the paint starts to move. Once the colour combination appears and spreads through the canvas, you can begin to add cells.
- To add cells, dip the tip of a toothpick into some silicone oil alternative (buy at the craft store) and then poke it into the paint.
- Gently pull the toothpick out and watch as the colours start to blend, creating a BIG beautiful cell.
- Repeat this process until you’re happy with the number of cells on your canvas.
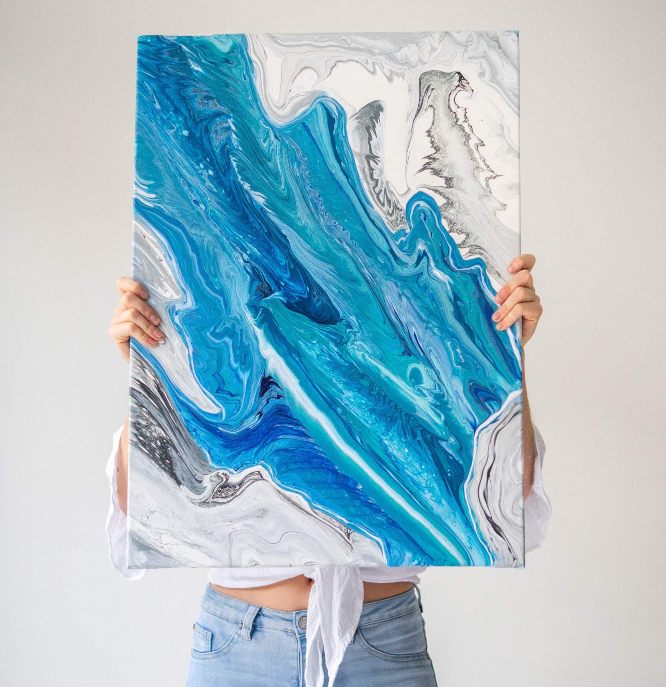
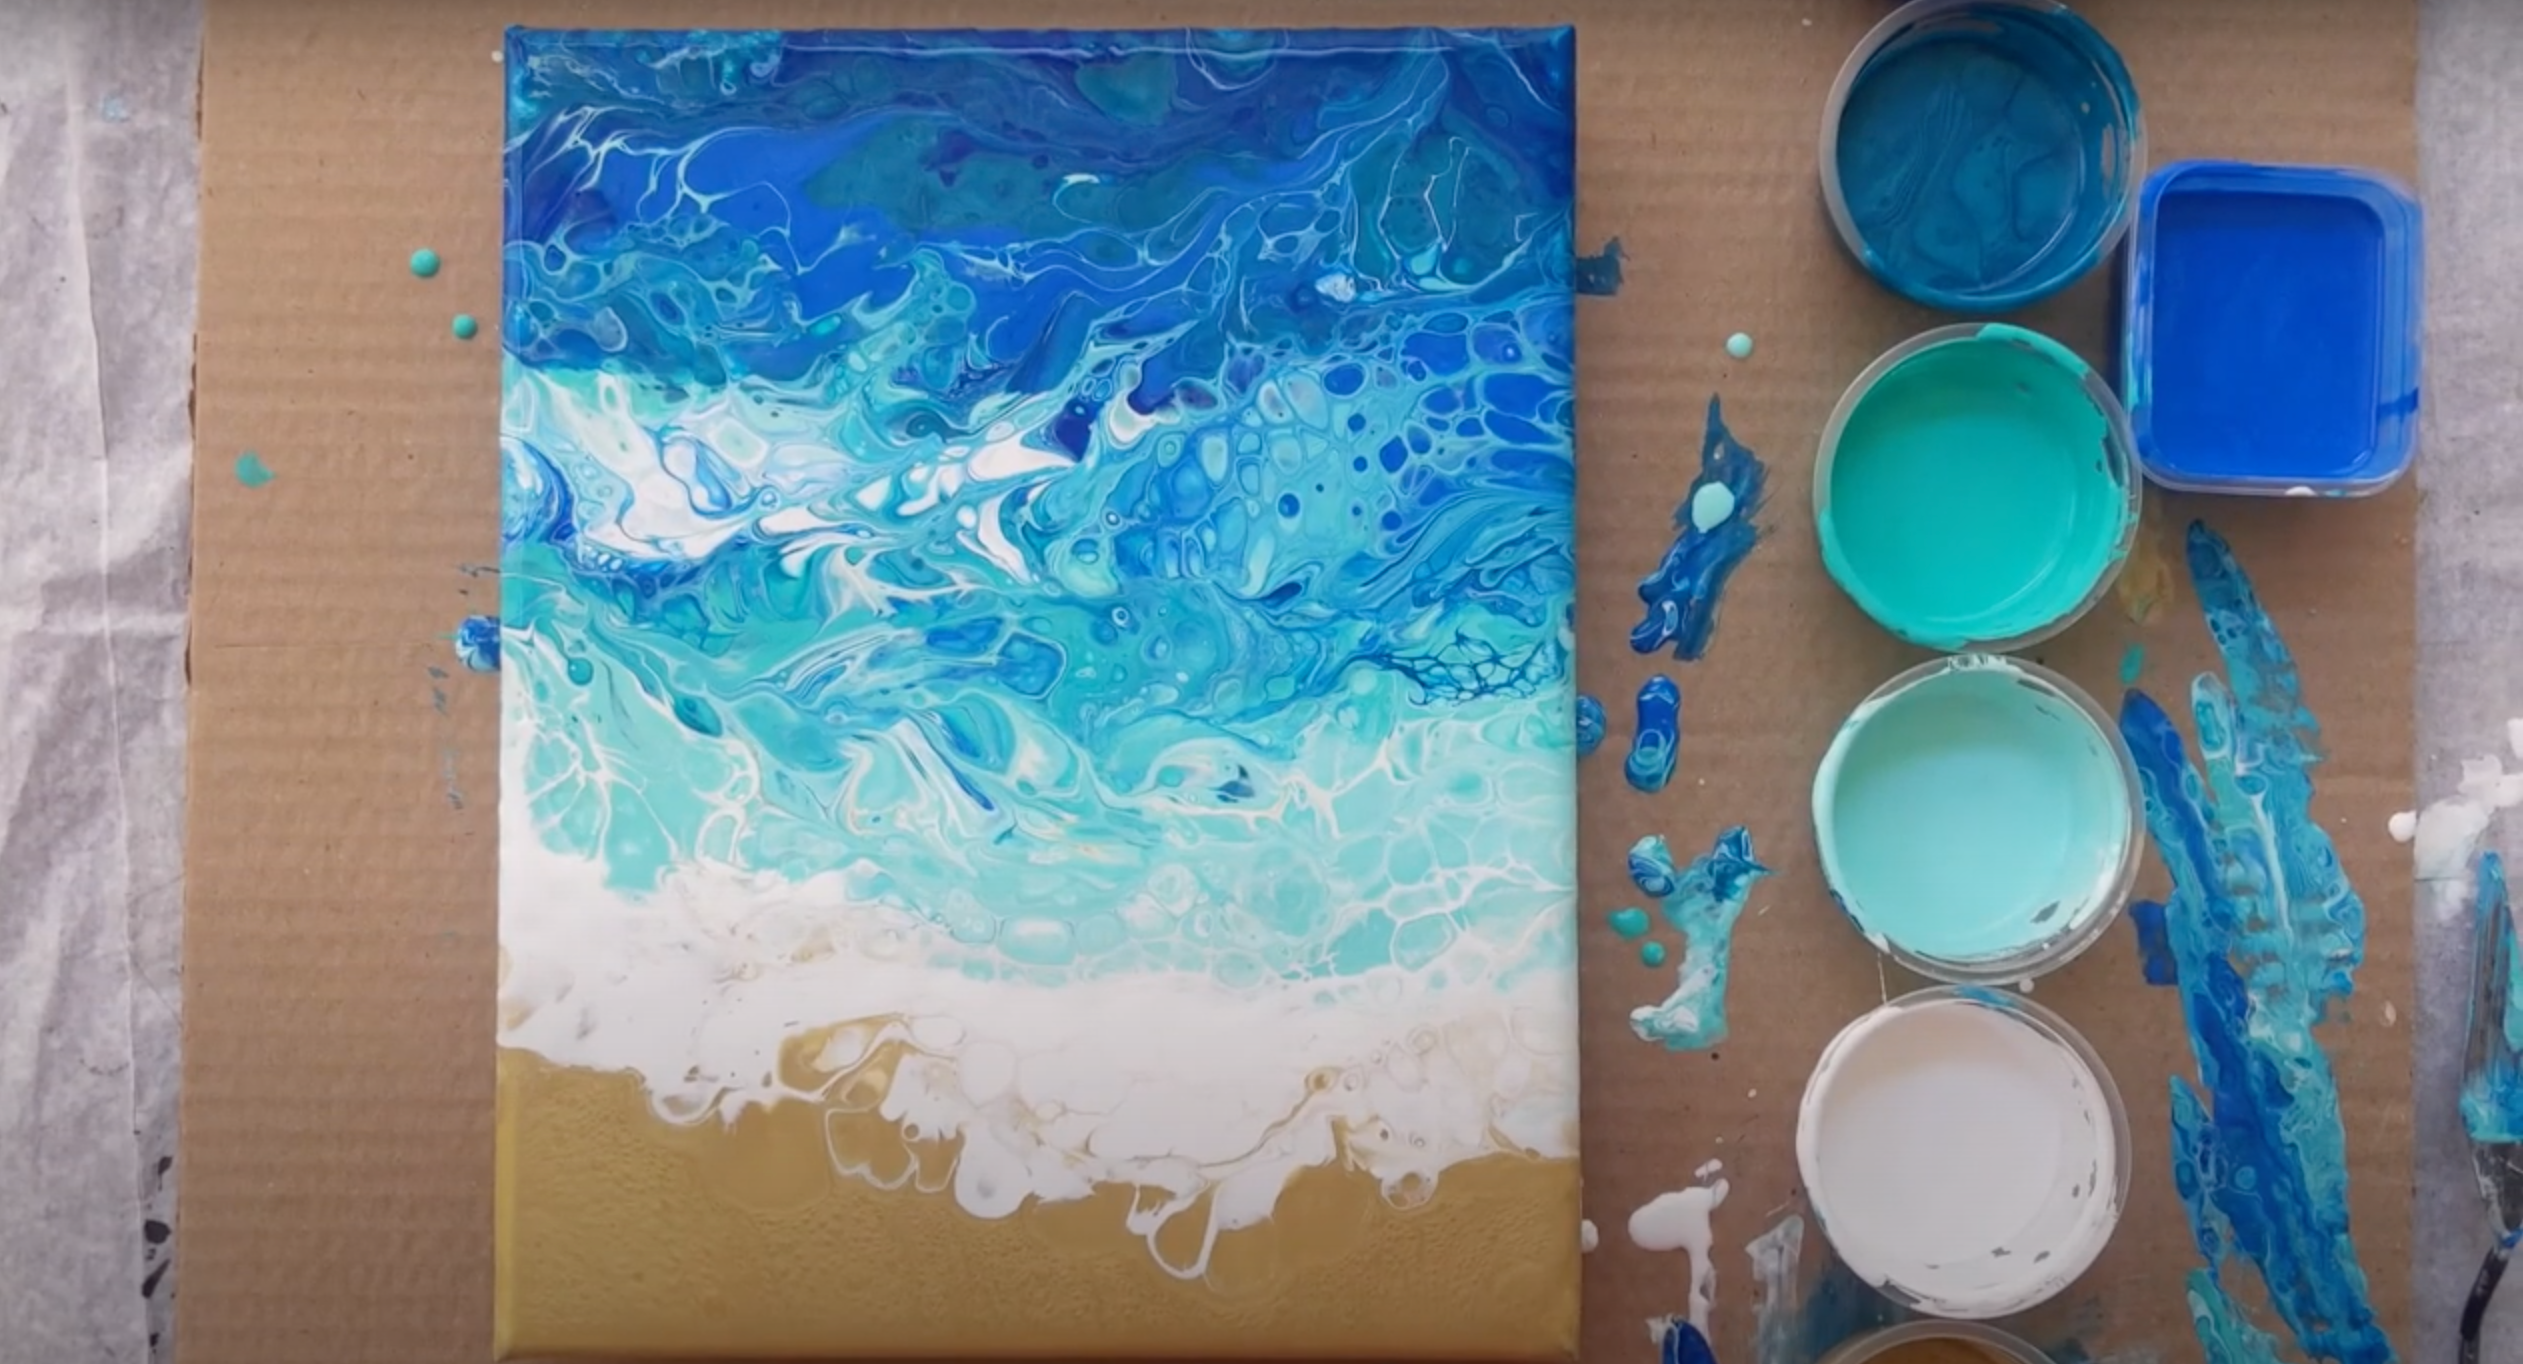
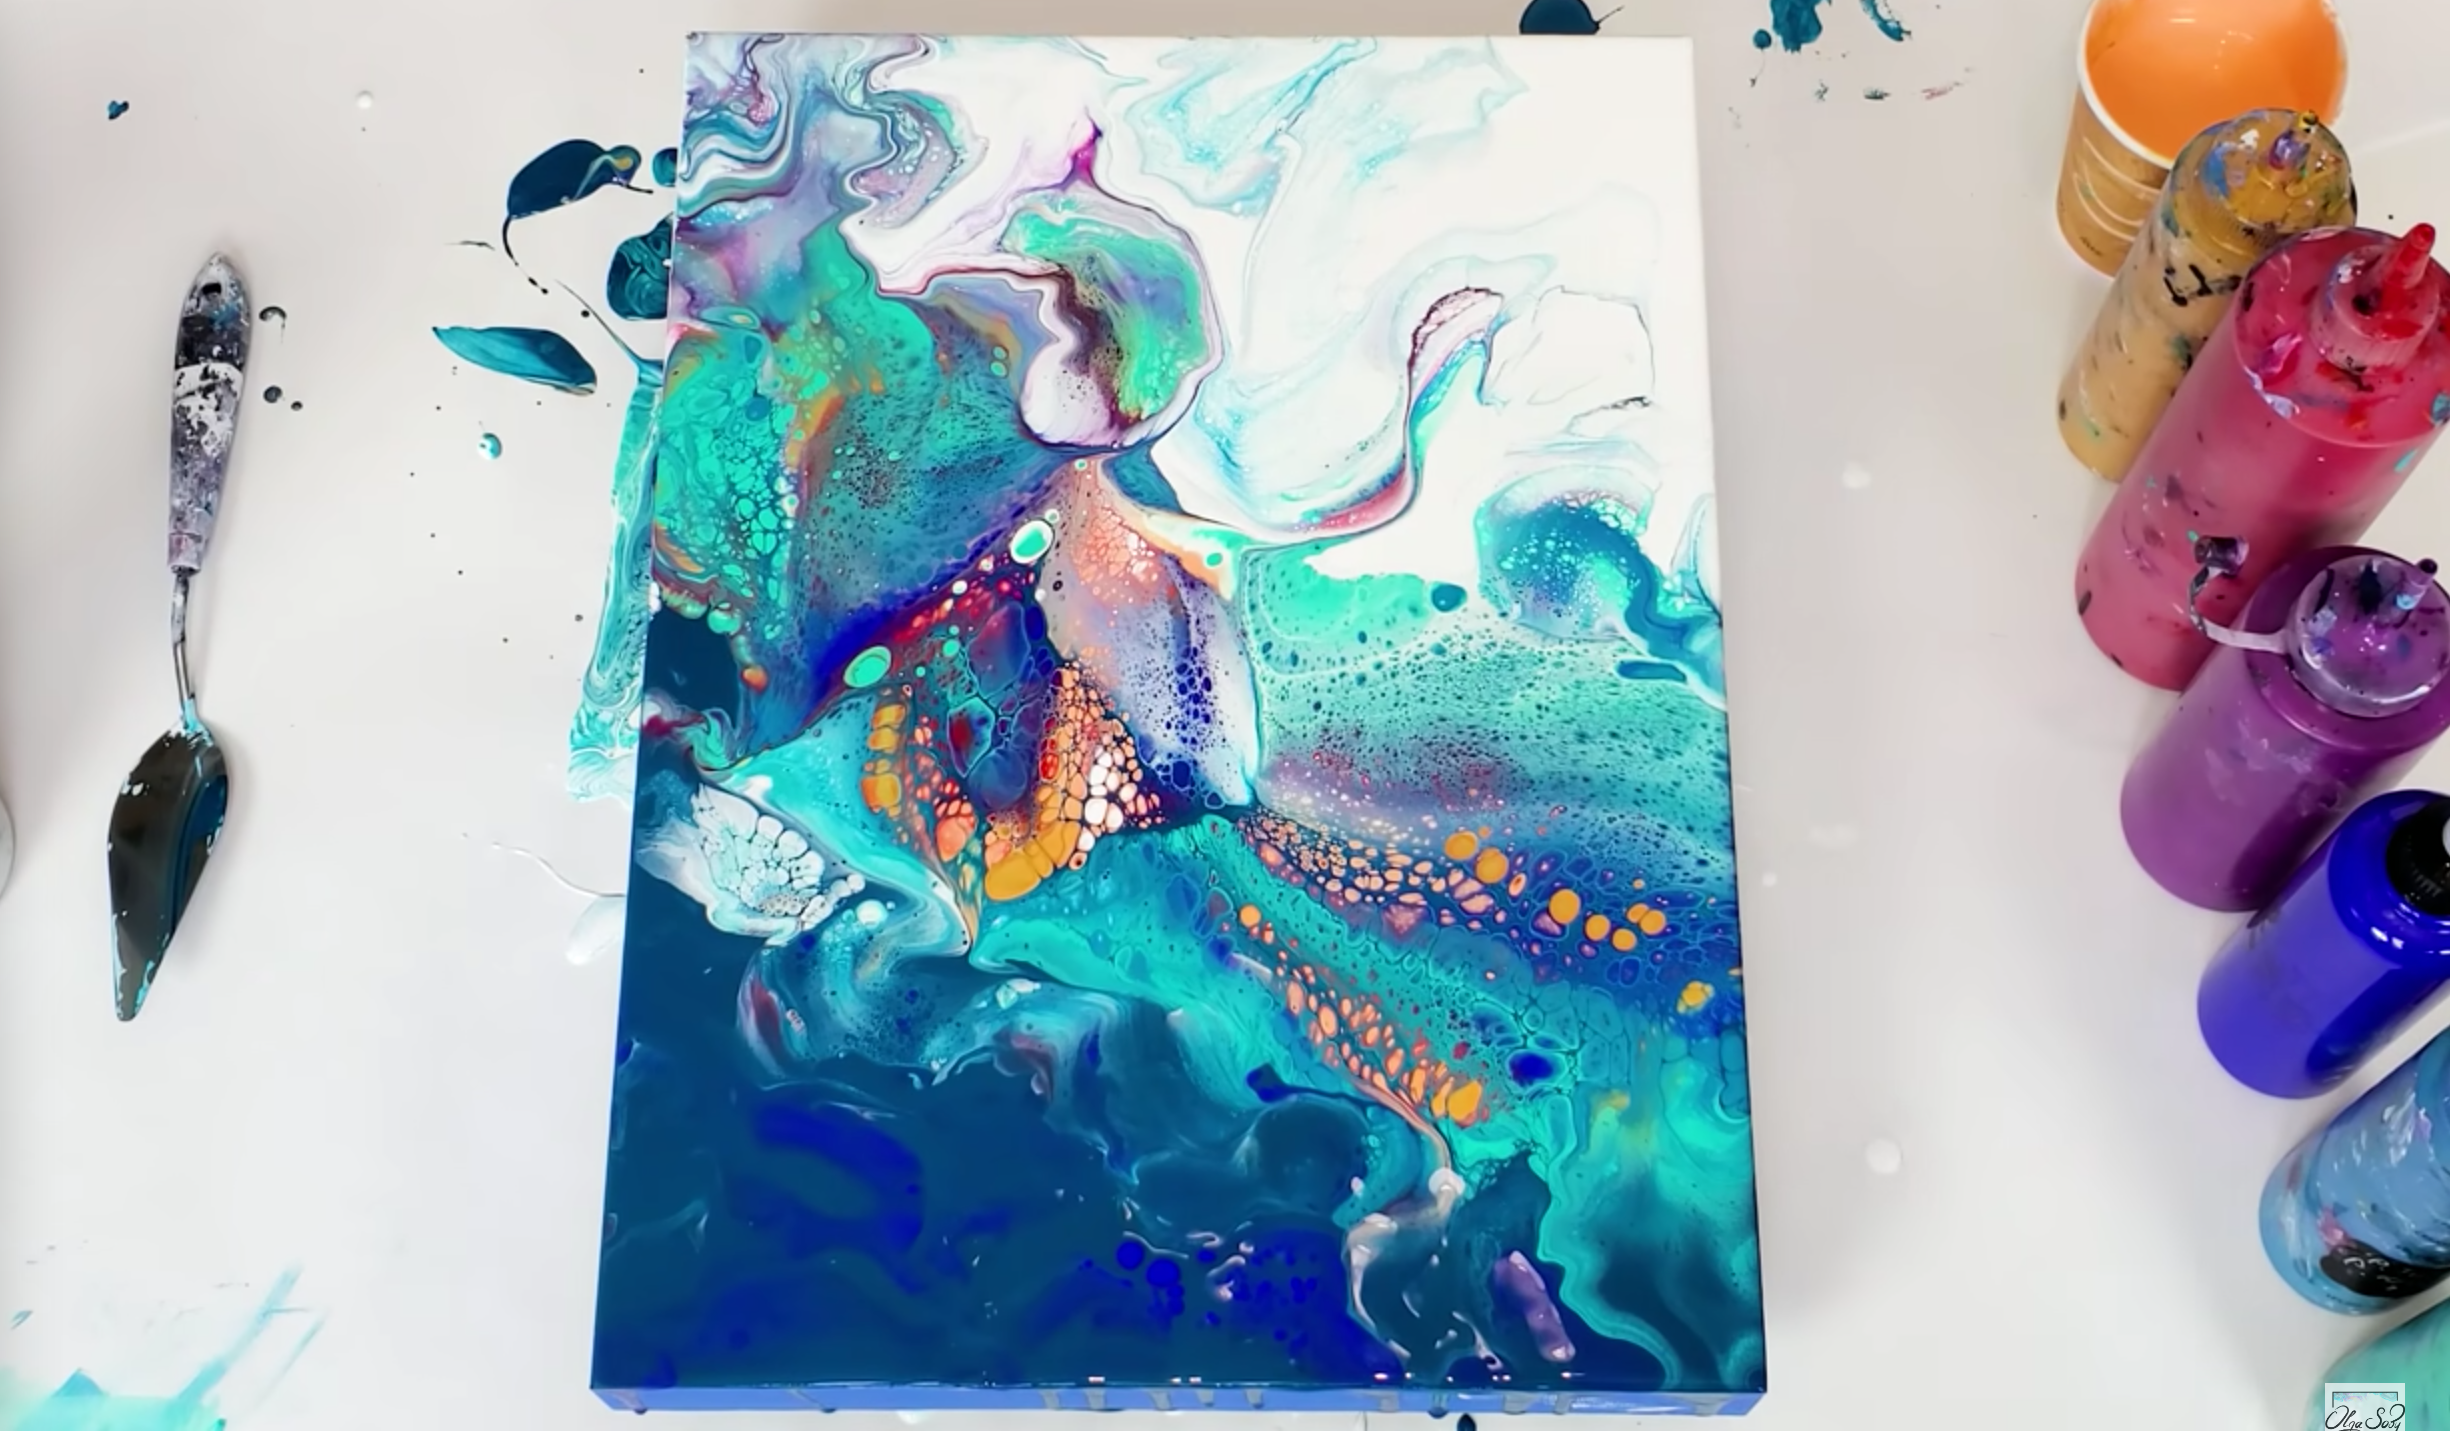
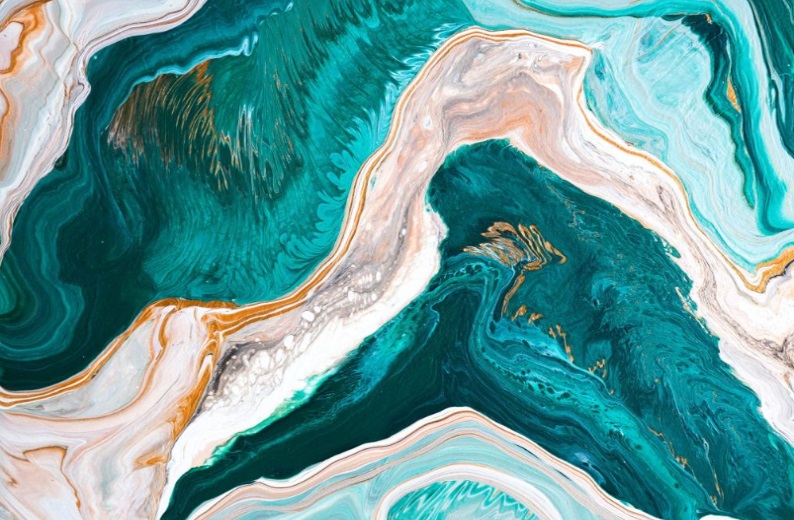
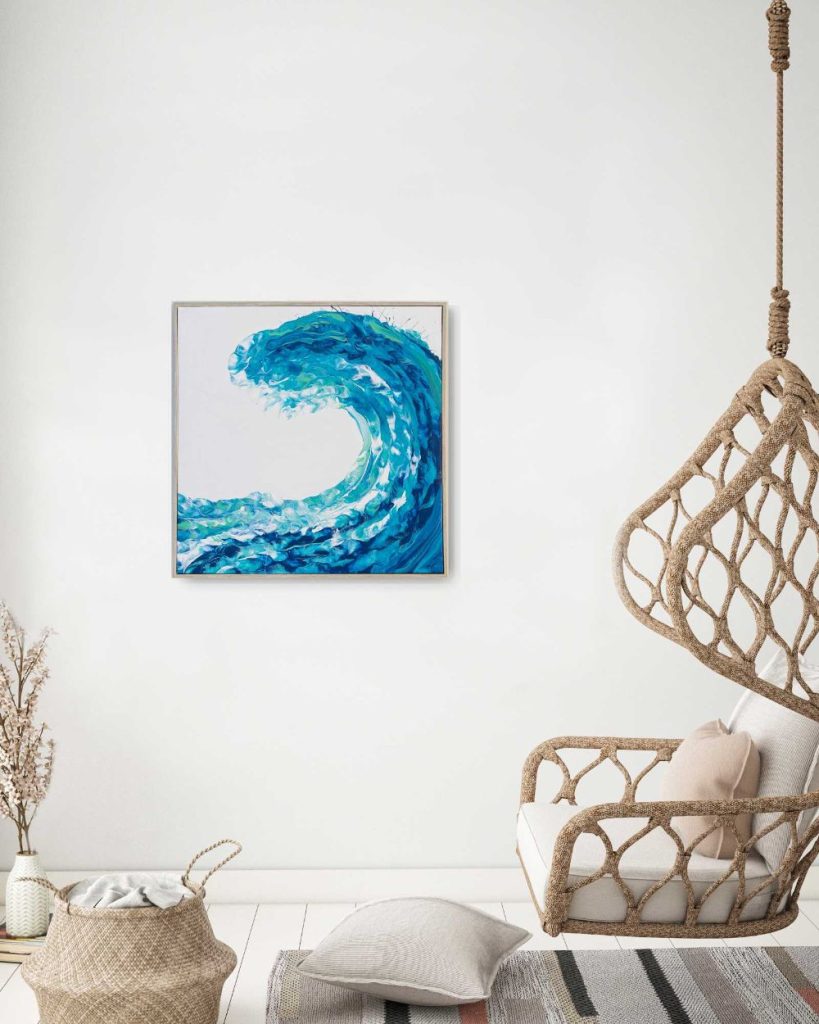
#3 Ocean Wave Acrylic Swipes
This is a beautiful and unique technique that gives the appearance of waves crashing against the shore. It’s perfect for those who love the ocean or simply want to create a serene and calming painting.

- To start, you’ll need 3 colour combinations for the ocean and one for the sand, plus white paint mix. Recommend dark turquoise, mid tone turquoise and light turquoise, plus a cream colour.
- Pour each colour in a horizontal pattern side by side on your canvas.
- Next, use a paper towel or rag to lightly drag the paint from the left to right side of the canvas to create a wave-like motion. You can do this in one fluid motion, or start and stop to create more defined waves.
- I often use my hand with a glove for this.
- Next pour your waves in a “flowy” line across the canvas.
- Blow your waves with a straw, I usually blow upwards like the waves are crashing.
- To add more bubbles, you can use silicone oil and a toothpick to create small dots in the paint.
- You can also use the straw to blow on other areas to create bigger bubbles!
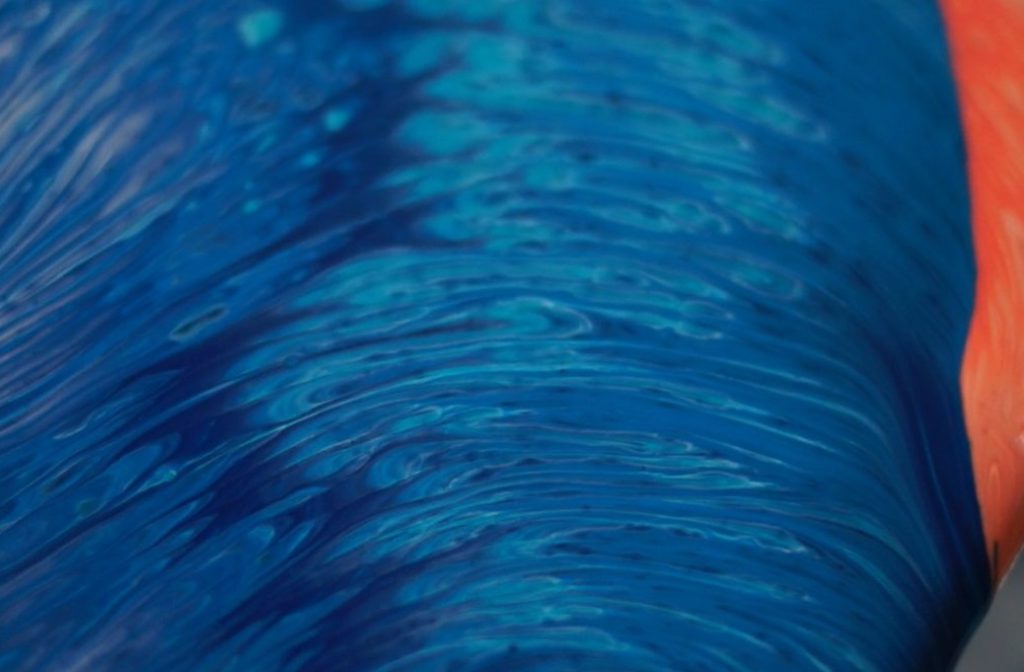
#4 Water Balloon Dip
Water balloon dip is one of the easiest acrylic pouring techniques.
This technique only involves a balloon filled with water, to create beautiful patterns and designs. The balloon is dipped into the canvas with wet paint and then gently moved around to create different patterns.
- To start, you’ll need to fill a balloon with water and tie it off.
- Next, choose your colours and pour them onto the canvas in rounded or circular motions. You can use as many colours as you like, but try to use colours that complement each other.
- Once the paint is on the canvas, dip the balloon into the centre of the design and then gently move it around. You can see an abstract circle design begin to form.
- Move the balloon around in different directions to create different patterns.
- Lastly, gently spin the canvas to help the paint spread out.
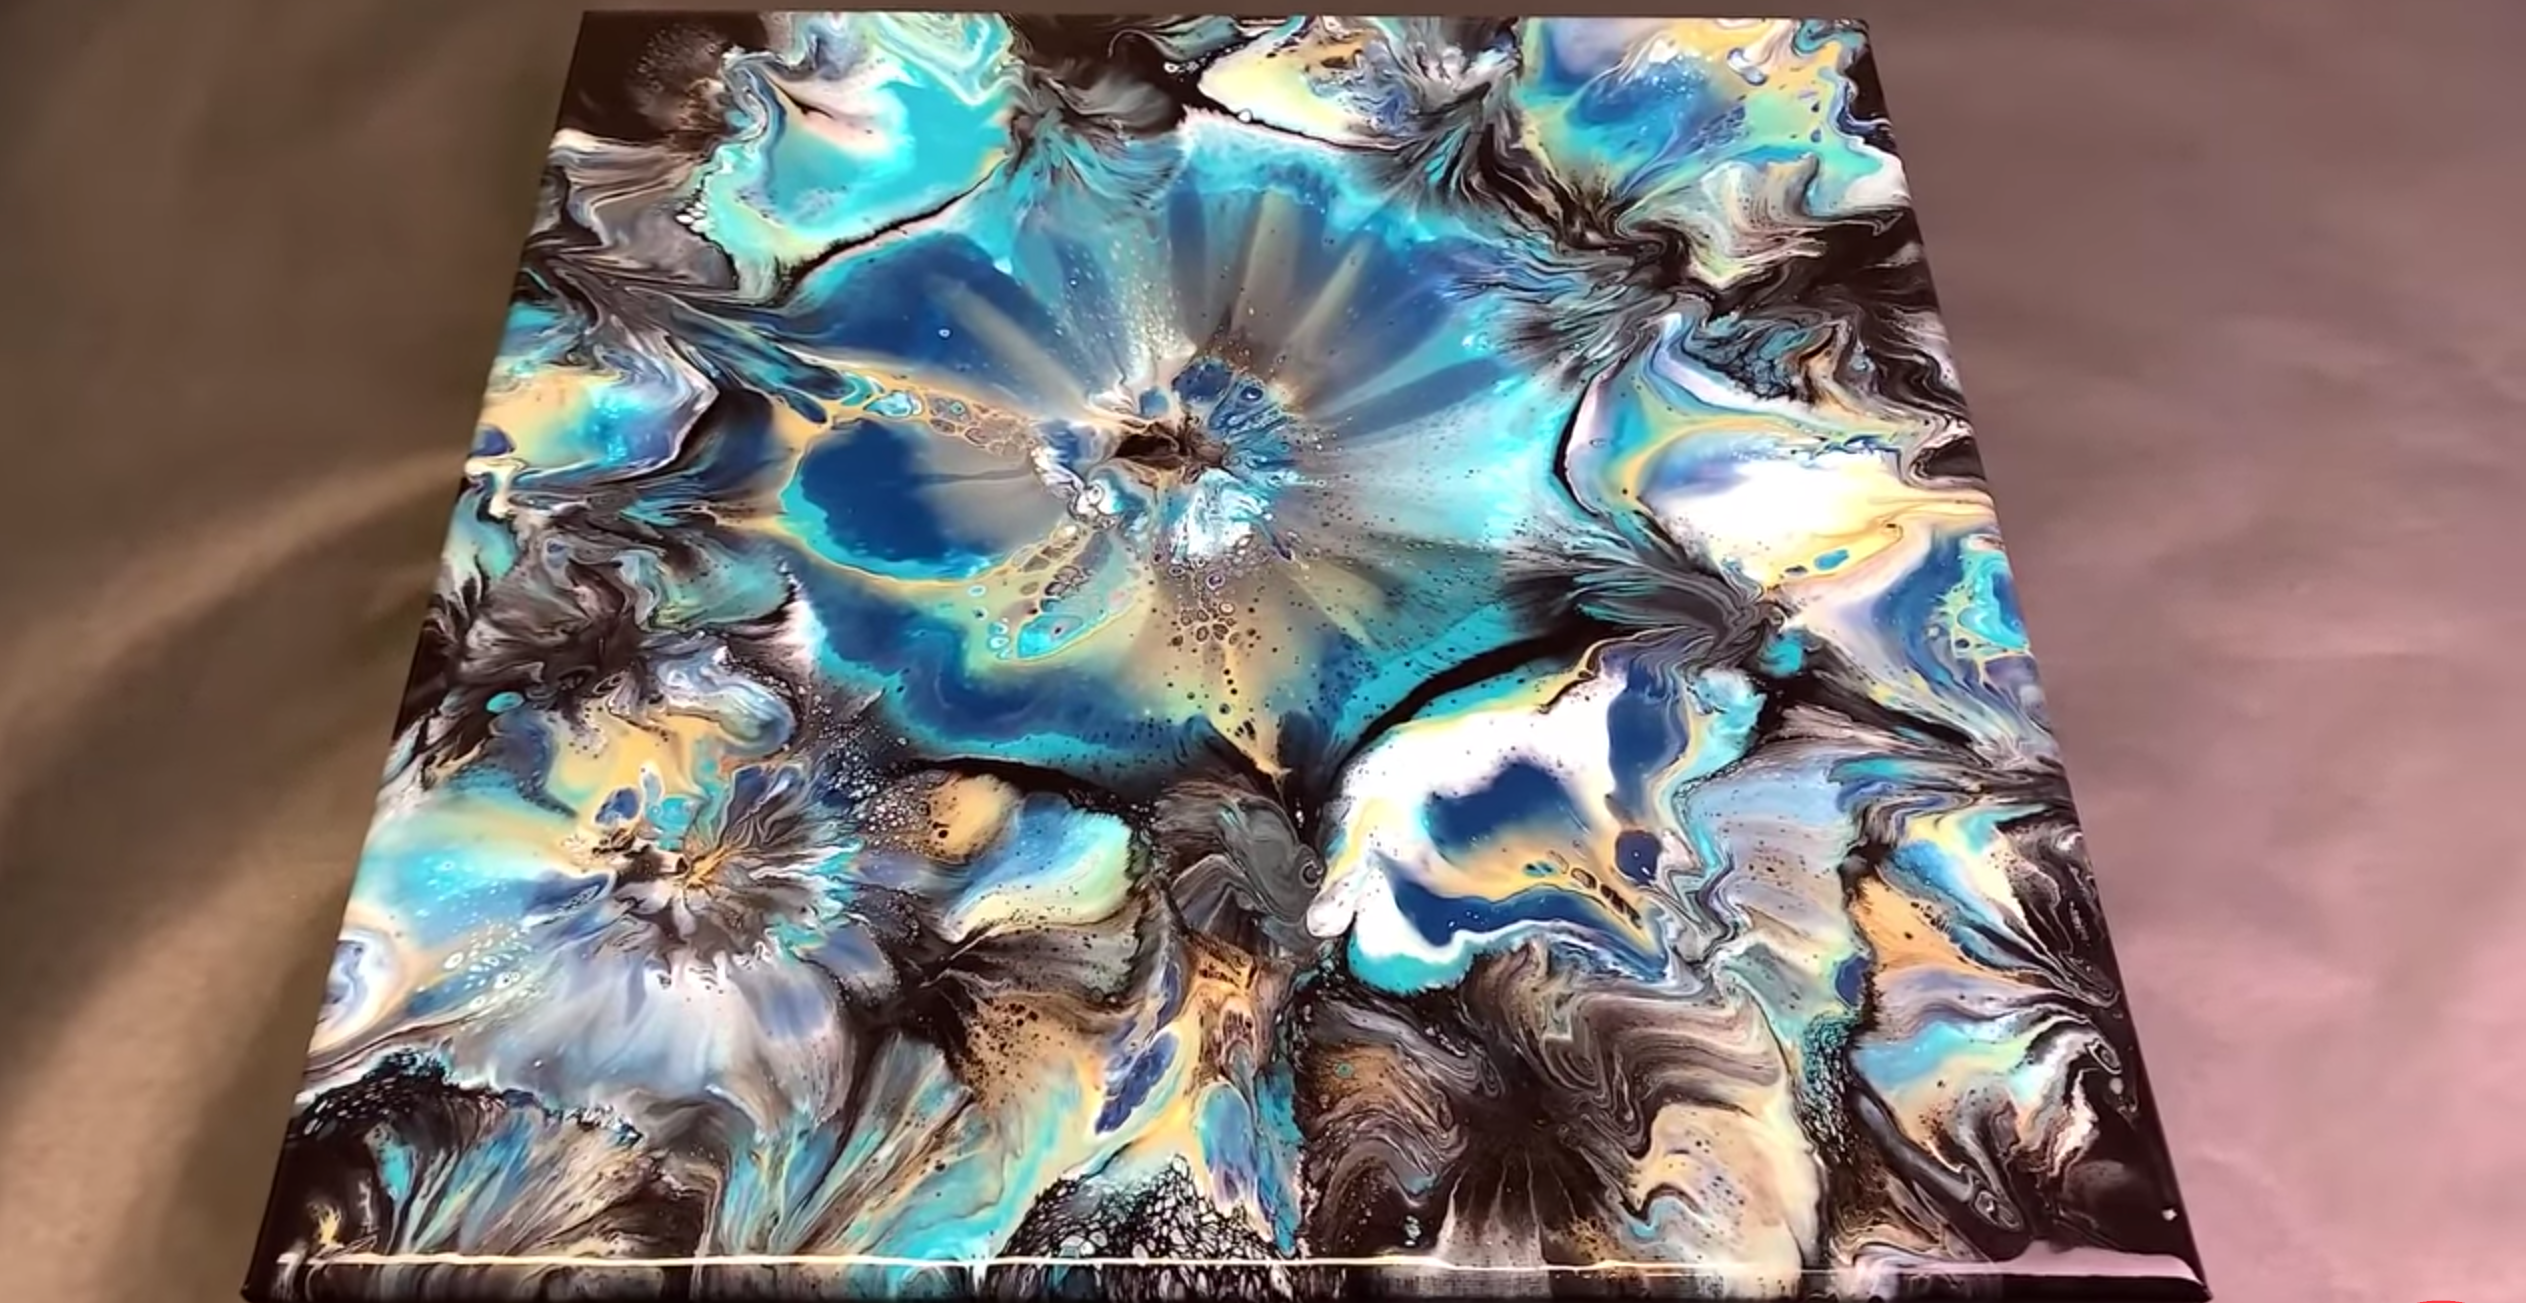
#5 Flower Glass Bottom Pour
The main component of this technique is a glass cup with a bottom pattern, just like in soft drink bottles. If you can’t find one of these, you can use a plastic soft drink bottle with a similar bottom, just cut it in half.
- Put the glass in reverse on the canvas, pour your colours into the bottom, and wait until the paint slowly drips down.
- Pour different colours next to each other so that they mix and create a beautiful design.
- Once the paint is on the canvas, you can gently lift the glass cup and start to add finishing touches.
- You can also gently spin the canvas so the paint can spread around the canvas and covers any white space.
#6 Eye Acrylic Pour
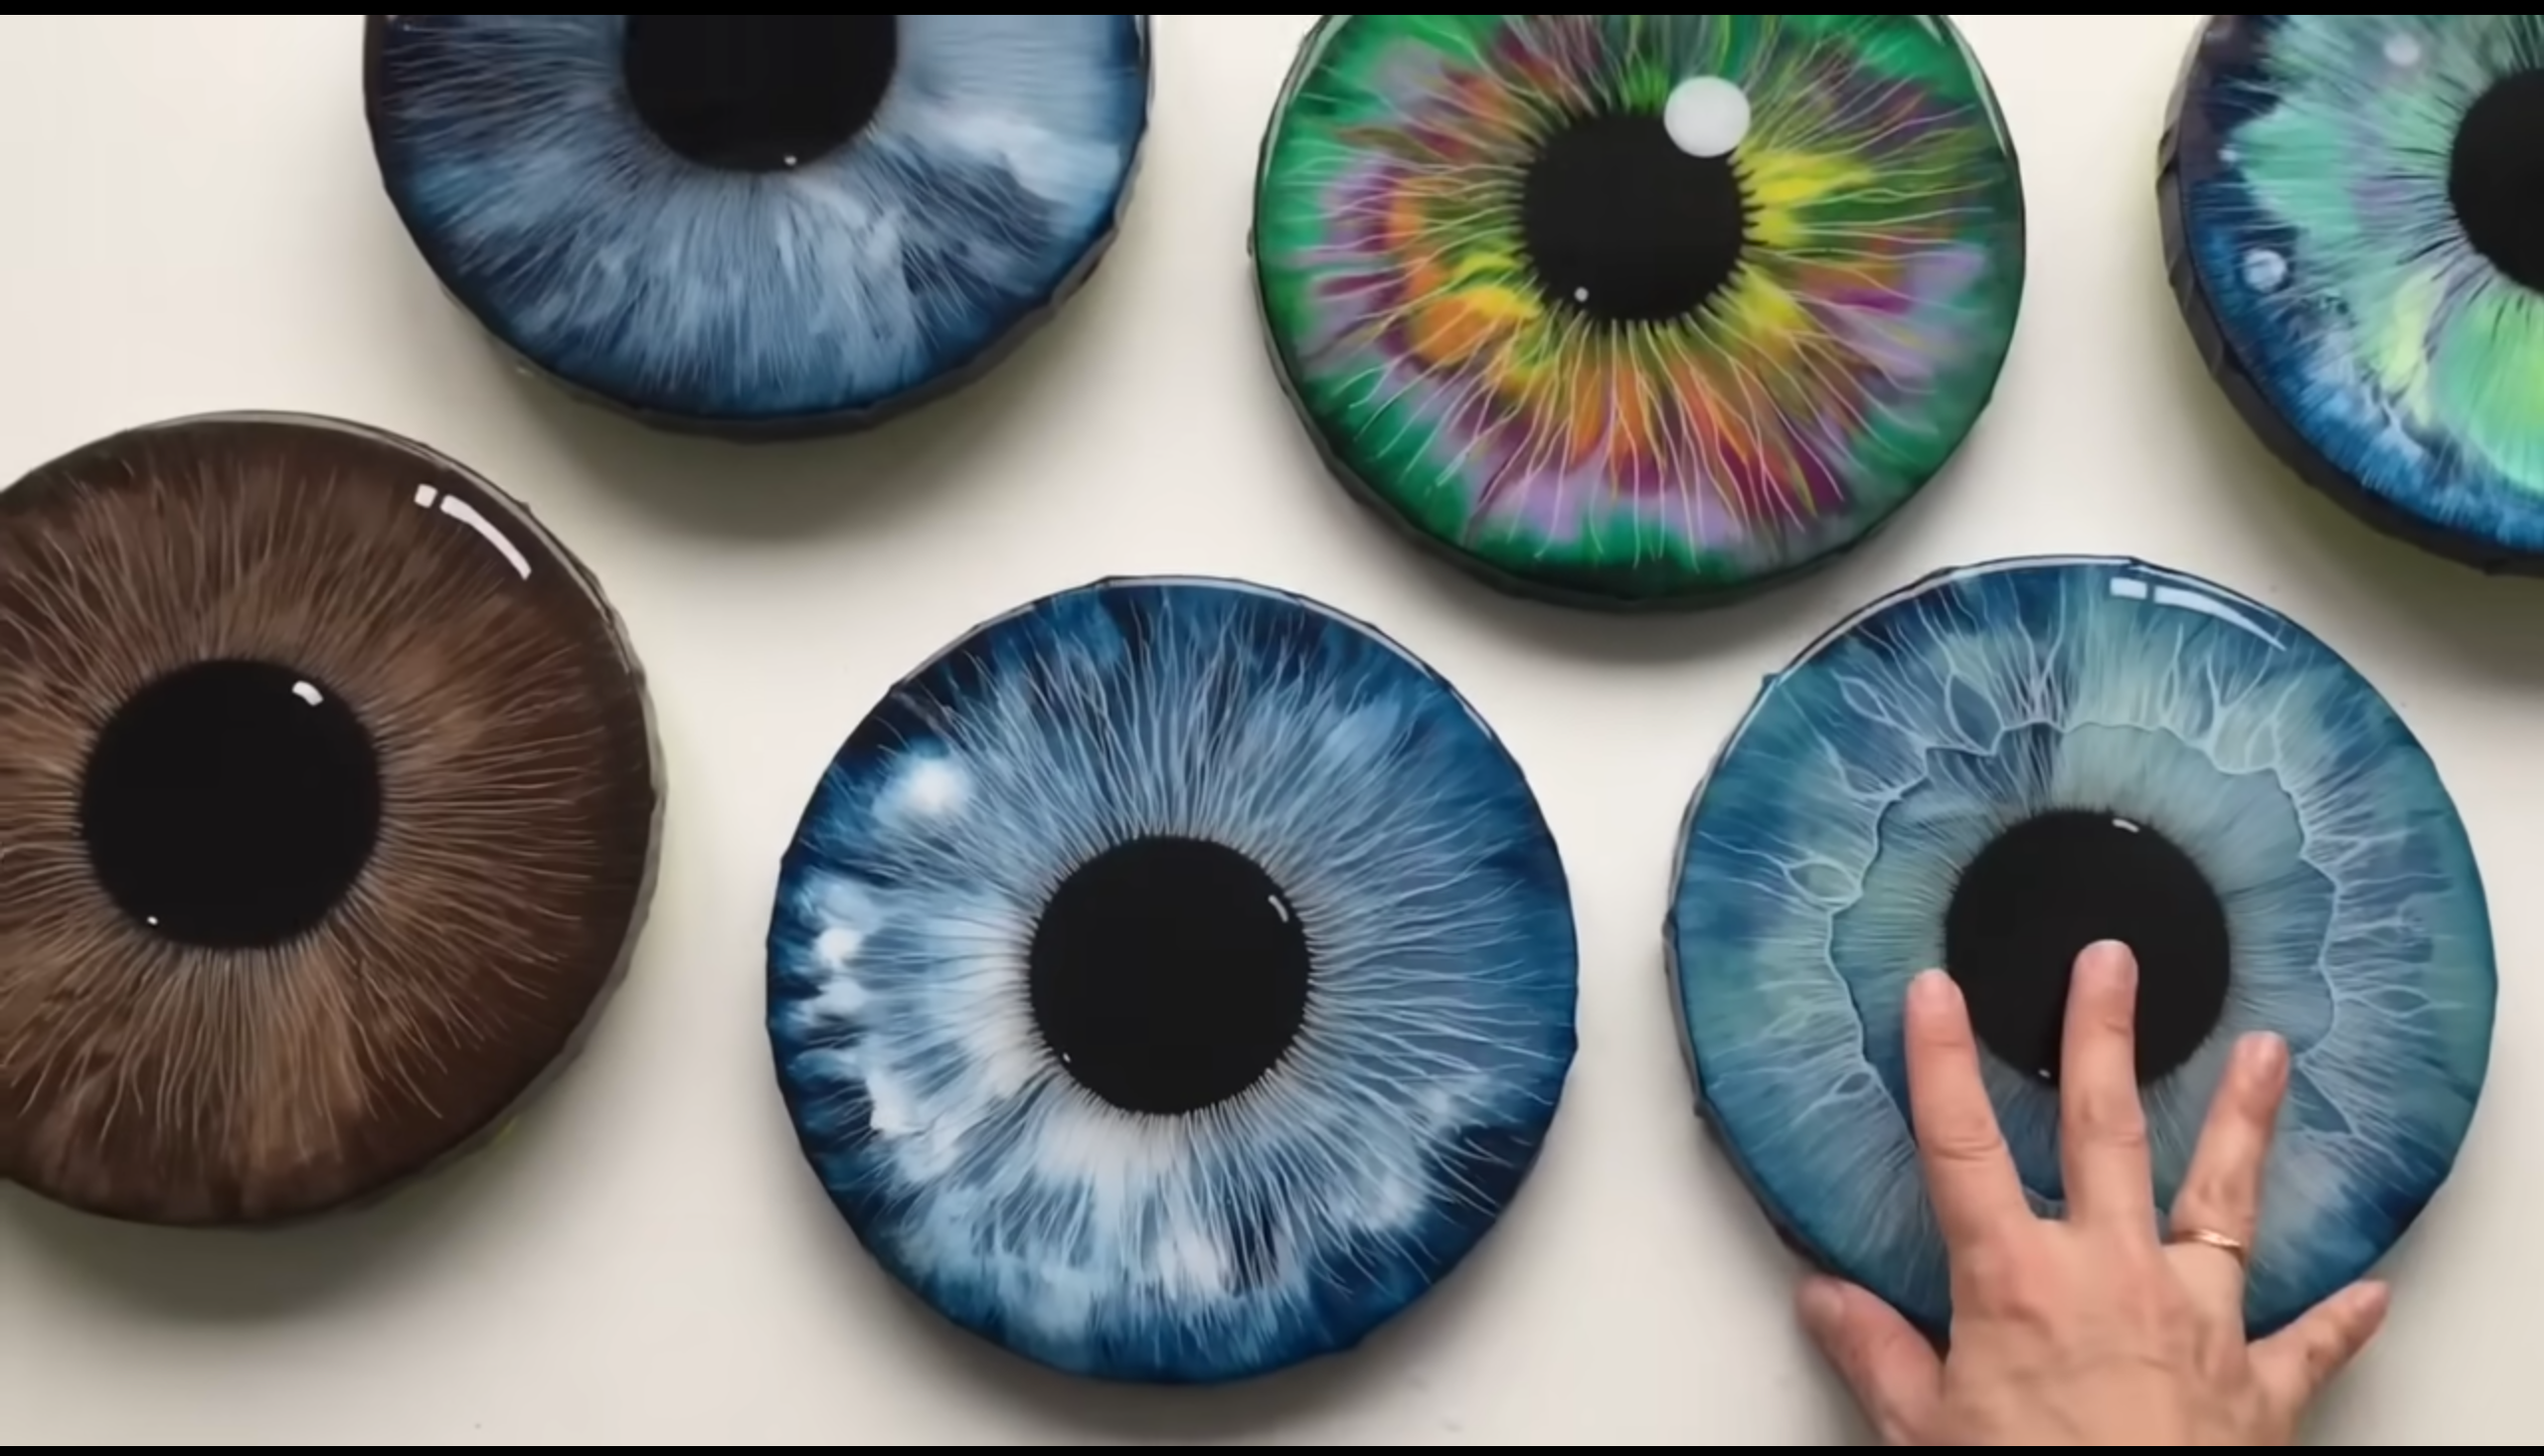
This technique is a little bit more complicated. Requires more steps than the other acrylic pouring techniques, but it’s well worth it for the fantastic results.
- First, you need to create a base for the eye color on your circle canvas.
- After that, pour different colours in circular form, start at the edge and continue adding circles.
- After the pouring is complete, perform the swipe technique.
- Use a popsicle stick or chopsticks to create straight-line patterns from the outer part to the inner part of the circle, like the spokes of a wheel.
- Next, Cover the circle canvas with a napkin and slowly lift the napkin. This will slightly blur the lines and create a more natural eye background effect.
- Carefully add a black circle in the middle of the canvas, which will be the pupil, and then use white paint or other colours to add highlights.
- Allow to fully dry.
- Once dry touch up the black centre to be the perfect size and shape. Plus do any other touch ups.
- To finish up, add epoxy resin to the entire canvas to protect the colours and have a glossy finish. You can also another layer of details after the resin is dry.
#7 Butterfly Chain Pull
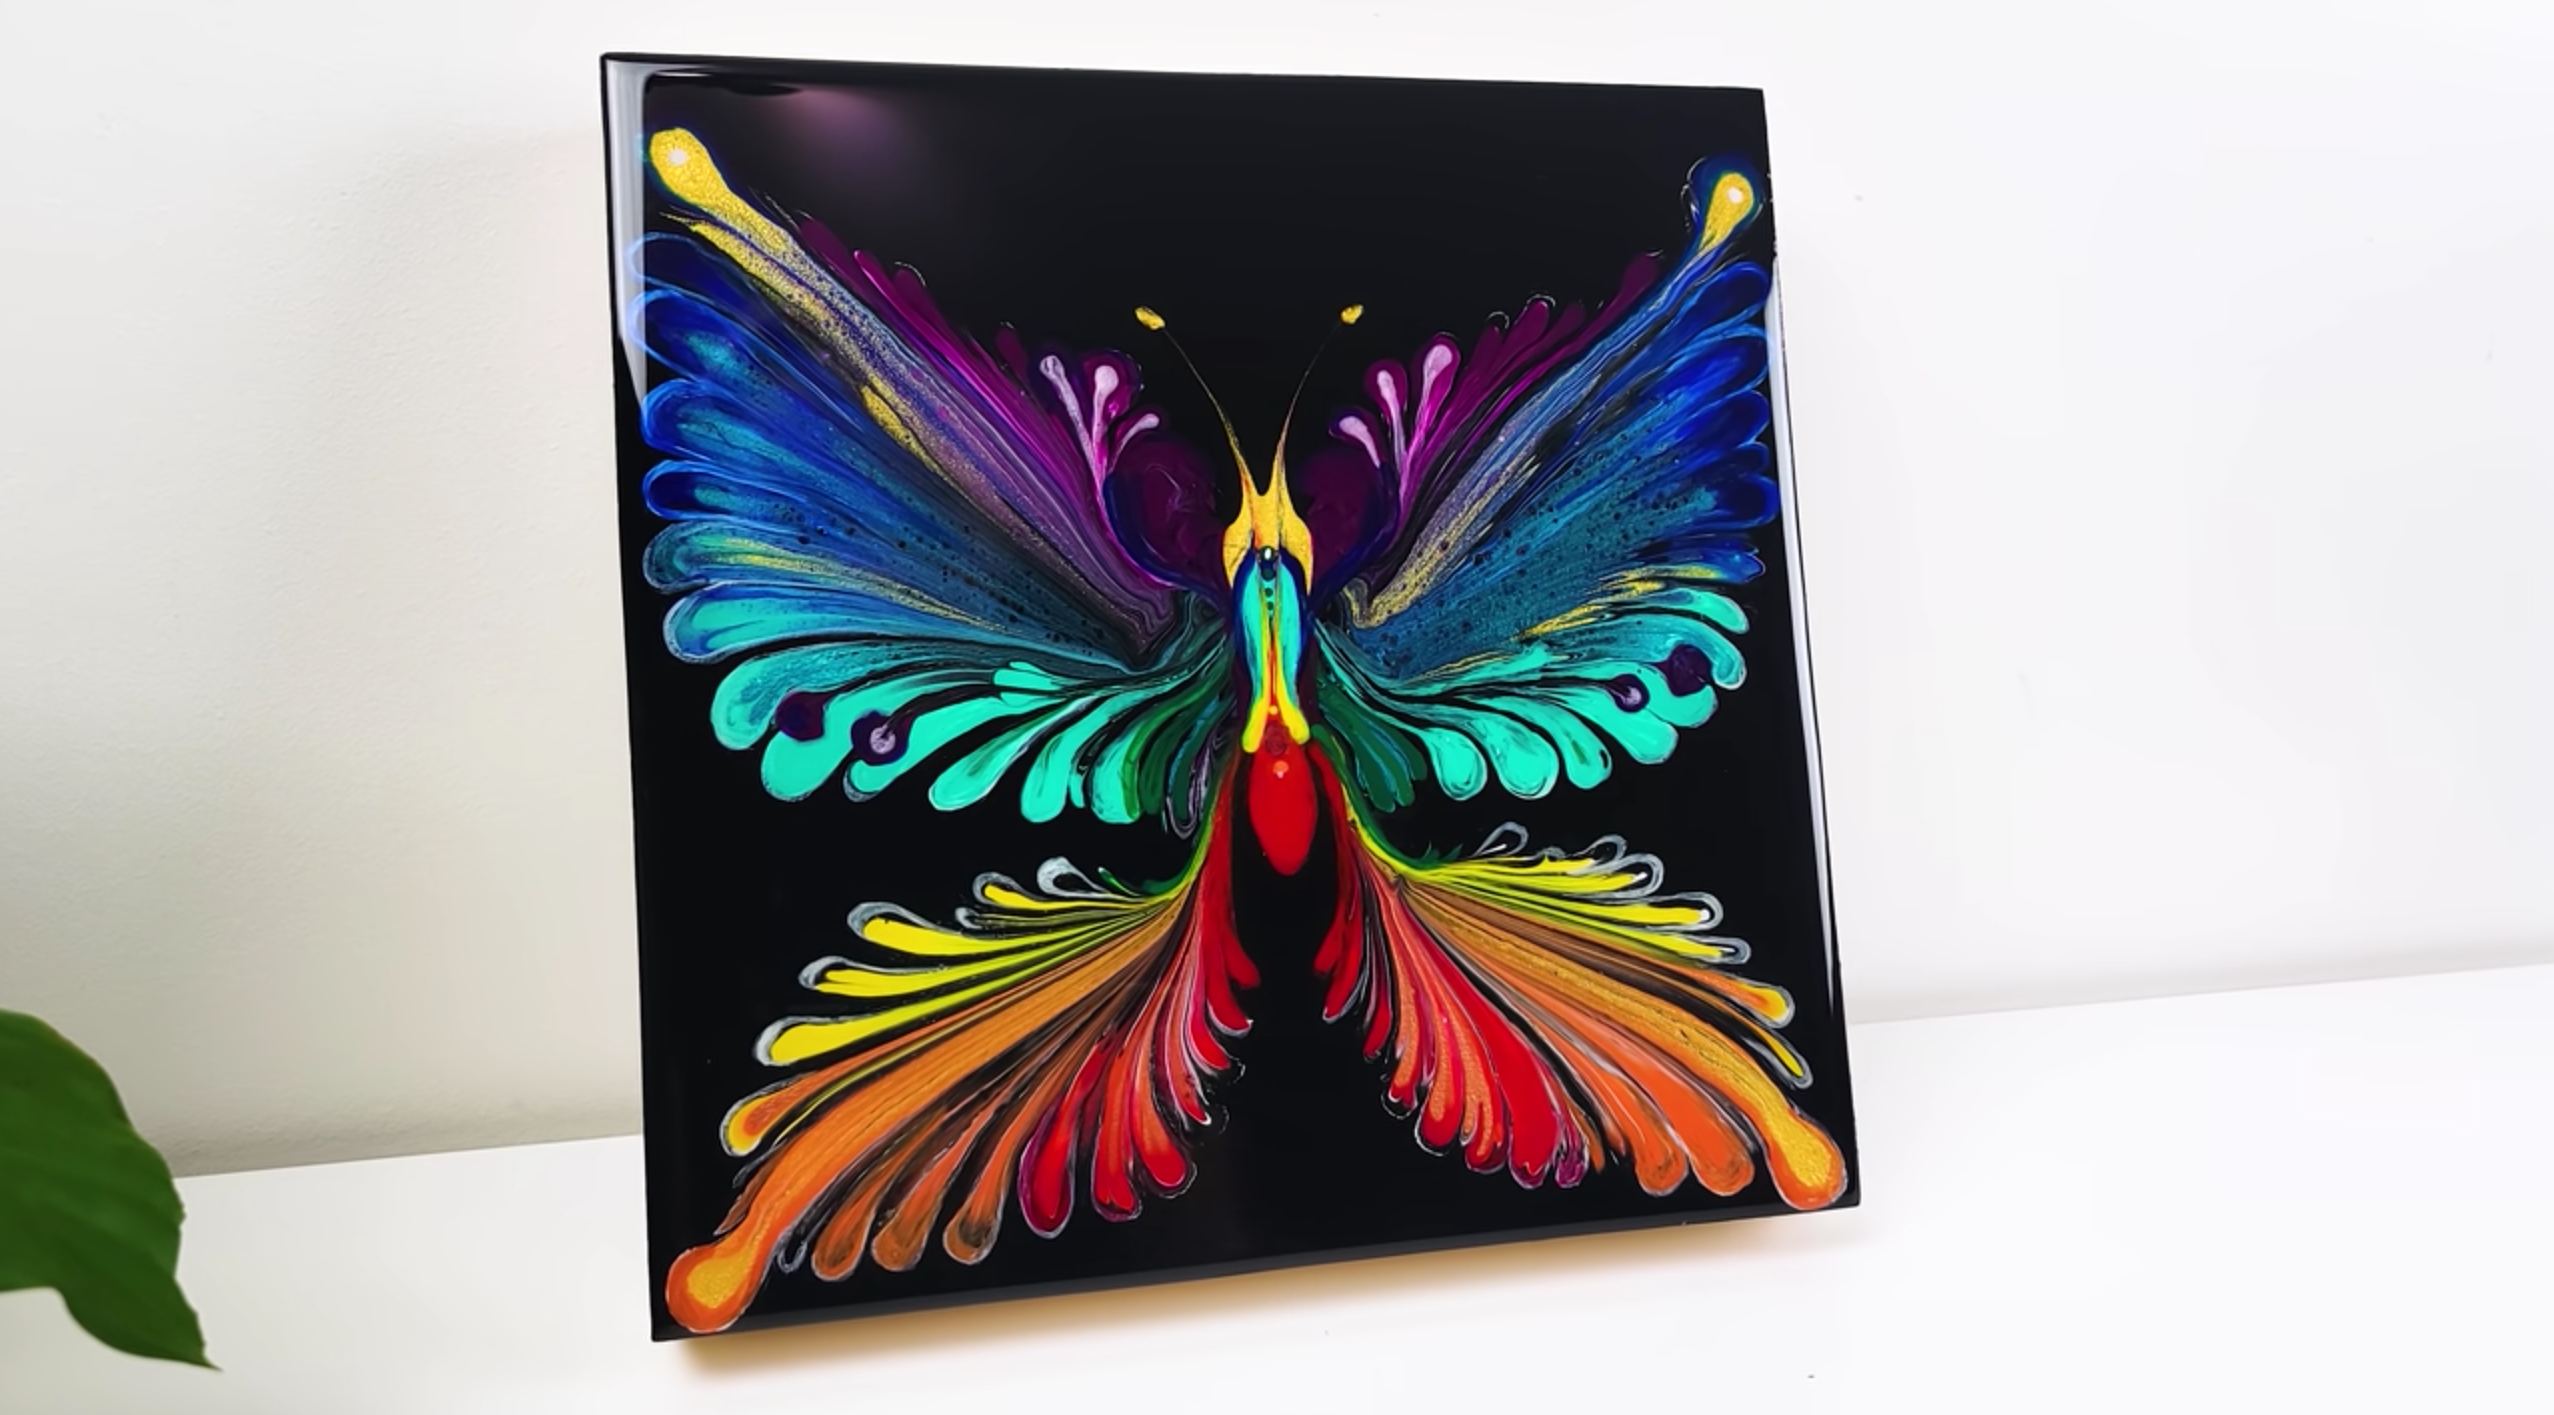
This is a gorgeous and unique technique that creates a beautiful butterfly design.
- The first step is to create your base, then pour the paint in medium-sized dots and form four butterfly wings patterns into your canvas. You can use a rainbow of colours to create the wings’ outline.
- After the outline is ready, use the ball chain to create each wing detail.
- Place the ball chain at the top of each wing outline and slowly pull the chain toward the middle of each wing. The paint will start to spread out and create a gorgeous butterfly wing design.
- After the wings are formed, you can start doing the butterfly’s body and head.
- To finish it up, you can add a few more details with a thin brush or dots pattern in the wings. You can also use glitters to make it more sparkly.
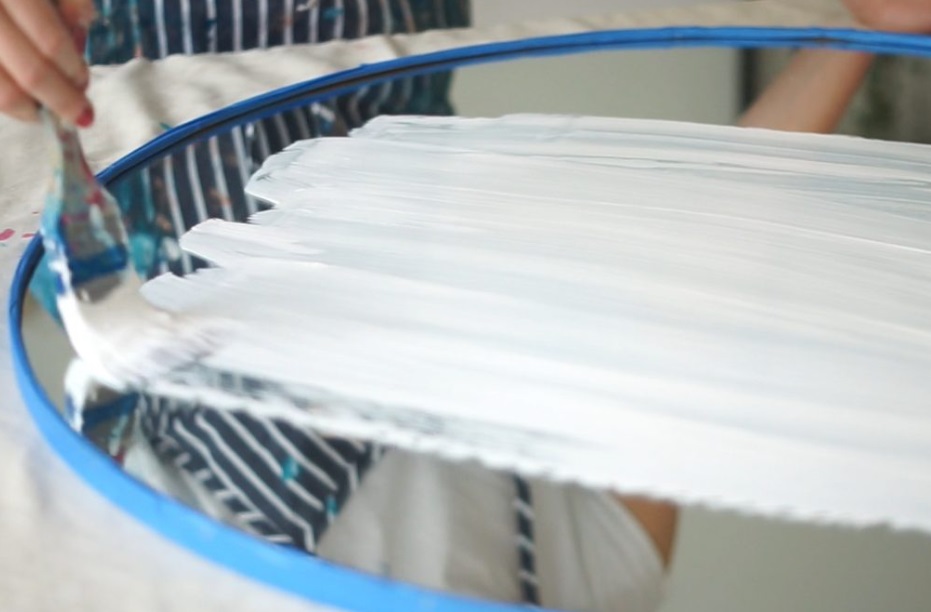
#8 Snowflake Stencil Pour
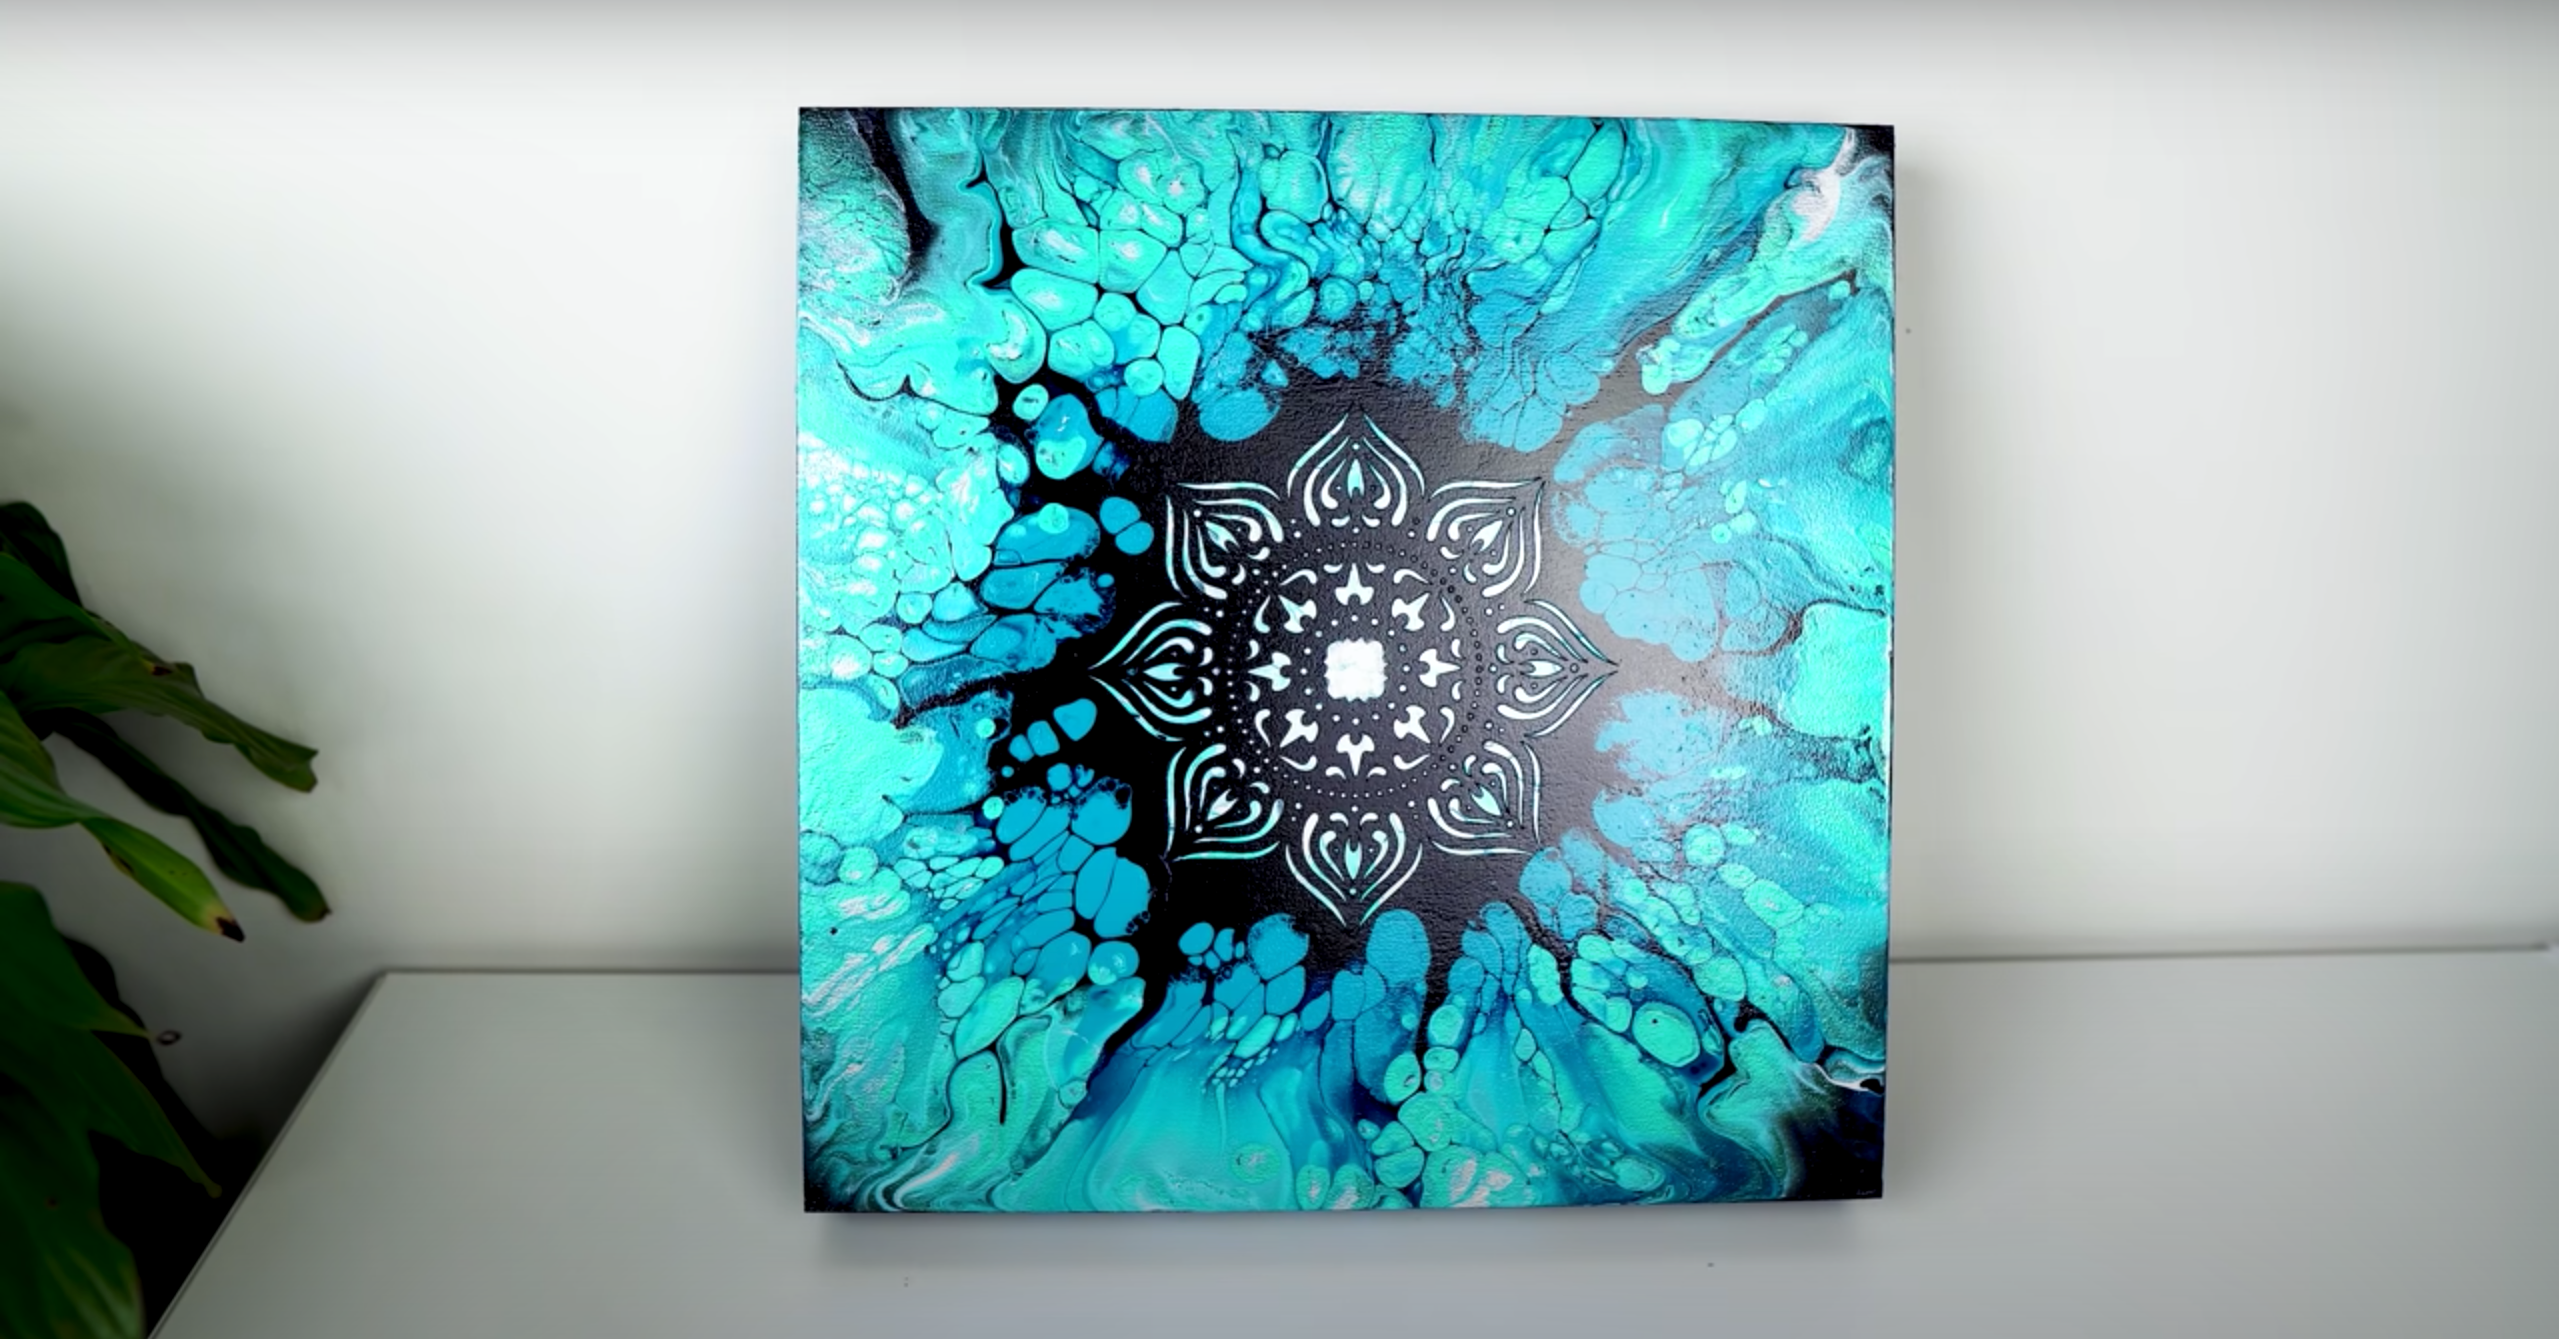
A technique perfect for creating winter wonderland theme painting. The first thing you need to do is find a snowflake stencil that you like. Otherwise, you can use cardboard or any other material to make your own stencil.
- Once you have the stencil, pour your colours around the edge of the canvas to create the background design.
- Spin or tilt the canvas to spread paint and create different abstract patterns then let it dry.
- After the paint is dry, place the snowflake stencil in the middle, you can use tape to keep it in place, and start pouring white paint or any other light blue colours over the top.
- Once the paint is dry, carefully remove the stencil, and you will have a beautiful snowflake design.
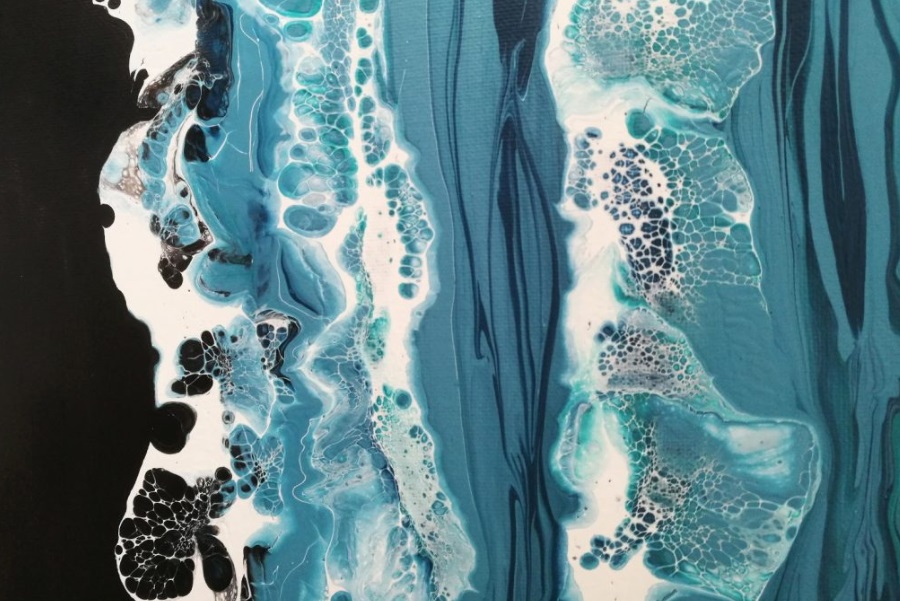
#9 Coral Reef Open Cup Pour
This technique is perfect for creating a beautiful under-the-sea painting.
- The first thing you need to do is make the base for your sea background. You can use blue and white colours for the background.
- After the background is ready, place the open cup in the middle of the canvas and start putting different colours inside the cup.
- Slowly lift and move the cup around the base to create ocean waves and coral reef effects. You can also use a straw and gently blow the paint to create different movement effects.
#10 Sunflower Strainer Pour
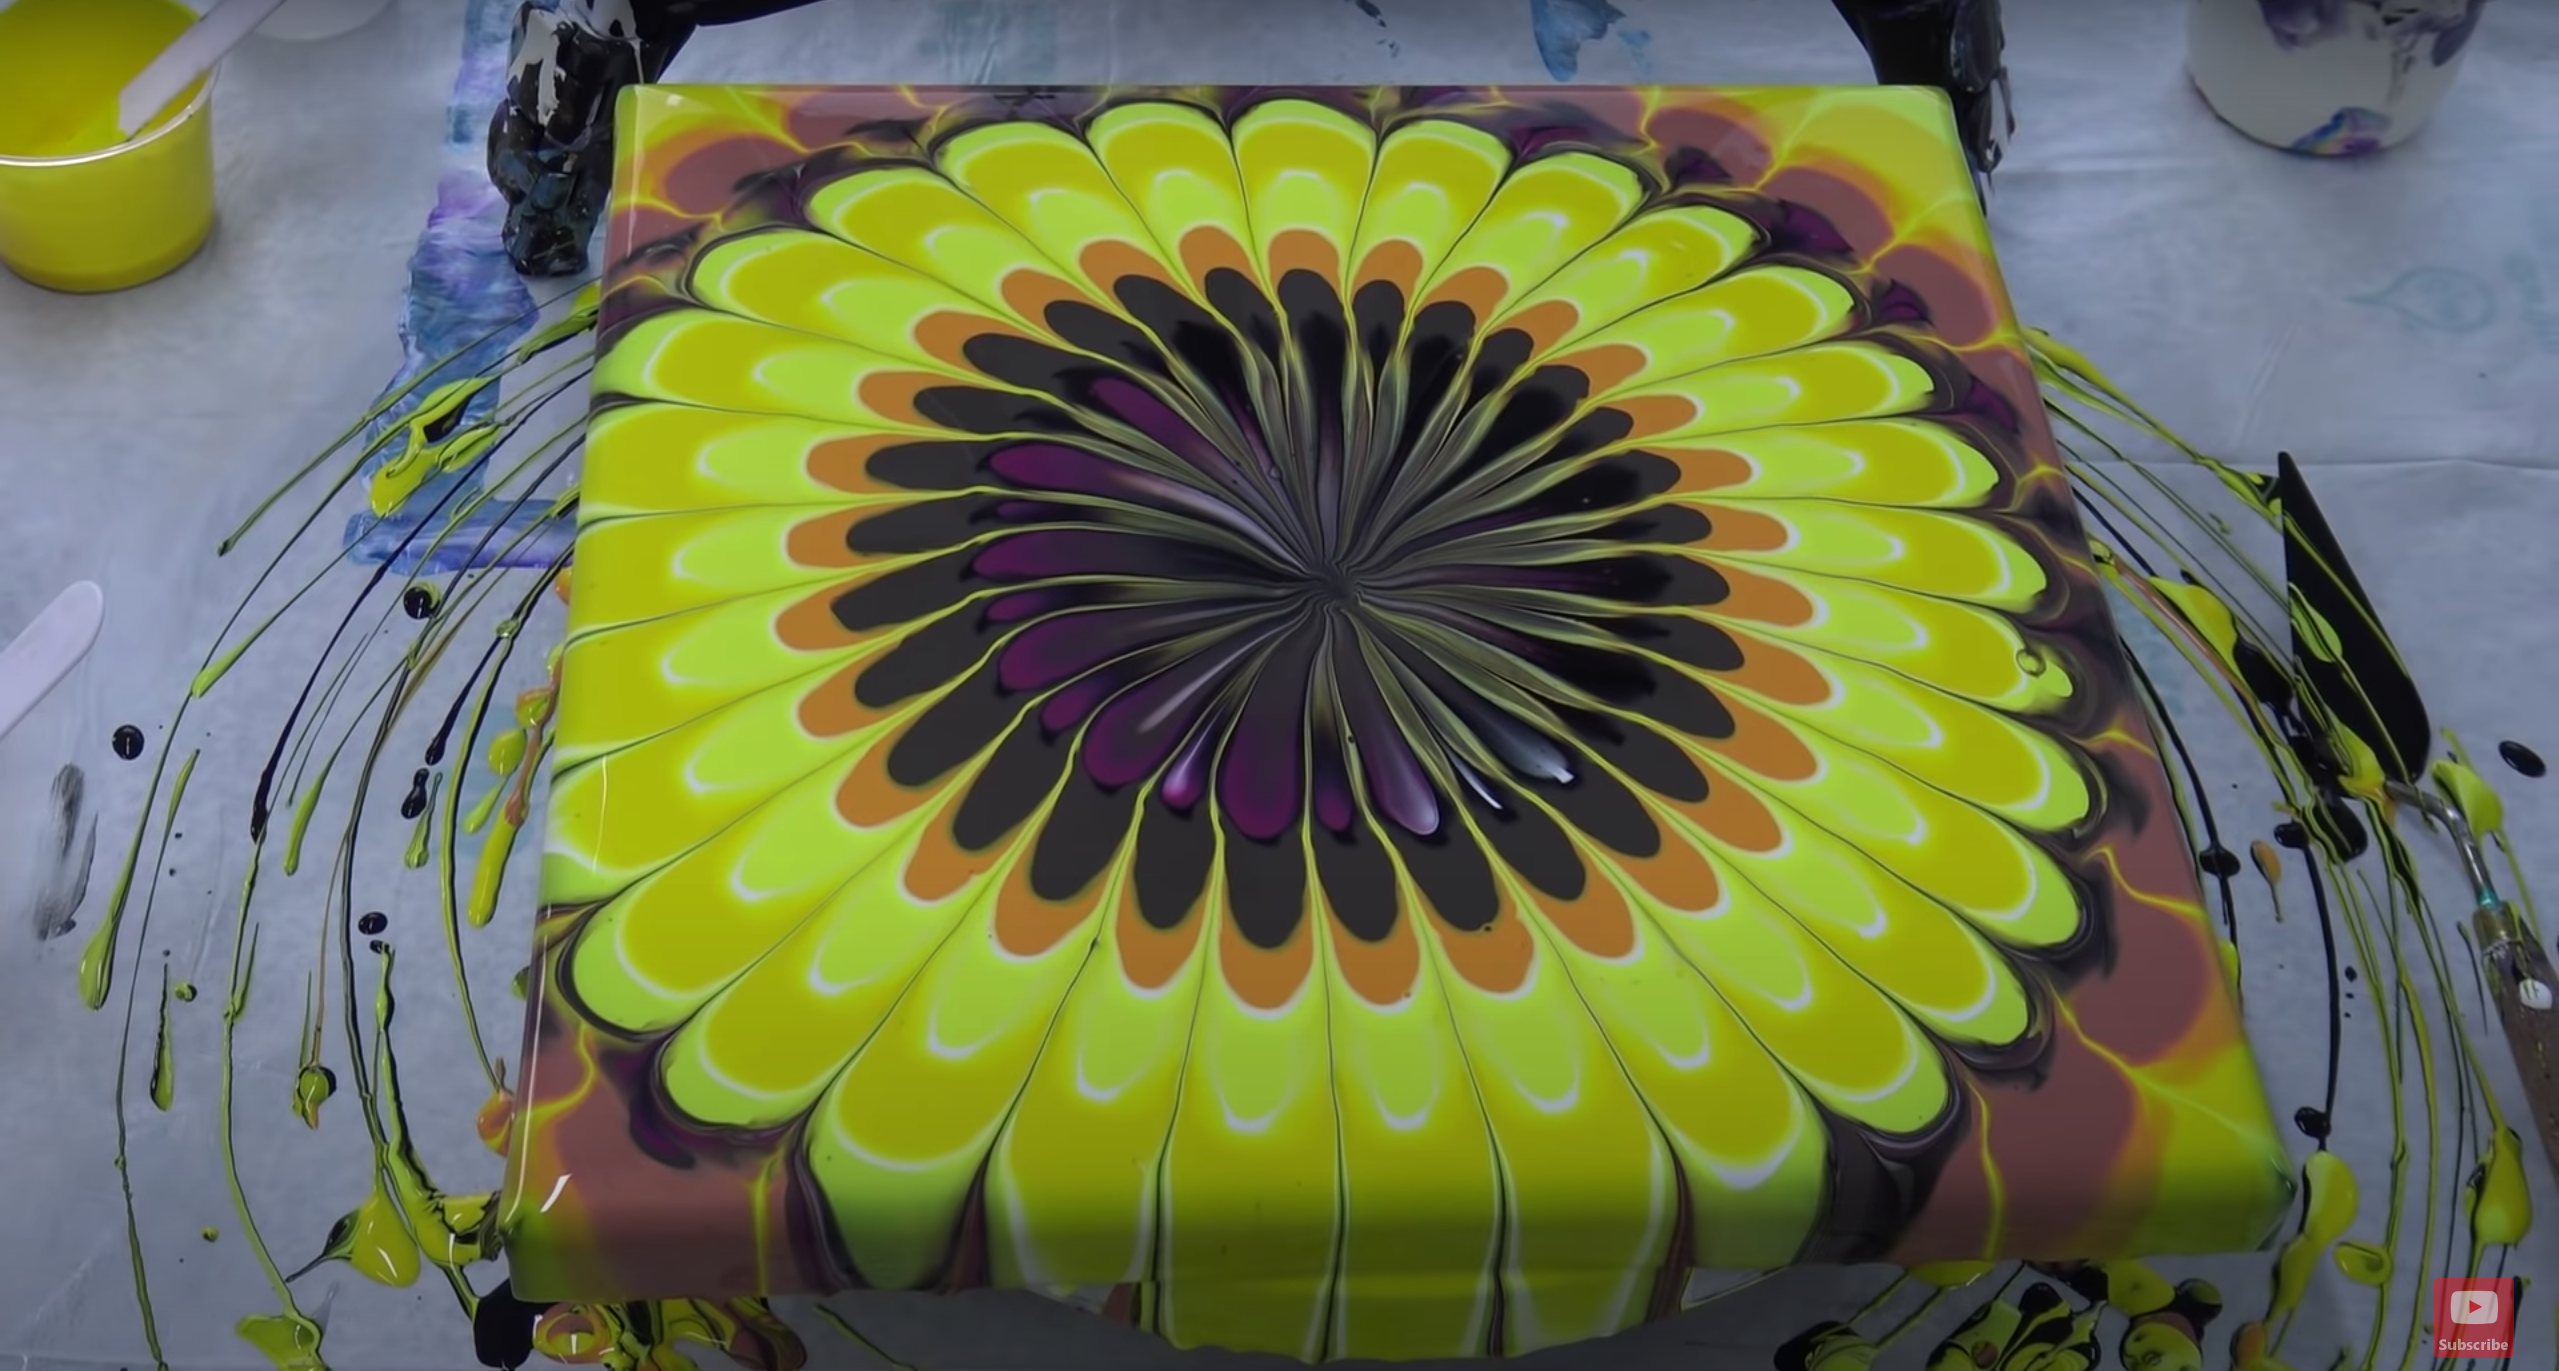
In this technique, the first thing you need to do is make the base for your background, it can be a black or white base.
- After the base is ready, place a small-sized stainer in the middle of the canvas and pour different colours inside it. You can use yellow, brown, and orange colours to create a sunflower design.
- On pouring different colours inside the strainer, you can see it will slowly spread out. Gently lift the strainer to create the sunflower effects.
- The last step is to gently spin the canvas so the colours can blend well and create a beautiful sunflower design. You can add sparkling white details using the tip of the paintbrush.
Unusual Acrylic Pouring Ideas
There are also unusual ideas you can try with acrylic pouring. You can use different objects to create interesting effects in your artwork. Here are some ideas you can try:
Using different objects to pour the paint.
Some artists are performing acrylic pouring in a white shoe, which is an interesting idea. You can also try this with other objects like a glass cup or anything that you think will be interesting to use.
Paint on different materials.
You can also try painting on different materials like fabric, wood, or paper. This will create a different texture and look in your painting. Use nature as your inspiration.
Go outside and look for interesting things in nature that you can incorporate into your painting. It can be anything from leaves, branches, flowers, or rocks.

Use alcohol inks.
Alcohol inks are also a great medium to use with acrylic pouring. They create beautiful cells and effects in your painting. You can find them in art supply stores or online.
Try different colour combinations.
Don’t be afraid to try out different colour combinations. You can use contrasting colours to create an interesting painting. Or, you can use similar ones to create a more harmonious look. Start with 2 or 3 colours and see what effects you can create.
A rule of thumb is to use a light colour, a dark colour, and then an accent colour. The light colour will be the dominant colour in your painting, while the dark colour will be used as a shadow or depth. The accent colour will add interest to your painting.
Use your imagination and have fun with it!
These are just some ideas to get you started. There are no rules in paint pouring, so feel free to experiment and use your imagination. Have fun with it, and see what you can create!
What to be aware of in acrylic pouring?
You need to be aware of a few things when doing the acrylic pouring. Here are some tips:
- Use a canvas or surface that is smooth and level. This will help prevent your painting from running or dripping.
- Make sure your workspace is well-ventilated. Acrylic paint has a strong smell, so it’s important to be in a well-ventilated area to avoid inhaling the fumes.
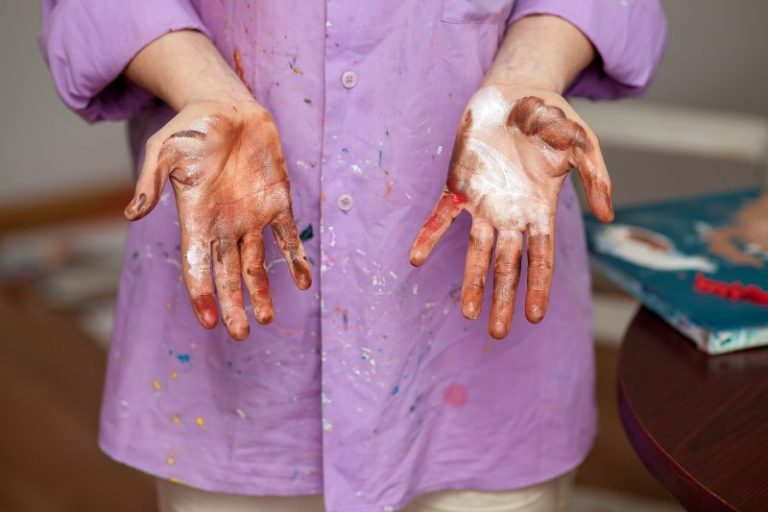
- It’s important to wear gloves when doing acrylic pouring because the paint can be harsh on your skin.
- Use a drop cloth to avoid making a mess and to catch any paint drips.
- Once you’re finished, make sure to clean your supplies, so they’re ready for the next time.
How to be creative with ideas?
There are no rules in acrylic pouring, so be creative with your ideas! Just remember to have fun and experiment.


Use a variety of colours
Try different acrylic pouring techniques, paint on different surfaces, and experiment with additives to create interesting effects.
Float objects in your painting
Add texture or use negative space to create unique compositions. You can also try using different objects to create interesting patterns and designs in your painting.
Experiment with additives
Additives are materials that you can add to your paint to create interesting effects. Some common additives include glitter, sand, and beads. You can also use household items like coffee grounds or salt.
Be creative and experiment with different additives to see what effects you can create. You may want to experiment on a piece of scrap paper before adding them to your painting.


Create a cohesive series
A cohesive series is a group of paintings that share a common theme or style. This can be helpful if you’re planning to sell your paintings or exhibit them in a gallery. By creating a series, you’ll be able to show off your range as an artist and demonstrate your ability to create a body of work.
Start with a basic idea or concept, and then experiment with different colour schemes, compositions, and techniques until you find a style that you like. Once you have a style that you’re happy with, stick with it and continue to develop your series.
Make a statement with your art
Your art should reflect your own personal style and vision. Don’t be afraid to experiment and try new things. Be bold and make a statement with your art!
What looks good on a wall?
When choosing a painting for your home, it’s important to consider the size, colour, and style of the room. A large painting will make a statement in a room, while a smaller painting will be more subtle.
Bright colours will add energy to a room, while softer colours will create a more calming atmosphere.
Abstract paintings are a great way to add interest to a room, while still allowing you to incorporate your own personal style.
Consider the overall feel of the room and what kind of mood you want to create when choosing a painting for your home.


Frequently Asked Questions
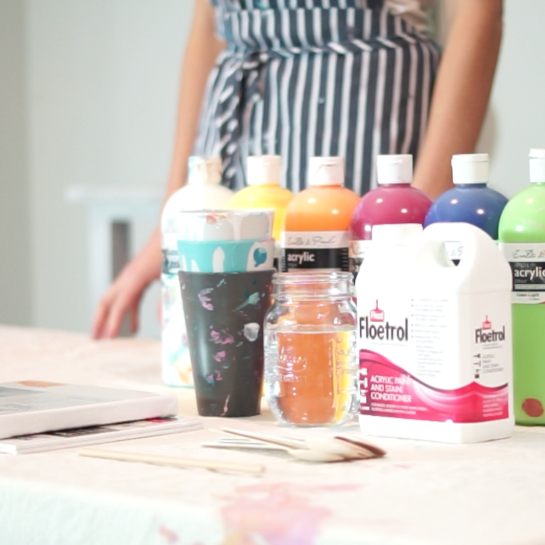
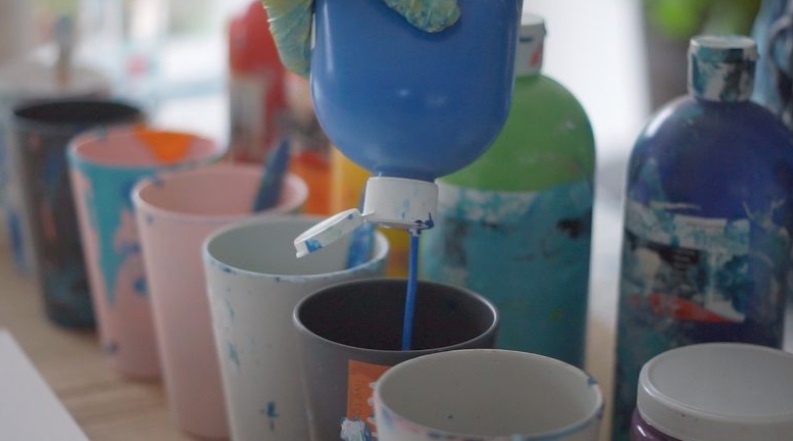
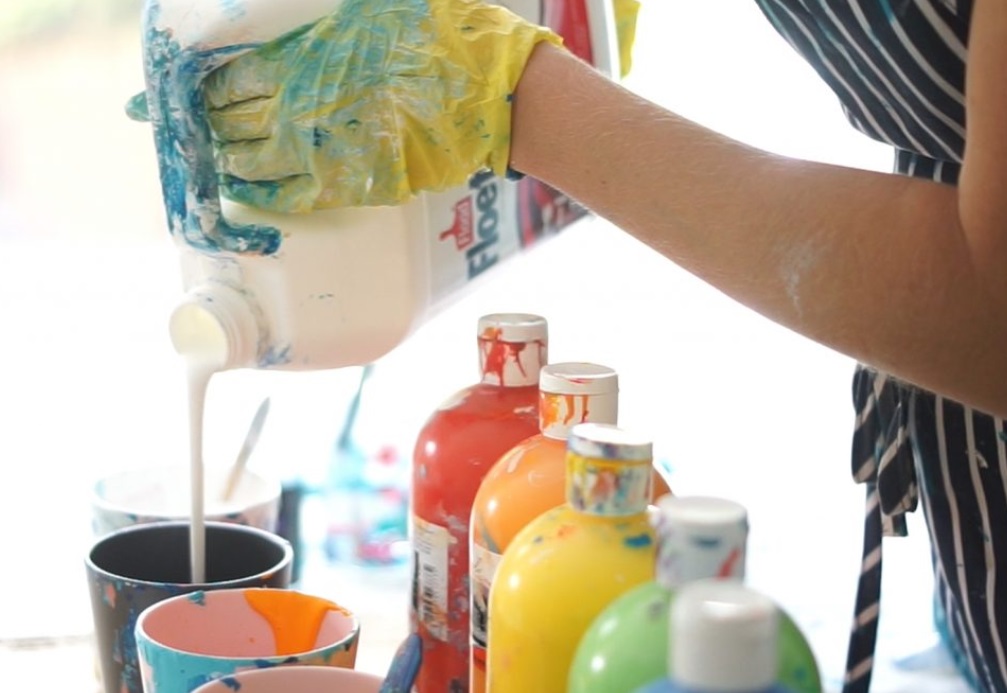
What to mix with acrylic paint for pouring?
There are varieties of pouring mediums you can use to thin out your paint. You can use water, alcohol, or acrylic pouring medium. You can also add flow improvers or silicone oil to your paint to help with the flow and create interesting effects.
Which canvas is best for acrylic pouring?
A smooth, level canvas is best for acrylic pouring. A textured canvas can also be used, but it may absorb more paint and create a more muted effect. Some artists also prefer the traditional stretched canvas because it has a sturdy surface.
What are the acrylic pouring techniques best for beginners?
Some easy pouring techniques for beginners include the dirty pour, puddle pour, swipe, flip cup, and tree ring pour techniques. This will only involve a few steps, and you can produce a beautiful and interesting painting.