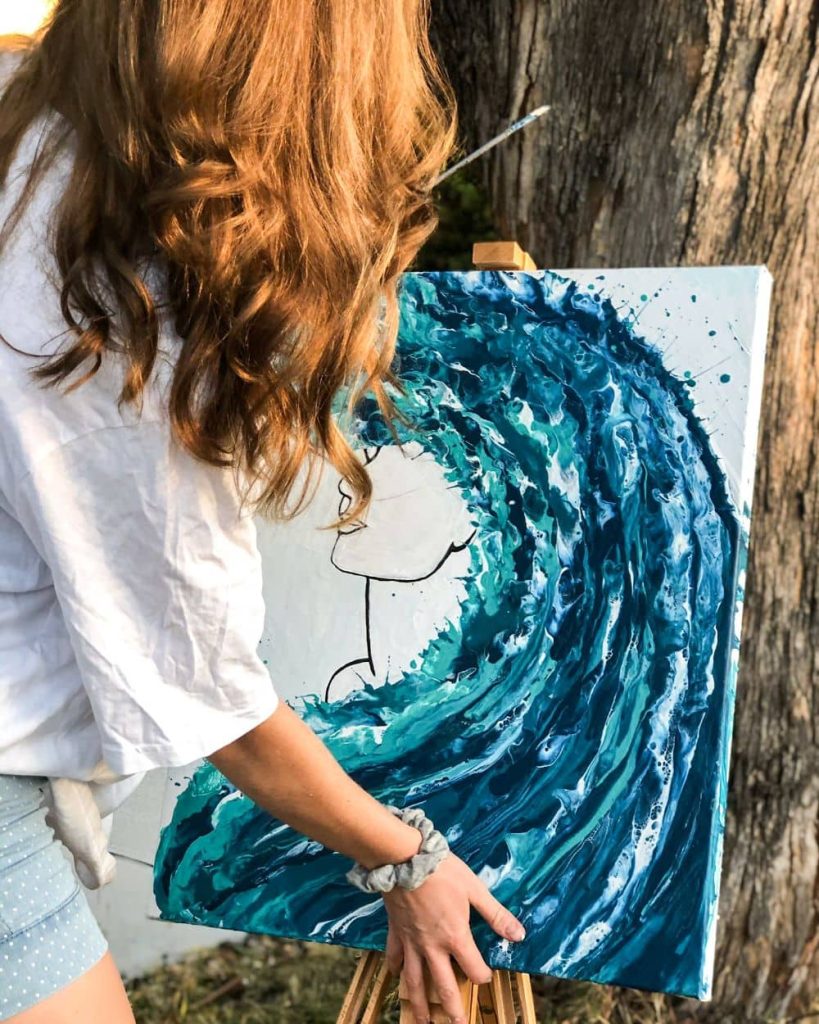
Preparing A Canvas For Acrylic Pouring: A Step-by-Step Guide
Preparing a canvas for an acrylic pour or fluid art painting is a simple process, but there’s a few important steps you need to follow to ensure that the painting turns out well.
In this article, we will walk you through the step-by-step process of preparing a canvas for acrylic pouring.

We will also discuss:
[TS_Poll id=”1″]
- What supplies you need
- The benefits of taping
- The importance of primer
- Other things to consider when preparing your canvas.
To start with, here’s your supplies list PLUS a step by step guide on how to get your canvas ready for painting. Let’s begin!

Table of Contents:
- What supplies do you need?
- Steps to prepare your canvas
- Where to get the supplies
- Benefits of priming
- Why Artists Use Primer in Acrylic Pouring
- Different Primer Brands
- Pre-primed vs Non-primed
- Risks of no primer
- FAQ
1. Supplies for canvas preparation
In order to prepare a canvas for acrylic pouring, you need the following supplies:
Canvas Preparation Supplies:
- Canvas
- Gesso or primer paint
- Painter’s Tape
- Aluminium foil for back (optional)
2. Steps To Prepare A Canvas For Acrylic Pouring
This is easier than you think! Here are the steps you need to take in order to prepare your canvas:
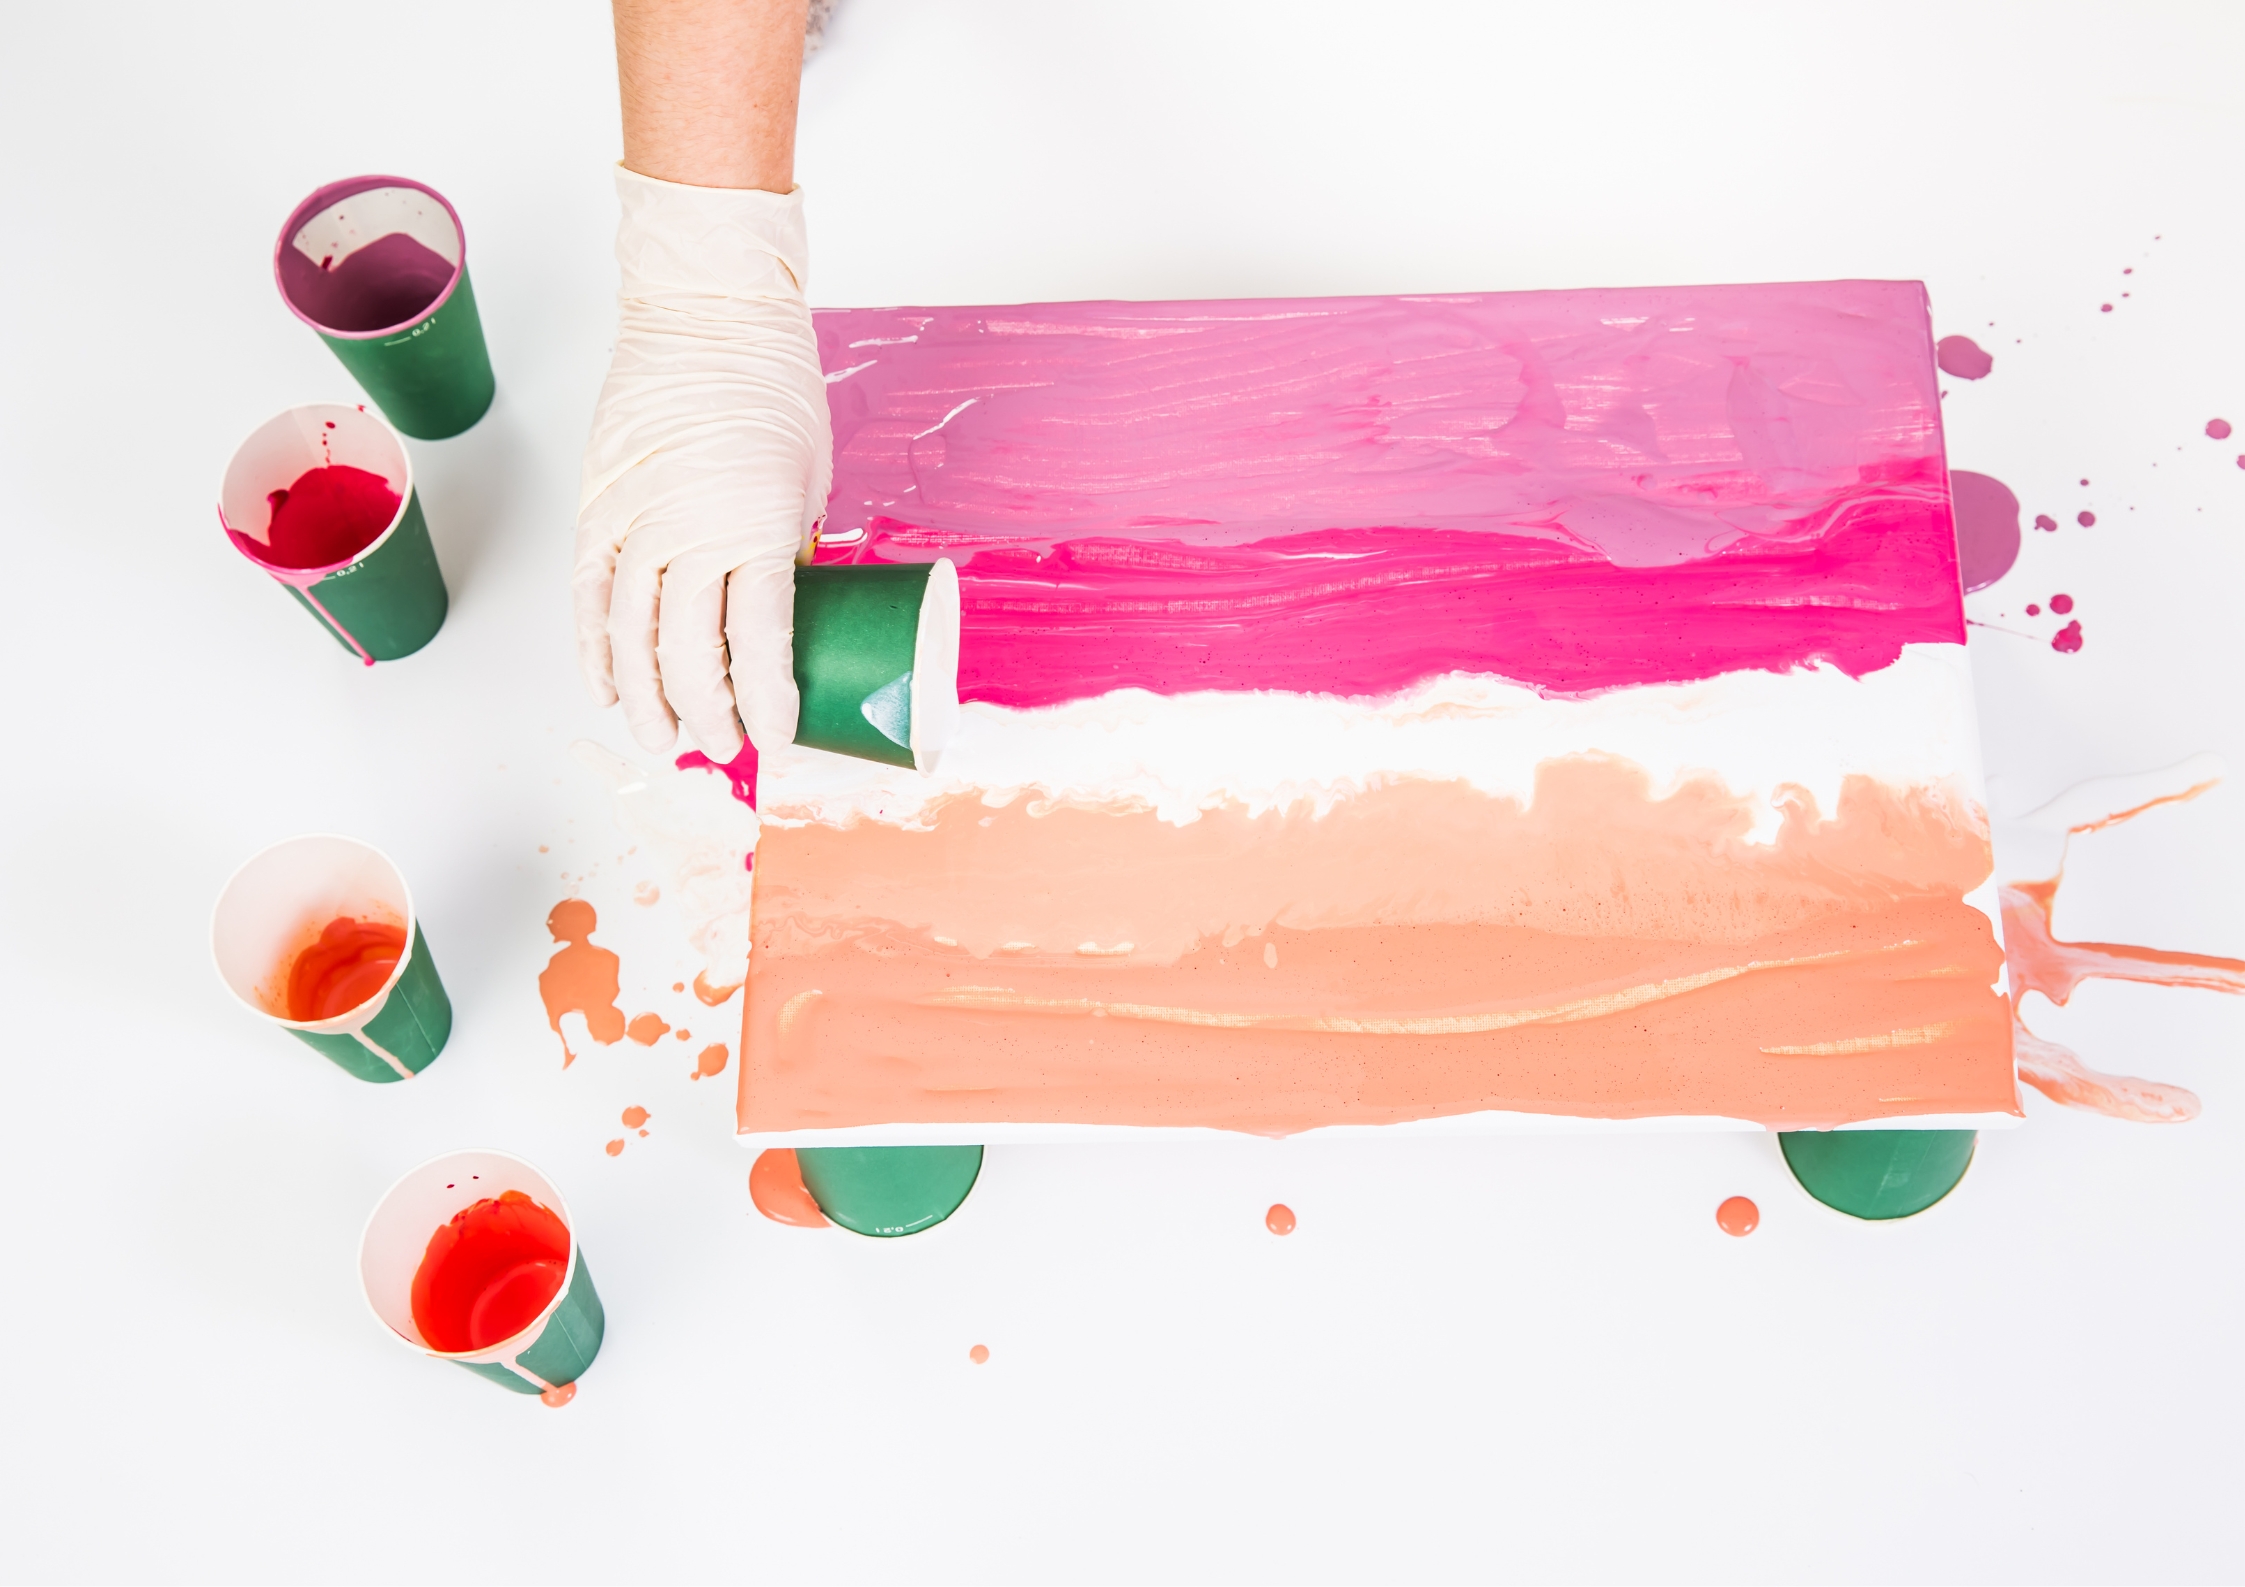
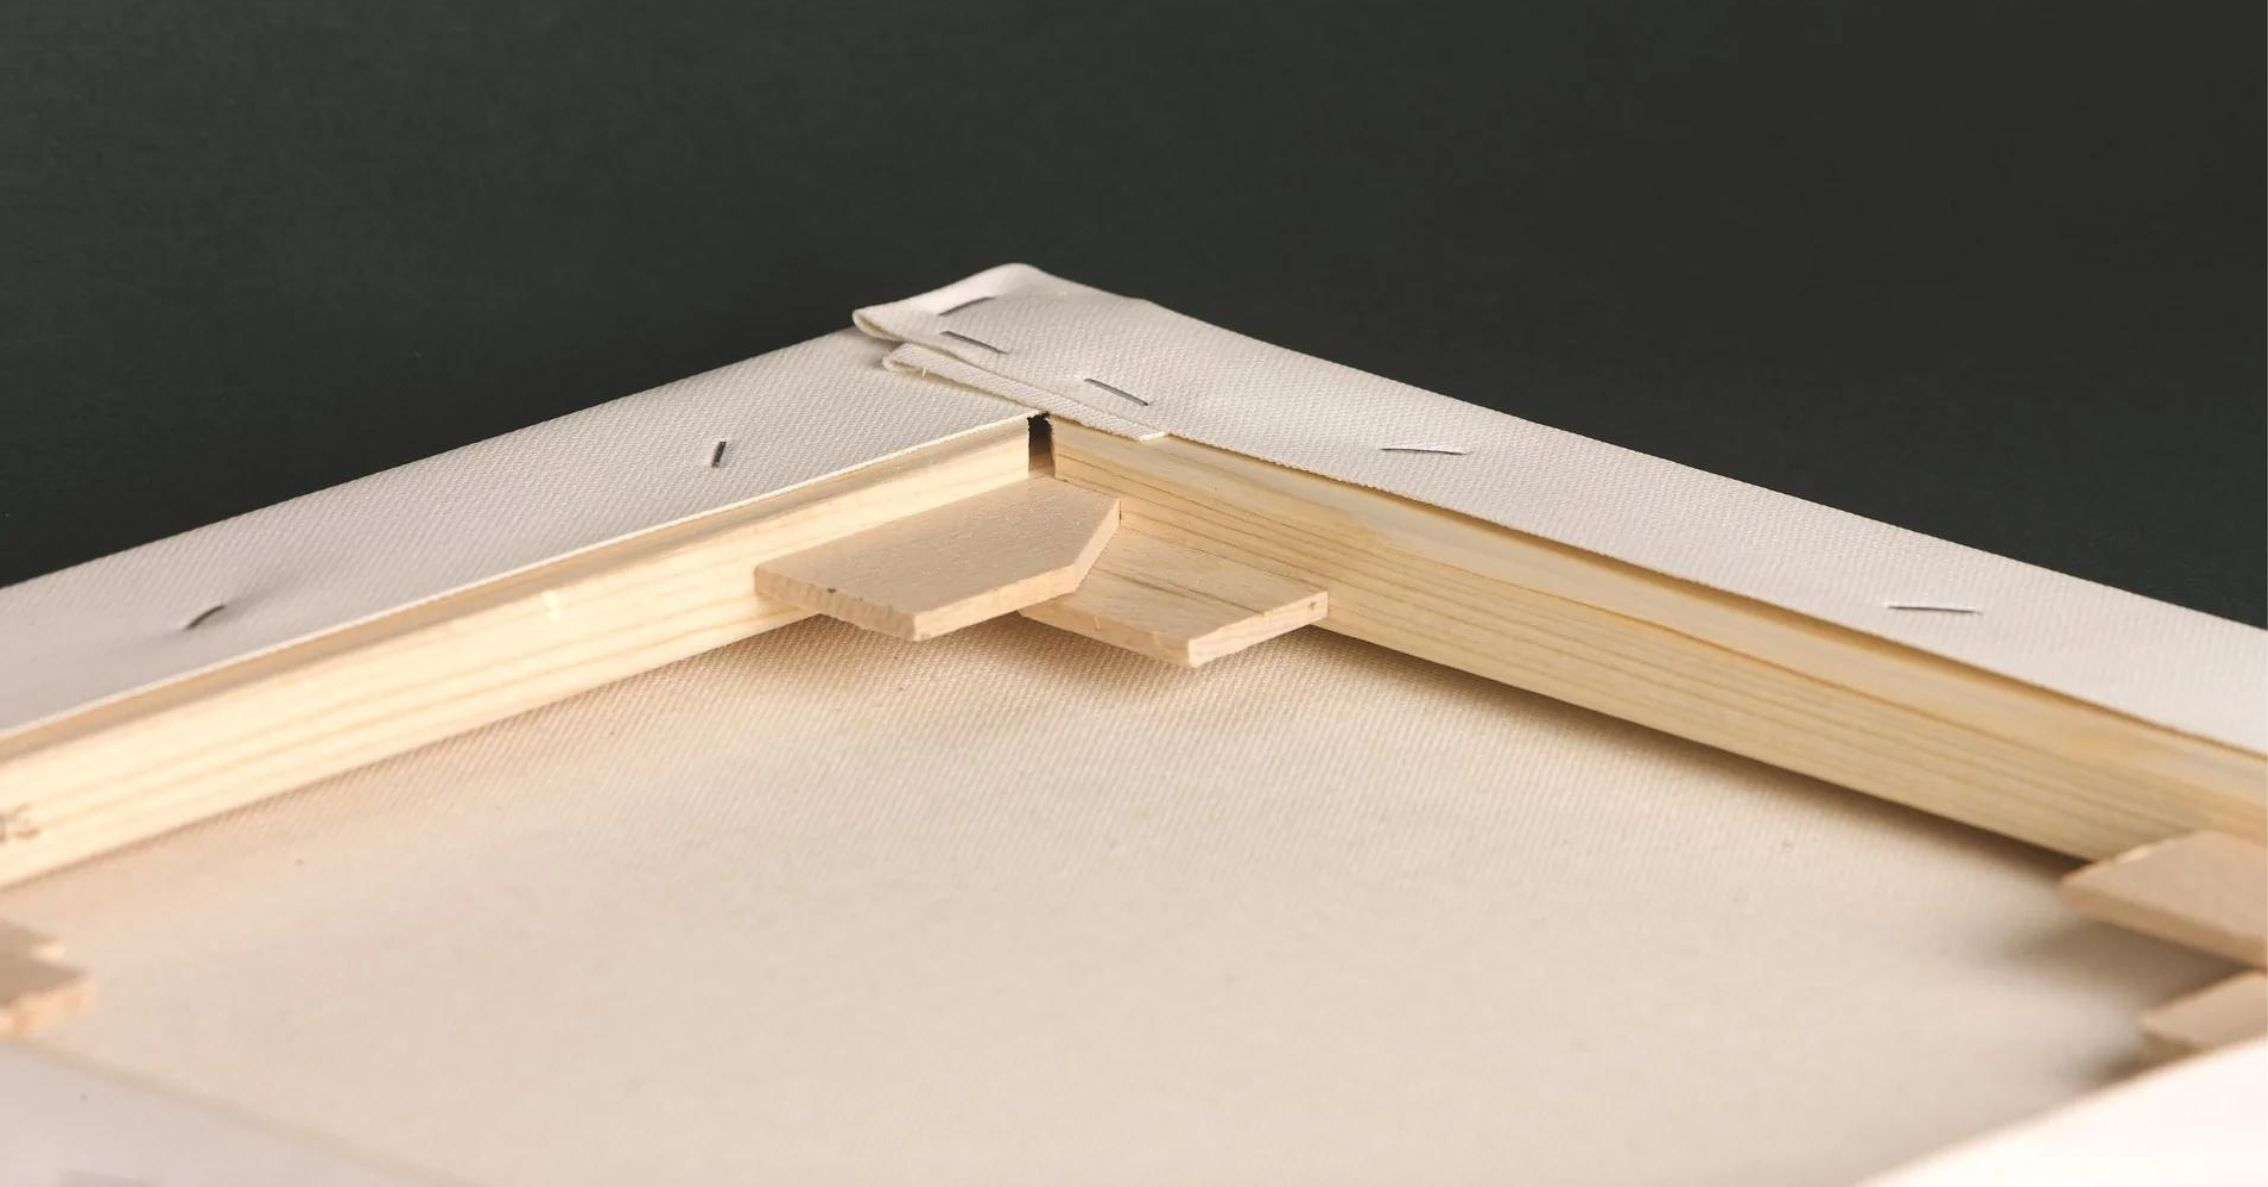
Step #1: Insert canvas keys and tighten
If you are using a stretched canvas, you first need to insert the canvas keys and tighten them. This will help to keep the canvas tight and prevent it from sagging in the middle once the paint is added.
Insert the canvas key into each of the four corners of the stretcher bar at the back of the canvas. Once all four keys are in place, tighten them until the canvas is taut. To do so, tap lightly with a hammer.
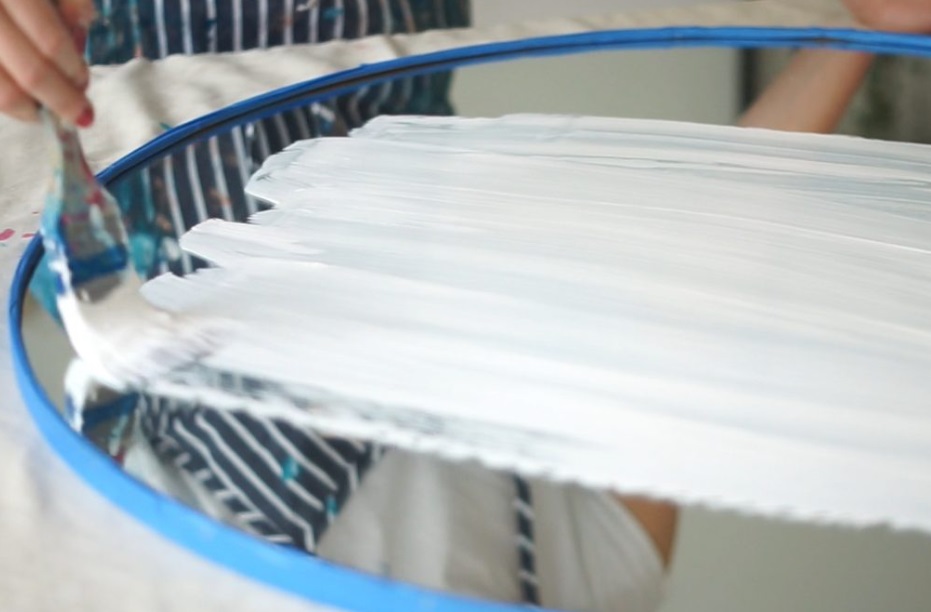
Step #2: Apply a layer of gesso (primer)
The second step is to apply a layer of gesso onto the canvas.
Gesso is a white paint-like substance that is used to prime surfaces before painting. It helps to create a surface for the paint to adhere to and provides a nice white base for your artwork.
To apply gesso, simply pour a small amount onto your canvas and spread it around using a paintbrush. Allow to dry.
Make sure that the primer’s consistency is not too thick or too thin, as this will affect the outcome of your artwork. Add a dash of water if it is too thick. Go in one direction and cover the entire surface of the canvas, but don’t worry about being too perfect.
Once you have applied a layer of gesso, let it dry completely before moving on to the next step. The gesso usually takes about 24-48 hours to dry, so if you want to create a painting on a specific day, prepare the canvas the day before.
Step #3: Cover the back of the canvas with foil (Optional)
The next step is to cover the back of the canvas with foil. This step is optional, but we recommend doing this because it will prevent paint from seeping through and covering the back of your canvas.
To do this, cut a piece of foil slightly larger than the canvas, and tape it to the back. Make sure that the entire surface is covered and that there are no gaps or openings. Once you have covered the back of the canvas with foil – move on to the next step.
Step #4: Tape the back edges of the canvas
The last step in preparing the canvas is to tape the back edges of the canvas. This will help to create clean lines and a more professional-looking finish.
To do this, take a piece of painter’s tape and place it along the back edge of the canvas. Once you have done this, trim off any excess tape with scissors and press firmly to ensure the tape sticks.
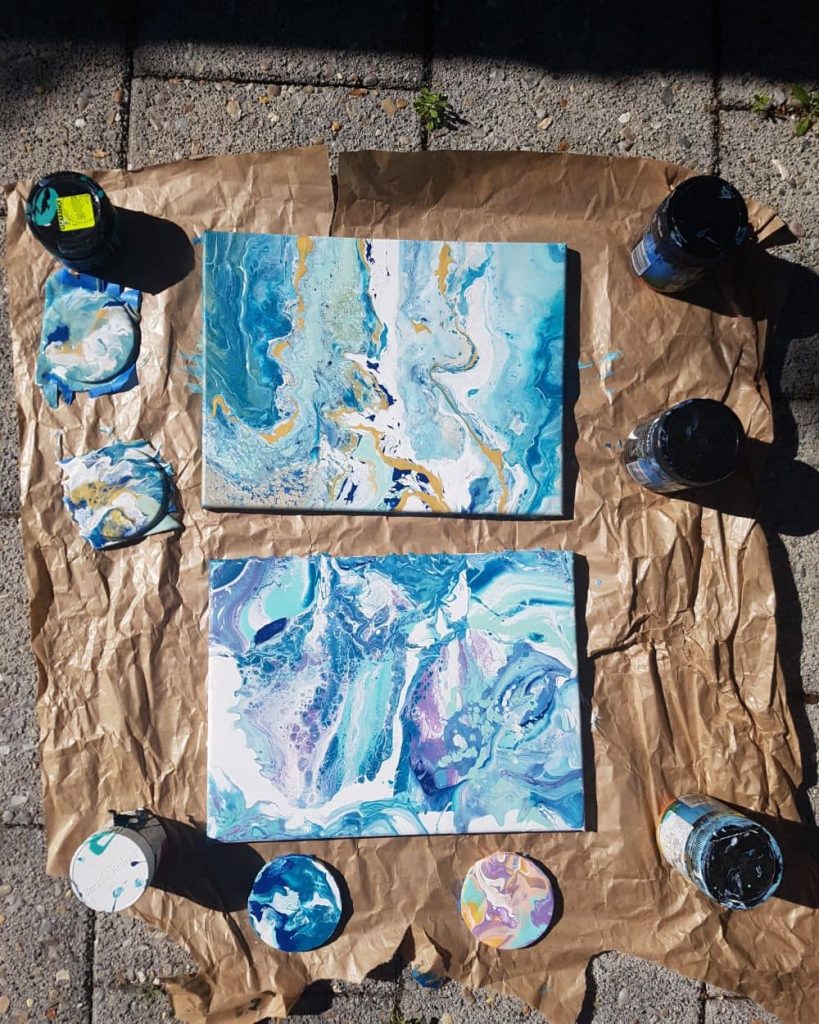
And that’s it! Your canvas is now ready for an acrylic pour painting.
Now that you know how to prepare a canvas, let’s quickly go over where you can get your supplies.
4. Where to get the supplies?
All of these acrylic pouring supplies can be found at:
- Your local art store
- The discount store ($2 shop)
- Hardware stores
- Online (Amazon etc)
We recommend getting a stretched canvas at least 8″ x 10″ in size, as this will give you some room to work with.
As for the other supplies, we recommend getting a mid range quality gesso, tape, and paintbrush, as these will make a difference in the outcome of your painting. The rest you can buy fairly budget!
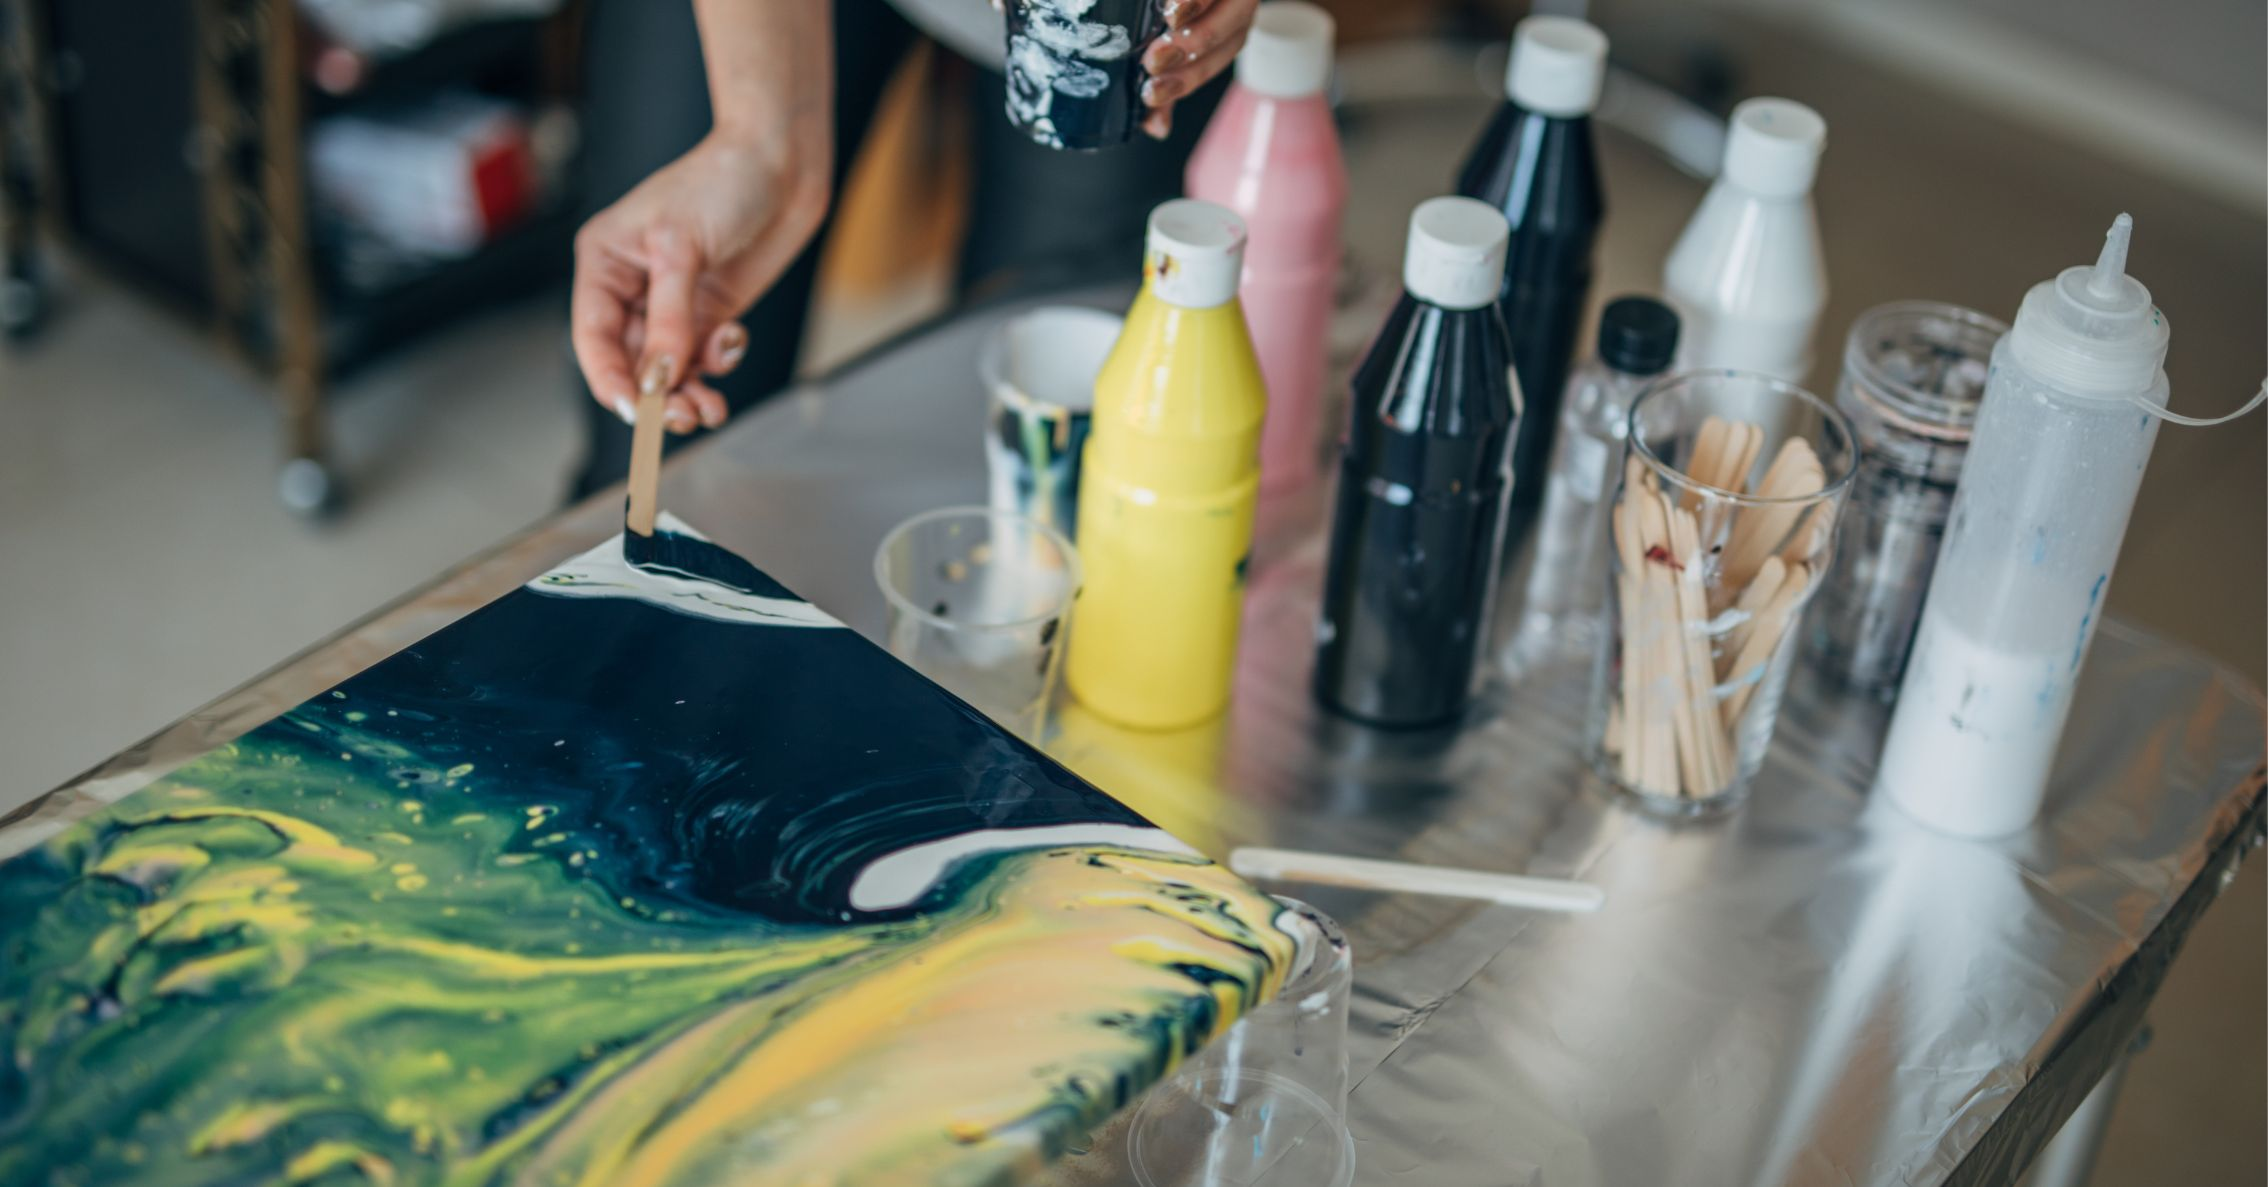
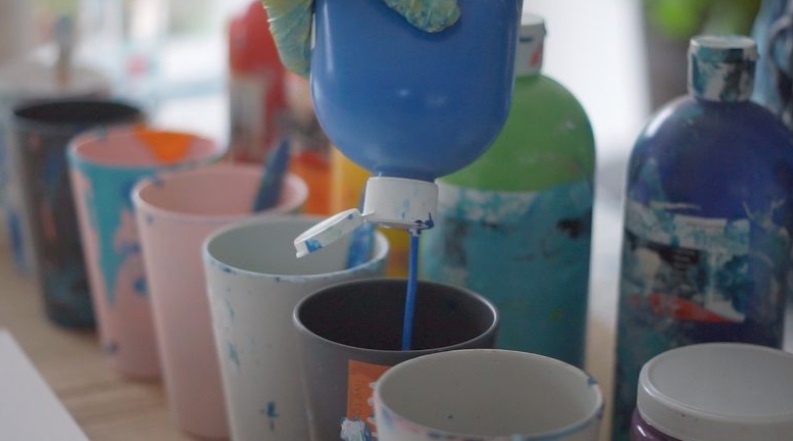
The brand of acrylic paints and pouring mediums (silicone oil alternatives) that you use is up to you, but we recommend getting a mid-range option for both too we usually find student acrylic is suitable quality.

There are also other supplies needed for a certain pouring techniques like silicone oil, hair dryer, straw, spatula, and more so make sure to get all the supplies you need.
Now that you have all of your supplies, it’s time to start!
5. Benefits of Priming
There are many benefits to priming your canvas for acrylic pouring, but truth be told – you don’t HAVE to prime your canvas for acrylic pouring.
Why? Because pretty much all canvases these days are “pre-primed” they have a level of grip to the surface already. So the paint usually sticks well, however we will list the benefits of priming next.
Priming benefits:
- Seals pores in surface
- Covers imperfections in surface
- Provides a grippy surface for paint to stick to
- Creates a smoother finish
- If you have a dark surface priming will help lighten the overall surface
Multiple times I have done acrylic pouring on a canvas with no priming, and it has not been a problem. However, for professional quality, I would recommend having a layer or two of priming paint first.
6. Why Artists Use Primer in Acrylic Pouring
As we mentioned earlier, applying gesso or primer provides a smooth surface for the paint to adhere to and also gives the painting a nice white base.
Primer is not technically necessary when pouring acrylic paint on a treated canvas (and full disclaimer I often don’t use it).
However, I always use primer if I’m working on a smooth surface like a pot, vase, mirror etc.
Using primer will result in better artwork quality and longevity. It creates a firm, smooth but textured base for paint to grip onto.
Paint that is applied without primer is more likely to crack and peel and will also not have the same vibrancy as paint that is applied over a primer.
So, if you want your painting to turn out looking its best, make sure to use primer!
7. Different Gesso/Acrylic Primer Brands You Can Try
Here are a few different brands of gesso/acrylic primer that you can try for your next painting:
- Liquitex Basics Gesso
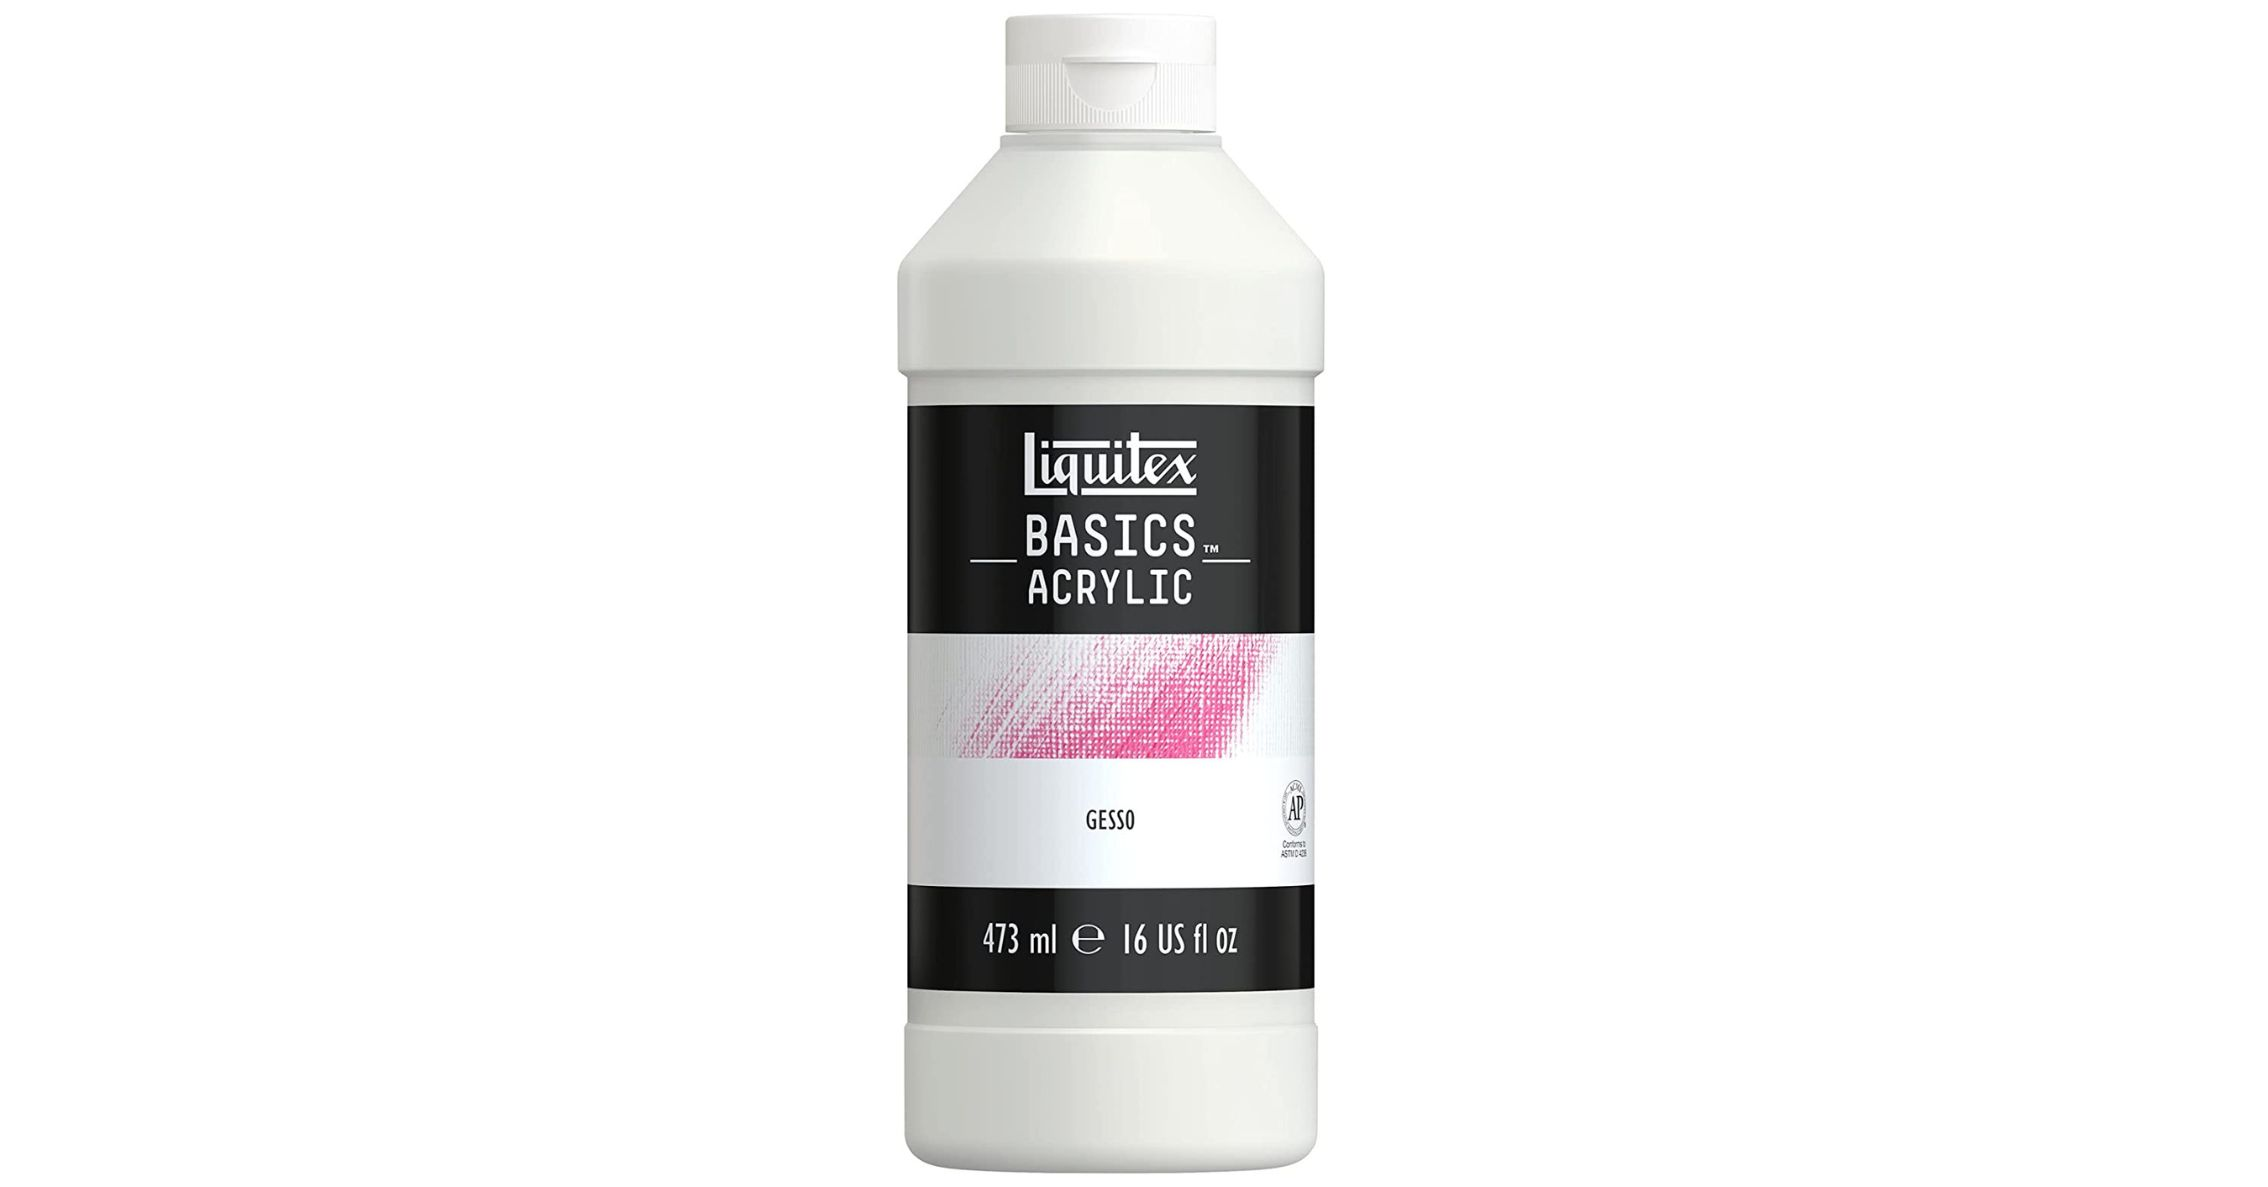
This a good option if you are looking for an affordable and easy-to-apply gesso that will provide a nice smooth surface for your painting. But this gesso brand has a strong smell, so make sure to use it in a well-ventilated area.
- Golden Acrylic Gesso
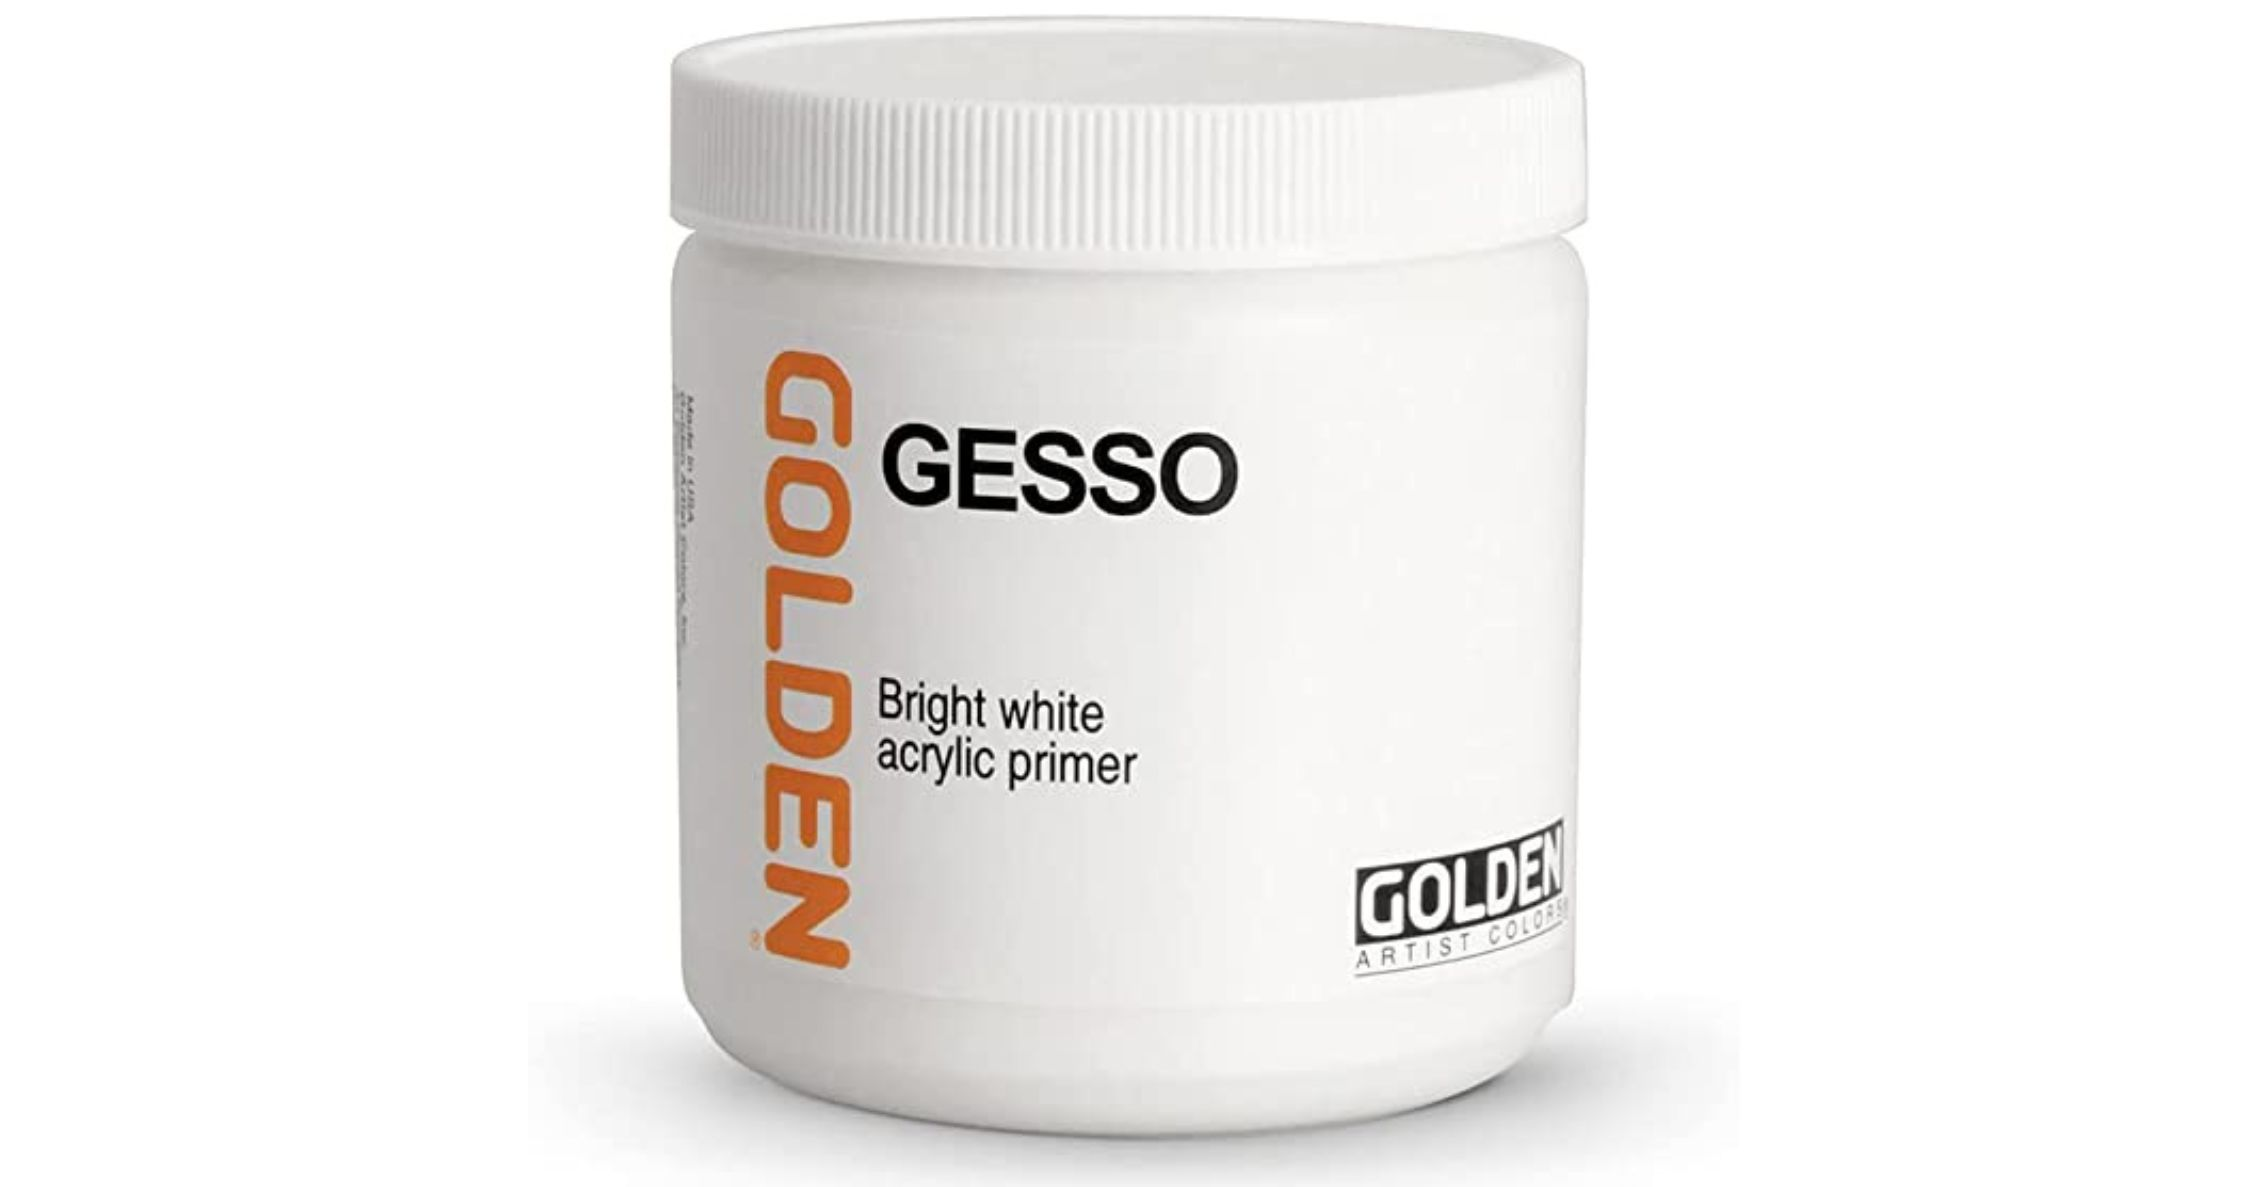
A high-quality gesso brand that is made with artist-grade materials. It is more expensive than the Liquitex Basics gesso, but it is worth the extra money because it provides a better surface for your painting.
- Utrecht Artists’ Acrylic Gesso Primer
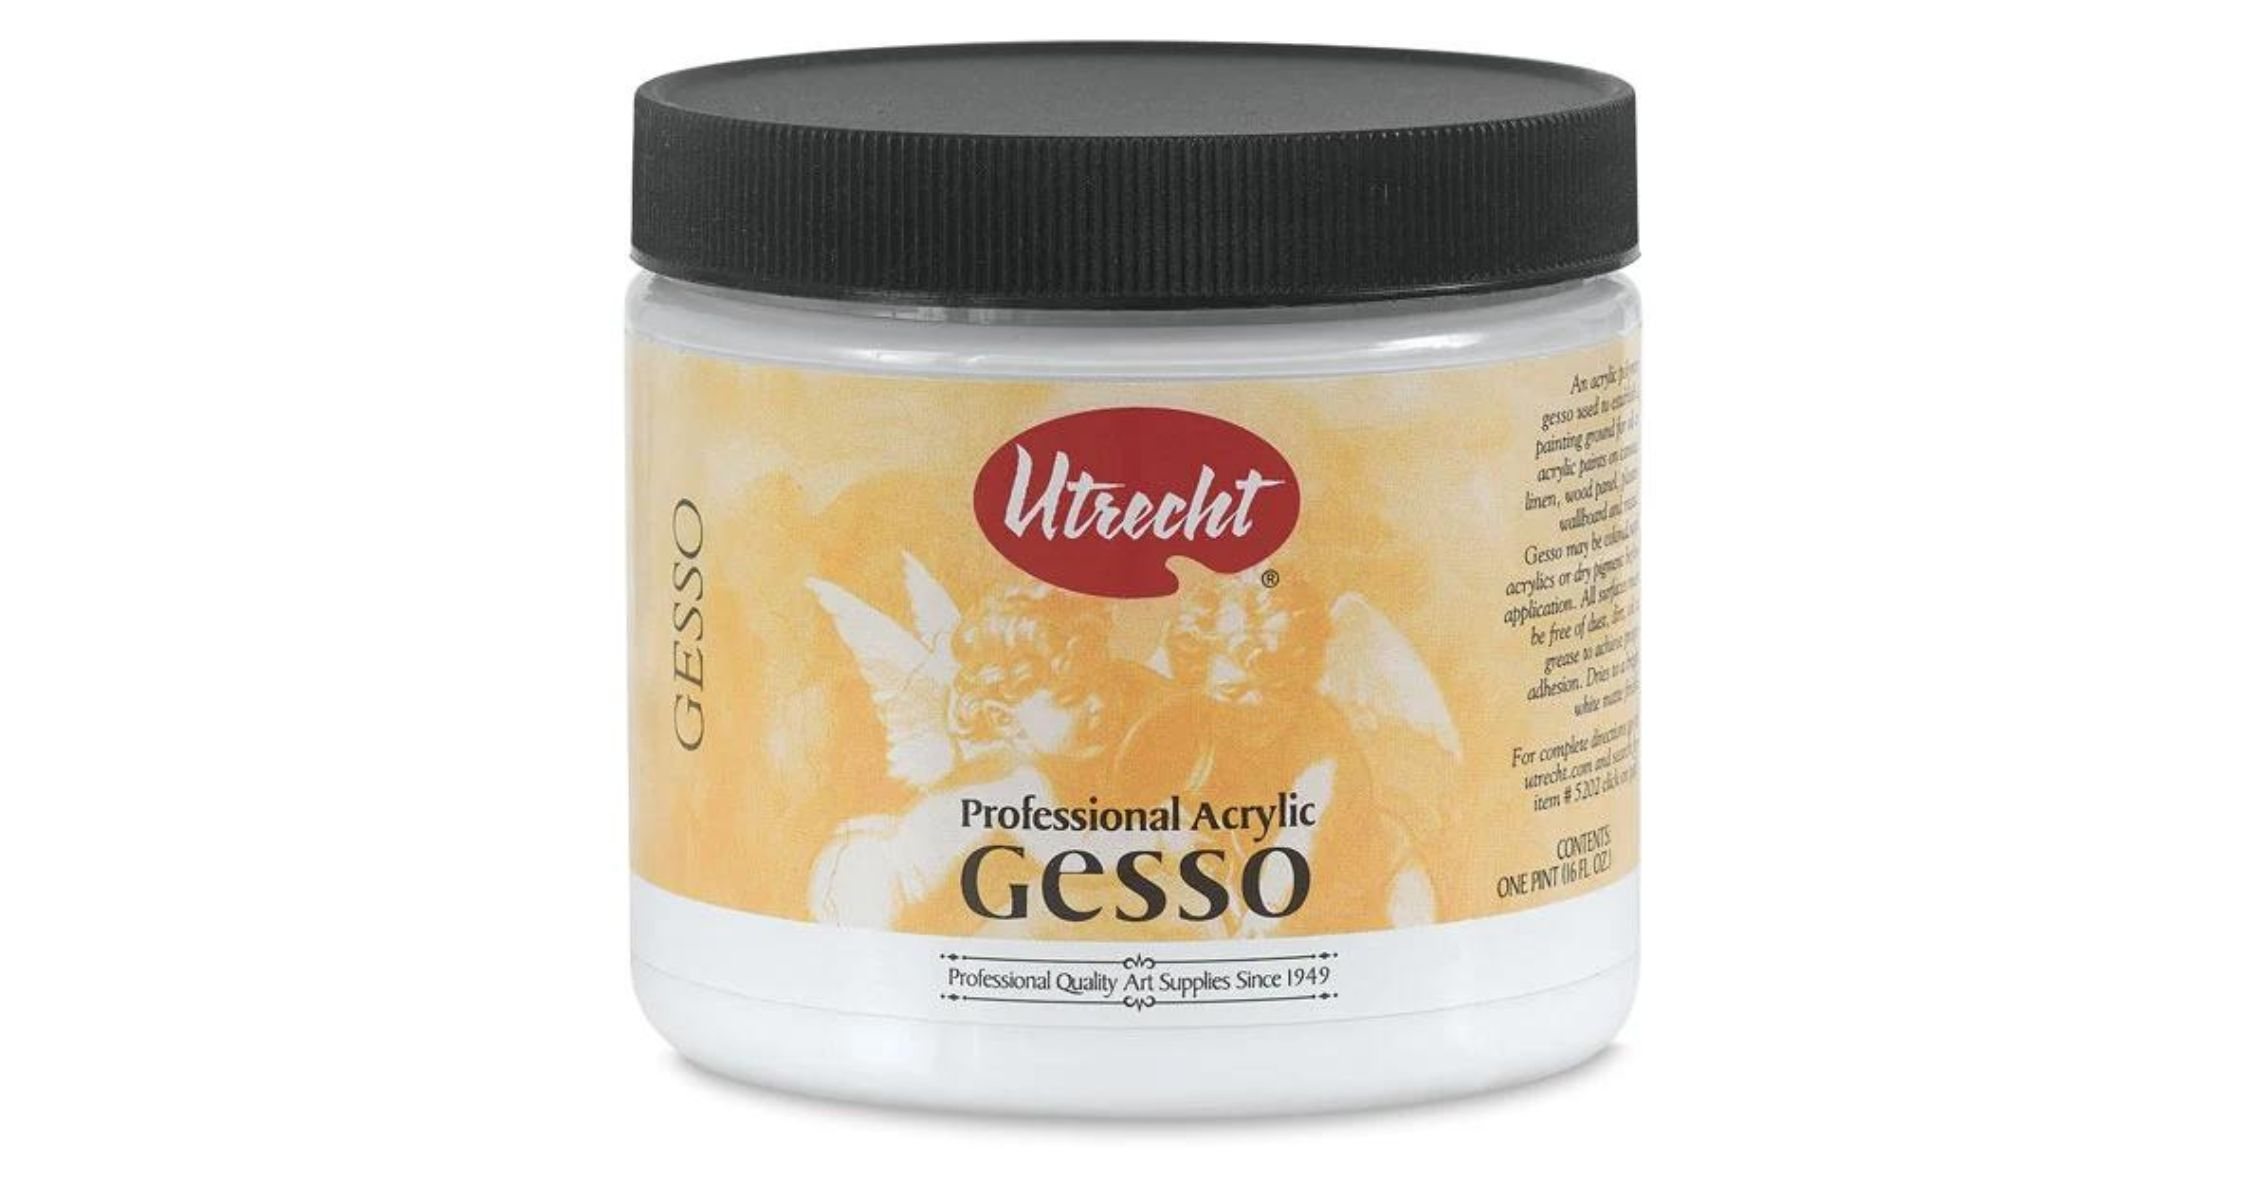
Another high-quality gesso brand that dries quickly and provides a nice smooth white surface for your painting. However, it is on the pricier side, so keep that in mind when making your decision.
- Winsor & Newton Professional Clear Acrylic Gesso

A clear gesso that can be used over a coloured surface, or as a final varnish. It is more expensive than other gesso brands, but it is a good option if you want to experiment with different effects.
This is also a great gesso if you want to keep the natural tone of your raw canvas.
8. Pre-primed/Treated Canvas Compared Non-Primed Canvas
If you’re wondering what the difference is between pre-primed or treated canvas and regular non-primed canvas, here’s a quick explanation.
Pre-primed or treated canvas has already been primed with gesso, so you don’t need to apply primer before painting on it. This type of canvas is a good option if you want to save time, or if you’re not comfortable applying primer yourself.

Non-primed canvas has not been primed, so you will need to apply gesso or primer before painting on it. We recommend using this type of canvas if you want more control over the amount of primer that is applied, or if you want to experiment with different primer brands.
So, which type of canvas should you use? It really depends on your personal preference. If you’re just starting out, we recommend using pre-primed or treated canvas to save time. But if you’re more experienced or trying things out, feel free to use regular non-primed canvas.
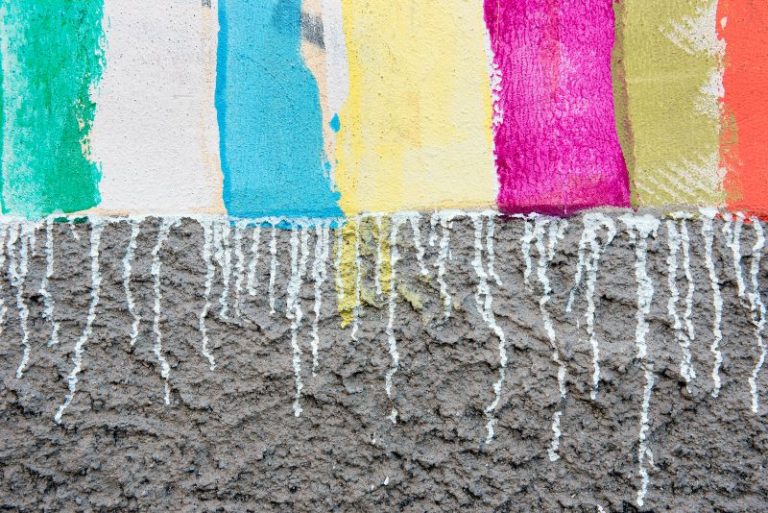
9. Risks Associated If You Are Not Priming Your Canvas
There are a few risks associated with not priming your canvas, which includes:
- The paint is more likely to crack and peel
If you will be pouring paint onto a non-primed canvas, there is a higher risk that the paint will crack and peel over time. This is because the paint doesn’t have anything to grip onto, so it’s more likely to come off in flakes.
- The paint will be less vibrant
Another downside to not priming your canvas is that the paint will appear less vibrant. This is because the white gesso provides a nice bright base for the acrylic paints to adhere to, which makes the colours pop more.
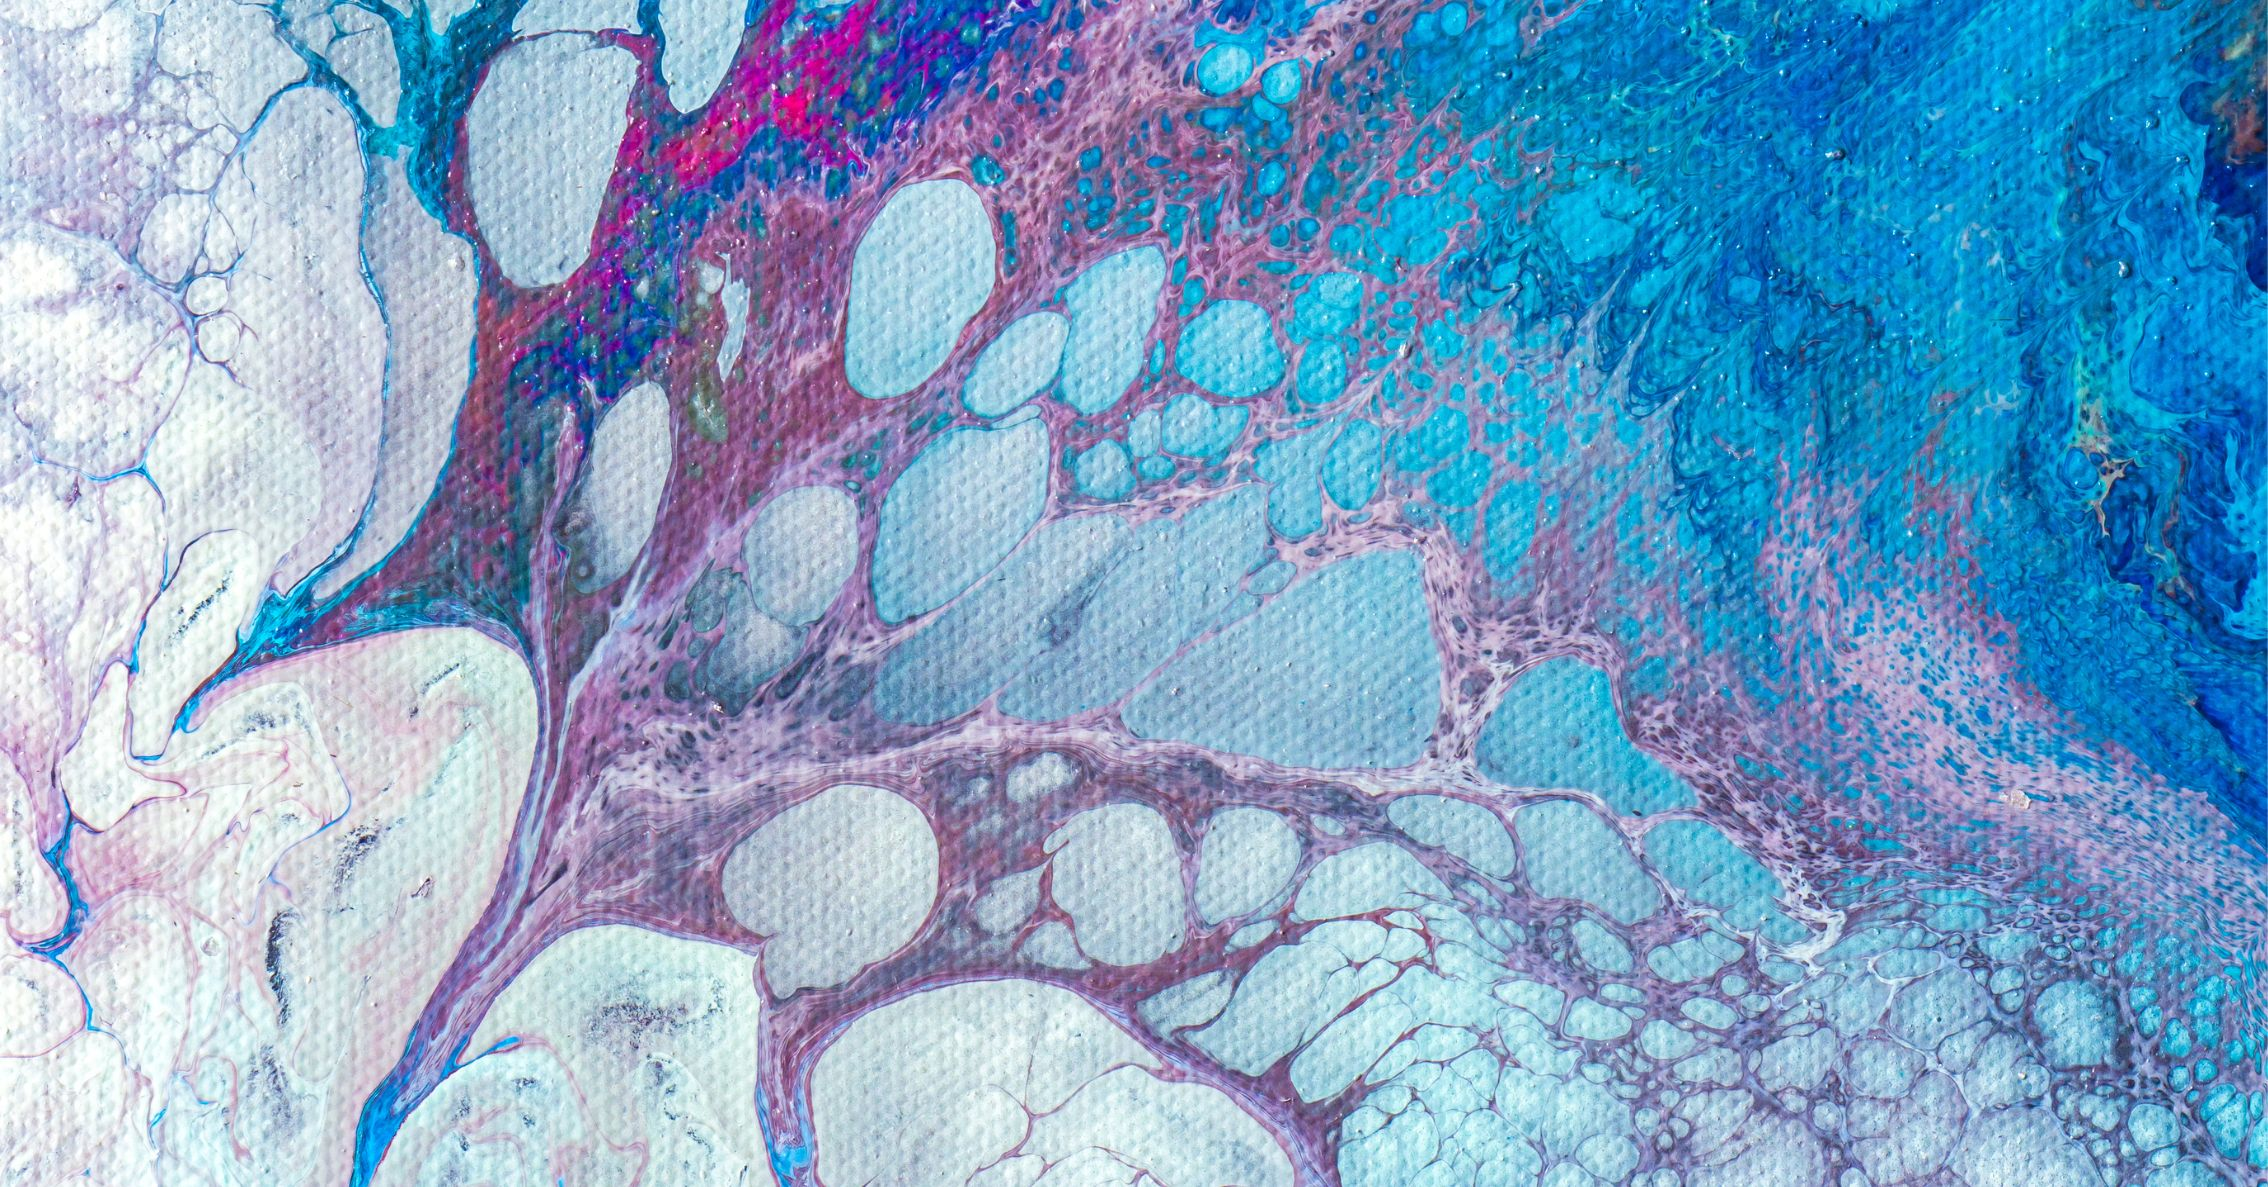
- The surface will be less smooth
If you don’t prime your canvas, the surface will be rougher and more likely to absorb the paint. This can make it more difficult for acrylic pouring techniques like flip cup, cells, dutch pour and dirty pour.
Overall, we recommend priming your canvas before painting to get the best results. But if you’re short on time or don’t want to deal with the hassle, pre-primed or treated canvas is a good option.

Conclusion
We hope you found this guide helpful and that you now feel confident in your ability to prepare a canvas for pour painting with acrylics. Now that you have the knowledge you need, it’s time to start on your next project!
Just remember to use primer for best results, and have fun discovering different techniques and styles.
Frequently Asked Questions
How do you prepare a canvas for an acrylic pour?
The best way to prepare a canvas for an acrylic pour is to apply gesso or primer. This will provide a smooth surface for the paint to adhere to and also give the painting a nice white base. You can technically pour paint without primer, but we highly recommend using it because it will make a big difference in the final output and the archival quality of the artwork.

Do you need to prep canvas for acrylic paint?
It is not necessary to prep canvas for an acrylic pour painting, and there are also pre-primed canvases available, but we recommend applying gesso or primer to achieve the best possible art quality.
Is gesso necessary for acrylic pouring?
For canvas preparation, we recommend using gesso or primer. Gesso is not necessary for acrylic pouring, but primer helps to create a smooth surface and ensures better adhesion of the paint to the surface.
Can you acrylic pour on canvas?
Yes, you can acrylic pour on canvas. There are a few things to keep in mind when doing so, such as using primer and making sure the canvas is stretched tight. But other than that, there’s no reason why you can’t pour acrylic paint onto a canvas and try this craft!