Acrylic Paint Pouring for Beginners Guide | Everything You Need To Know
Firstly, What is Acrylic Pouring?
Acrylic pouring is an abstract art form, the process is fun and fast and the results are often beautiful.
There is a reason acrylic pouring is a satisfying hobby for many worldwide. People with no prior art experience at all can create unique, colorful artworks in a fraction of the time that regular art forms take.

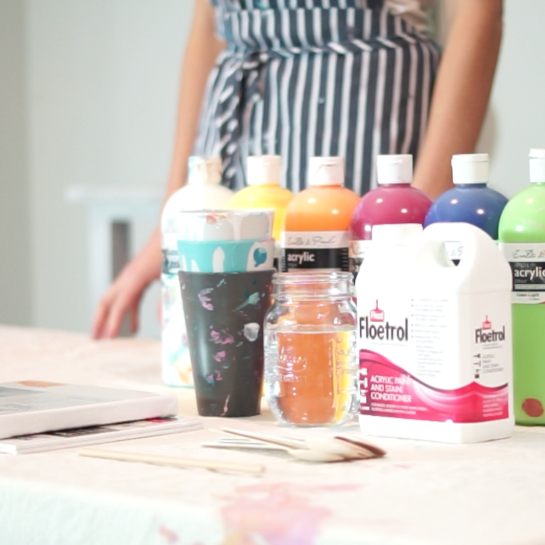
Put simply, acrylic pouring involves mixing acrylic paint with an additive (such as paint conditioner known as “floetrol” from any hardware store), to reduce its thick consistency, so it can be poured to create artworks.
This art style can be relaxing and addictive too! Plus any ages can get into it.
[TS_Poll id=”1″]
There are hundreds of different acrylic pouring techniques which give different results, but there are also a number of common issues which beginner artists will come up against while learning.
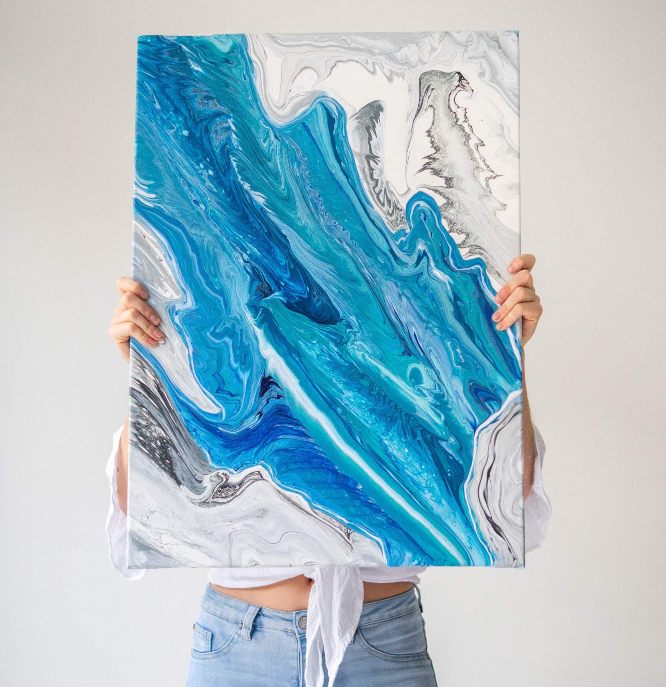
Some common problems and questions include:
- How do I mix up the paint?
- What is a guaranteed recipe for acrylic pouring correctly?
- What consistency should my paint be?
- What products should I use?
- What is a good color combination to use?
- Why am I getting lumps in my artwork?
- How long do I leave it to dry?
- How to do different acrylic pouring techniques?
We answer all of these questions and more, below.
Continue reading below or if you prefer to learn via video we recommend watching our YouTube video on how to flip cup below:
How to acrylic pour at home:
You only need 10 items to start.
Those are:
• 5x 50ml tubes Acrylic paint (student grade paint is ideal)
• 500ml Pouring medium e.g. liquitex, floetrol or PVA glue (we recommend floetrol)
• 10x Reusable cups
• 15x Popsticks or wooden spoons for stirring
• 2x small canvases
• A straw for paint blowing
• Protective equipment for you and sheets or drip mats
• 1x Apron
• A box to catch the dripping paint
• 10x Gloves (reuse these too by leaving them out to dry or washing them after)
Some people also use silicone, a hair dryer and a blow torch or heat gun. This will increase the cells in your artwork.
Make sure you have a well ventilated space to do acrylic pouring.
Optional extra safety items to purchase include gear like a particle mask to avoid breathing in any paint fumes and glasses to protect your eyes.

Setting up your space
Paint pouring can be a messy art activity… but trust me it’s so worth it!
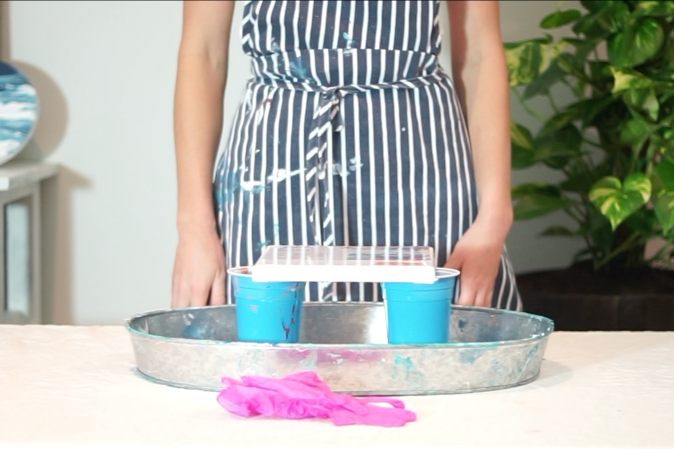
Here is a basic acrylic pouring setup:
- Choose a well ventilated space you are happy to work in, preferably with a tap nearby
- Put down a drip mat to catch those pesky paint drips.
- Next set up a box, with two standing cups and a canvas resting on top.
- Have everything else at hand ready to go.
This setup creates a good way to pour and allow the excess paint to drop off into the box without going everywhere else.
Once you are protected with an apron, paint clothes and gloves. It is time to plan your pour painting!
Choosing the right colors to pour with
Possibly the most neglected step of the whole acrylic pouring process is choosing the best colors to pour with. Make sure you put a lot of thought into your colour choices because it is one of the most common reasons why beginners are unhappy with their results.
There are a lot of easy ways to improve on this step which I will explain below.
If you just go ahead without planning your pour and use colours which don’t mix well then you can end up with art which looks brown and “muddy” or dull. This is because certain colors react and mix with each other in the cup to form brown!
Here’s some inspiration for you:

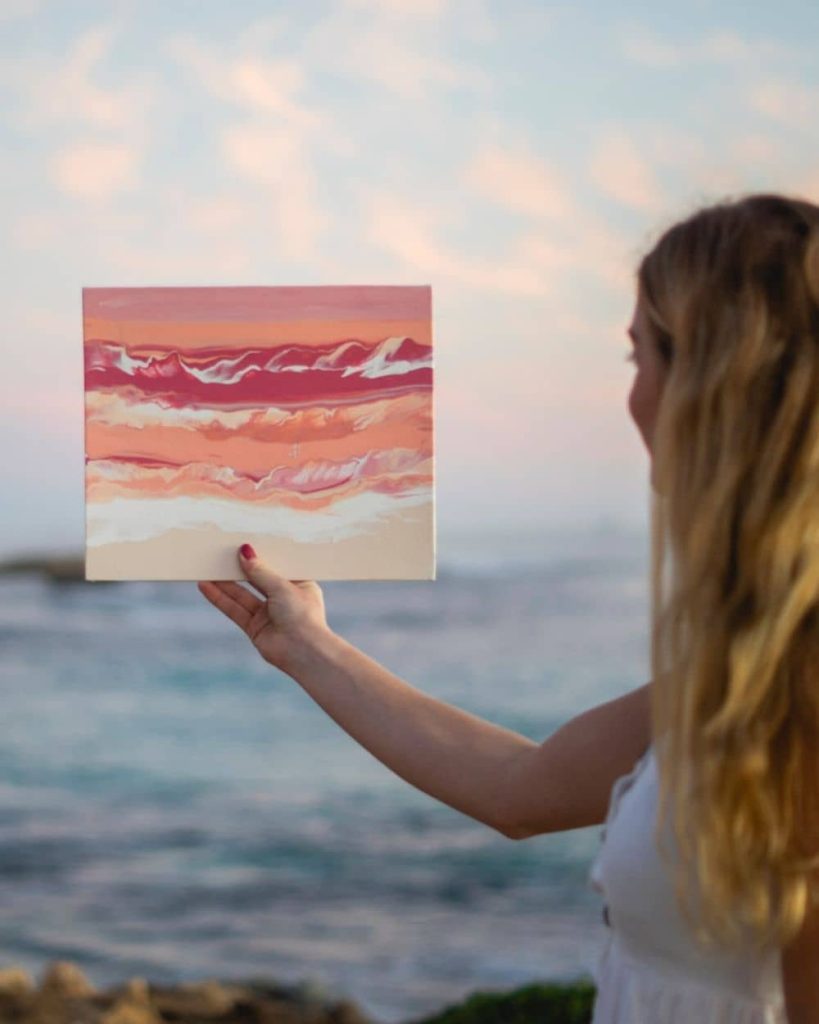

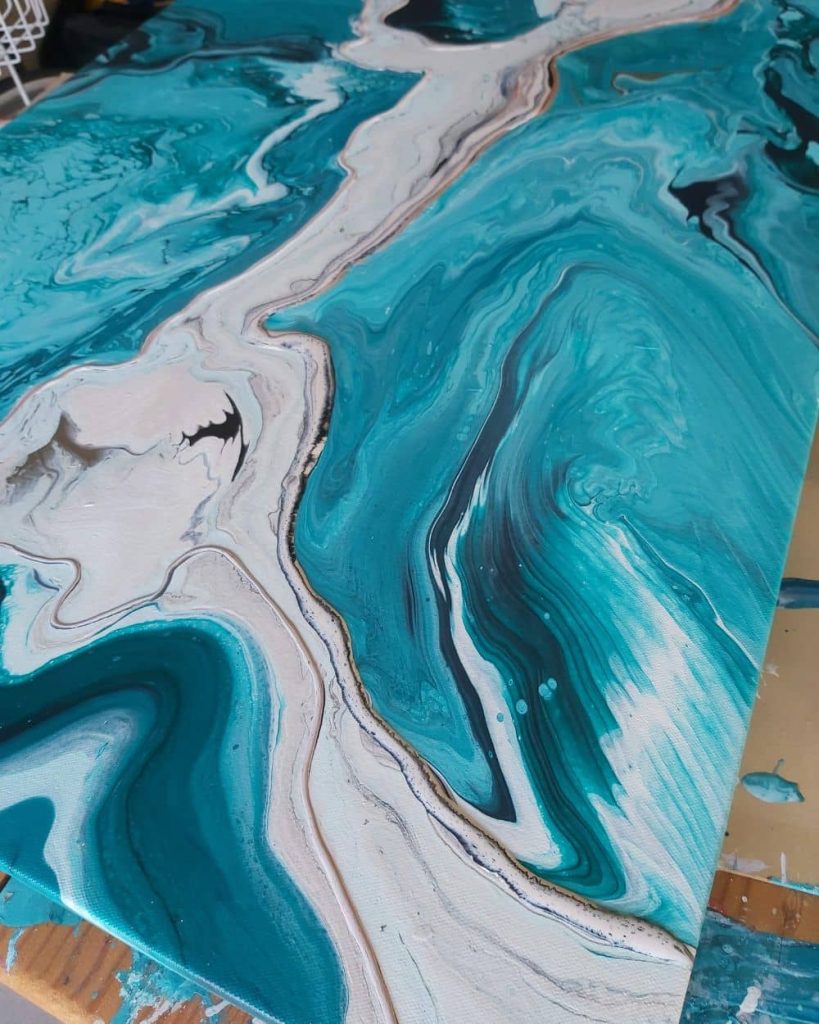

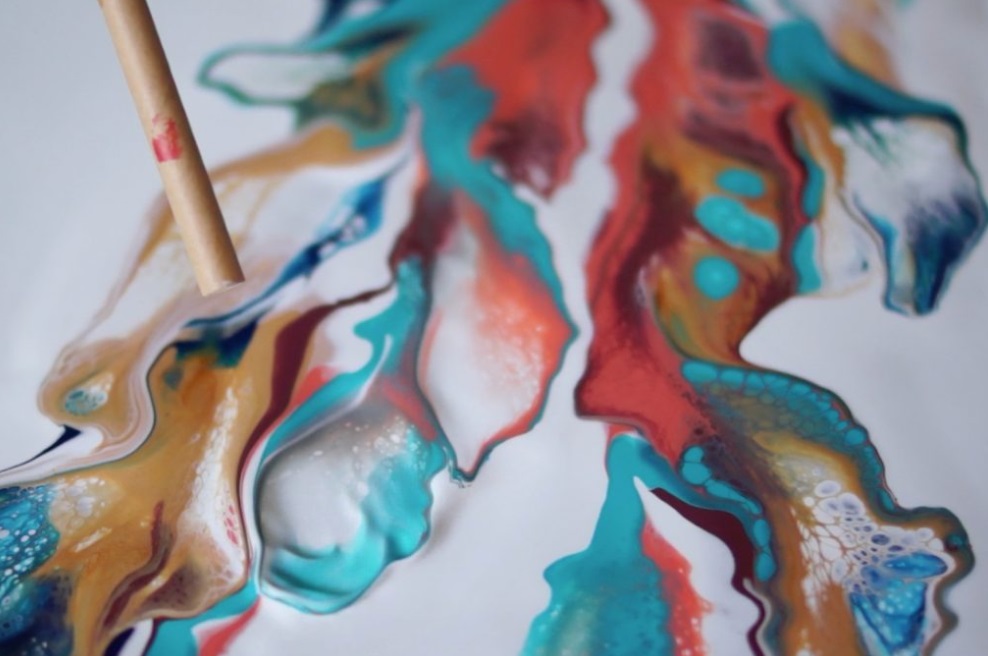
This is not always the case, but you have a better chance of an attractive mix if you plan it first.
You can find inspiration on Instagram and Pinterest, by searching titles like, “fluid art”, “acrylic pouring” or “acrylic pour” for example.
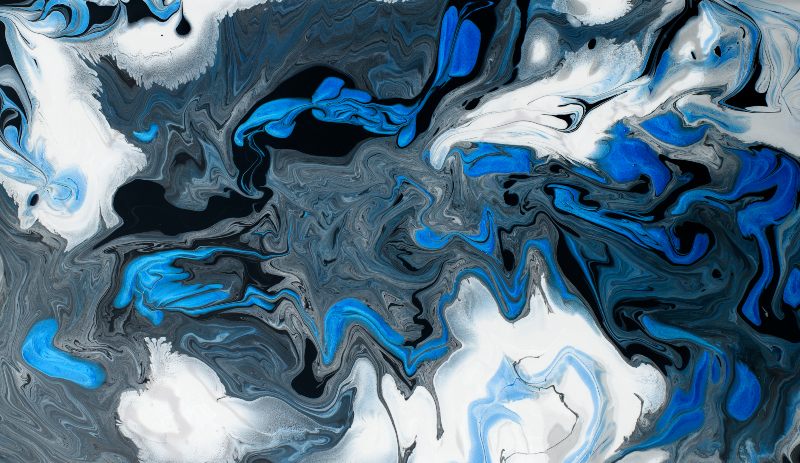
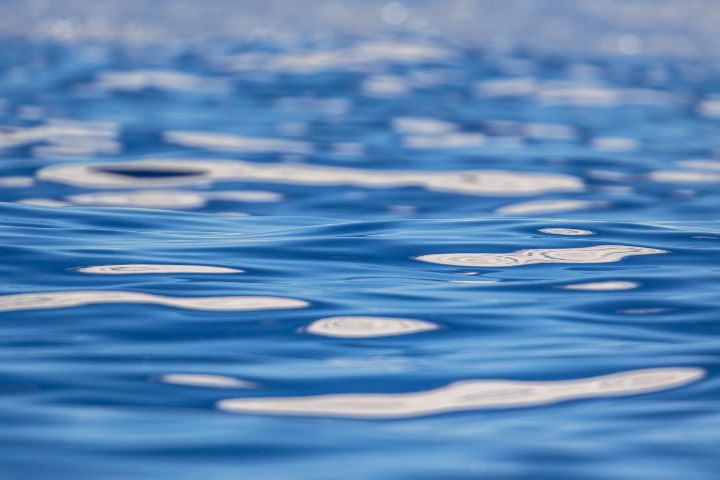
You can also find inspiration literally all around you for fluid art look deeper into the water, your coffee, the sunset. Colour and shapes inspiration is everywhere.
Mixing your paint
With your clean cup ready, place a small amount of paint in each separate cup. You only want to make enough paint mix for the canvas that you are using.
If your canvas is tiny you only need to use half a cup of paint mix, if your canvas is medium you will need two – three half cups and if your canvas is large you will need 2 to 3 full cups.
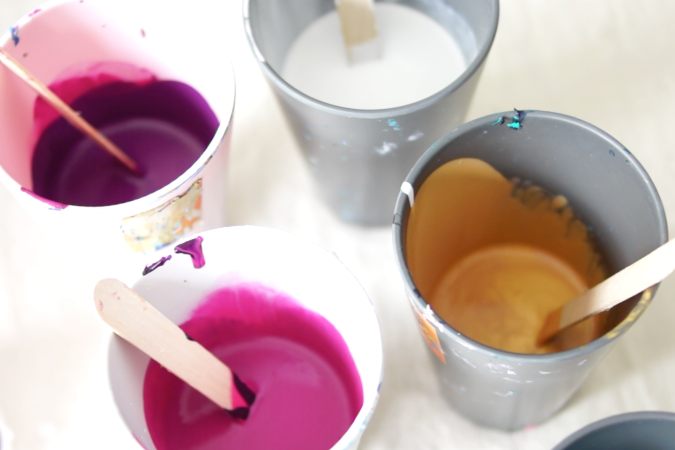
How much paint mix you prepare all depends on the size of your canvas.
To mix, simply add the acrylic paint, pouring medium and water.
The ratio we use is, a 1 part paint to 2 parts pouring medium plus a splash of water.
Also known as “one part” paint, to “one part” pouring medium, and a splash of water.
Make sure you mix thoroughly.
The best idea to go by is the consistency, you want the paint to be a pouring consistency. Like pouring crepe batter or pouring cream for example.
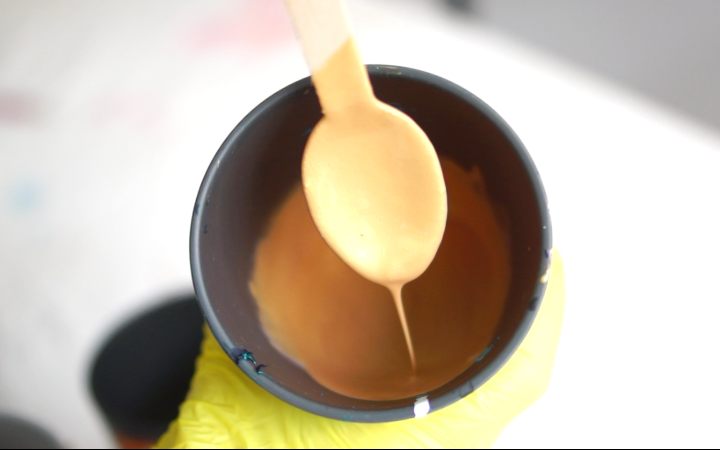
Please note* You can also just buy pouring medium which gives you instructions on the pack, or acrylic paint already mixed with pouring medium, or you can use PVA glue if you want to save money.
Make sure you do your research on how to use these different choices as the ratios will differ for each.
Here is a list of a few popular methods of acrylic pouring
There are numerous styles of acrylic pouring, here are the techniques we have picked out as the best for beginners.
Flip cup
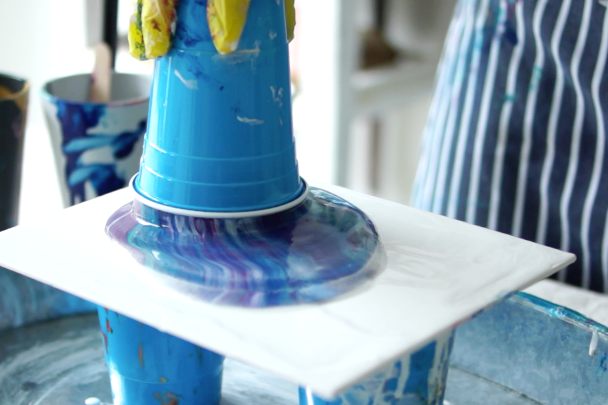
Paint is prepared separately in cups and then poured and layered into one cup. Which is then turned upside down on the canvas and lifted to reveal abstract, exciting results.
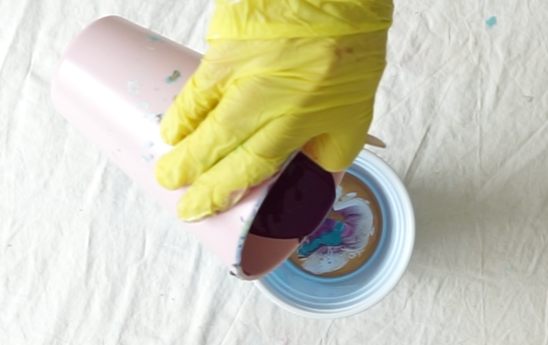
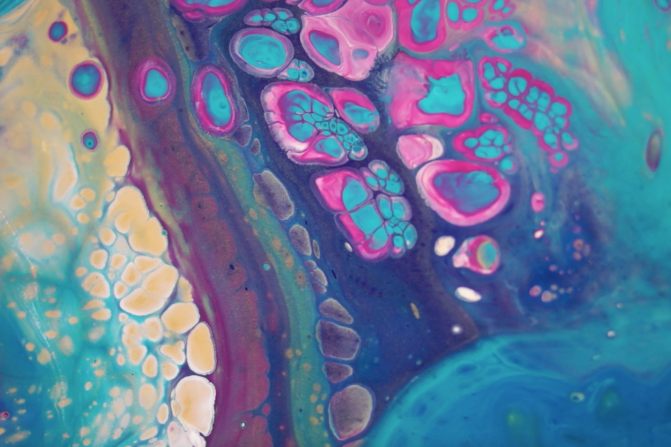
The colours used below are: gold, magenta, turquoise, dark purple and dark royal blue and white.
Blow technique
First you mix up your paints in separate cups, including a range of coloured paints and one for the background. Mix them up as per usual mix with pouring medium.
Then prepare your canvas with the thin layer of background paint.
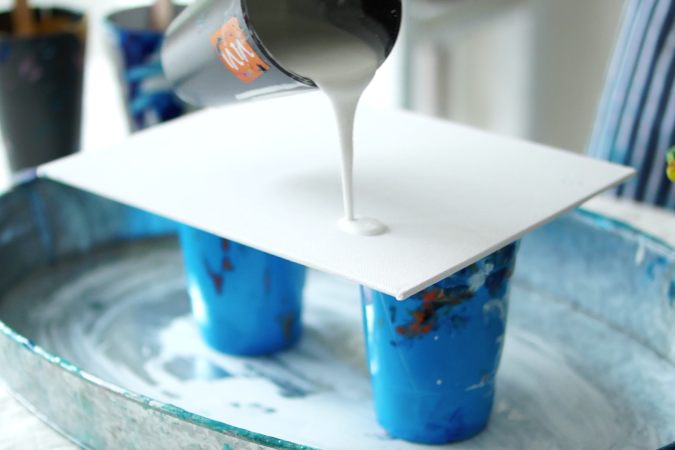
Next proceed to pour lines over a canvas with the coloured paint.
Coloured paint is best layered on a plain background such as white or black.
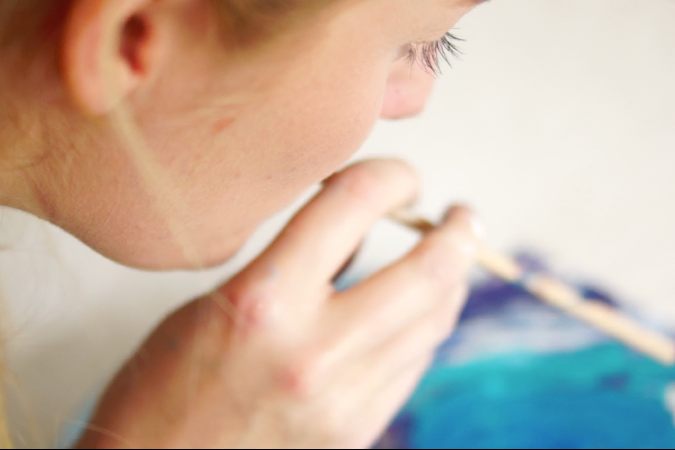
Next you blow these lines of paint, which creates effects with the paint colours mixing.

Dip technique
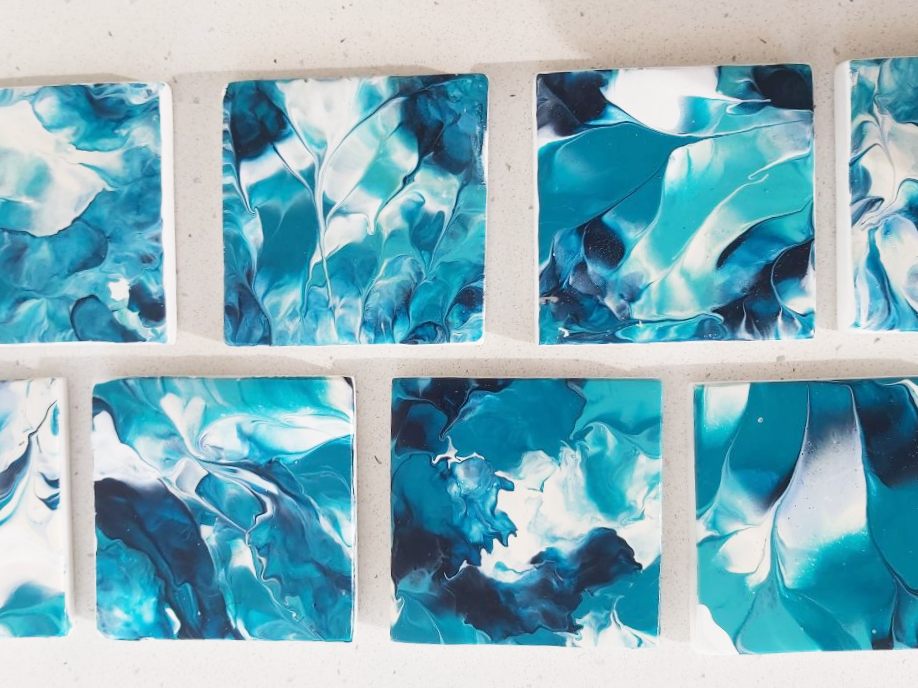
The prepared paint is simply poured in lines straight onto baking paper or a lining on the bottom of your box. Then the canvas is dipped in the paint to reveal instant effects.
Tree ring pour
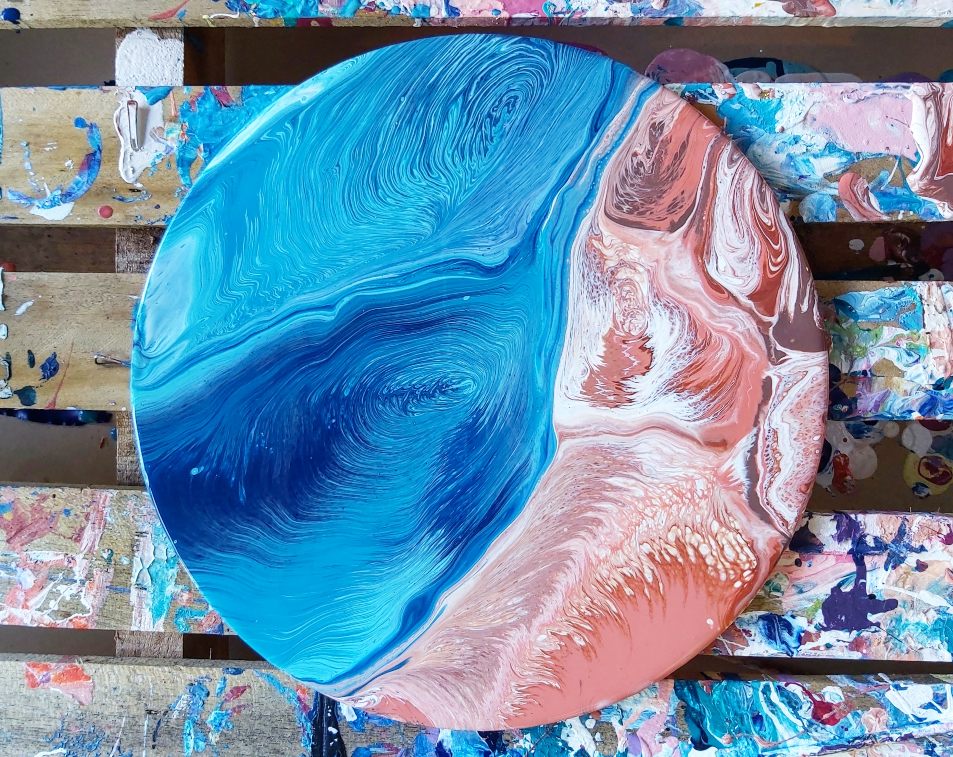
Prepare the paint colours in separate cups, then add each colour into one cup, layering one after another. Now you pour the paint slowly onto your canvas.
A slow careful pour results in a rolling effect with the paint. Surprisingly easy to master. You just need to pour slowly and carefully in the same place.
Waves style

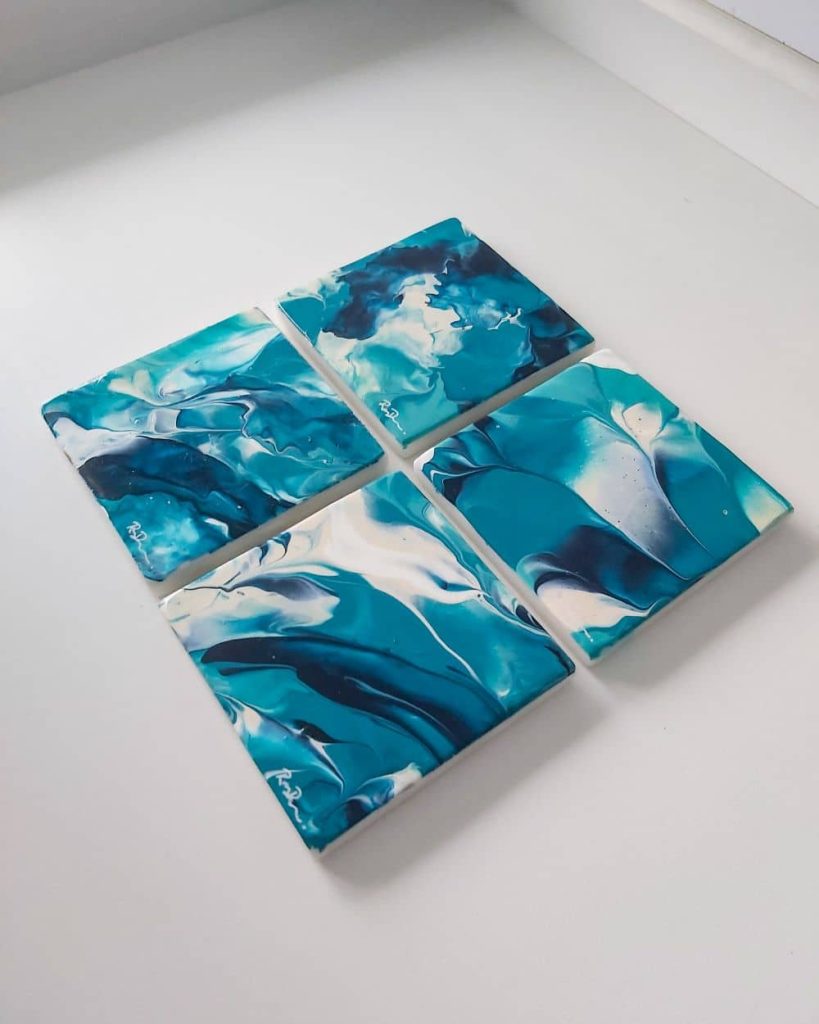
Waves in acrylic pouring is our new take on the swipe and blow technique. You just need to pour the paint in ocean hues, swipe carefully to mix them across the canvas.
Next, pour white lines and blow them as though they were making waves.
Swipe technique
Paint is poured in lines on the canvas. from the top of the canvas, card is placed in the paint and lightly dragged across the canvas to reveal many cells with colours bleeding through the top colour.
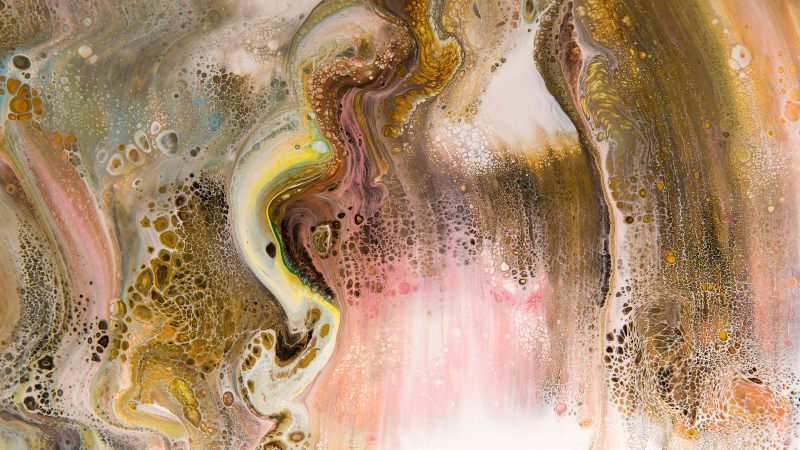
Addictive, abstract and popular for home decor
It is no wonder why this art form is so popular. It is fun, quick, easy to master and gives professional results in minutes.
Enjoy creating your own and finding your fluid art flare!






This was by far the easiest how to that I have ever come across. I love how you didn’t throw 5 different mediums all across the board at once and can’t wait to use your instructional videos today. This was spot on instruction!!! Thankyou so very much for showing these beautiful tutorials. 6××××× if I could!!!
Thank you, your varying methods are easy to follow. Would like to see one using blow dryer.
Beautiful examples shown. Pat M
From this lessons, I will learn the right steps in pouring painting. I love to paint and now I will start the right way of doing it.
Thanks for all the beautiful tutorials.
Realy cool sight could you use resin in the techniqus.