6 Easy Acrylic Pouring Techniques: The Ultimate Step By Step Beginners Guide
If you’re new to acrylic pouring or have been at it for a while, you may be thinking… which technique should I start with? It really can be overwhelming at first!
There are many different acrylic pouring techniques but we are going to simplify it for you, taking you over the easiest and best right through to some challenges you should try.
A lot of the same principles for one acrylic pouring technique is used in the next. So once you have got the hang of one technique, it is pretty easy to pick up the next one!
In this article, we will take you step-by-step on how to acrylic pour, plus 7 easy techniques to get you started.
[TS_Poll id=”1″]

A lot of the tricks you need to know are actually in the consistency of your paint, for different techniques which we will go over in this article.
From dirty pours to blow torching, below I have compiled a list of how to avoid the most common errors and the best acrylic pouring techniques for you to try with easy to follow steps.
In this article:
- 1) Dirty pour technique
- What supplies do I need?
- How to do a dirty pour
- How much do I fill a pouring cup?
- 2) Flip cup pour
- How to flip the cup onto the canvas
- How to get MORE cells
- Why getting the right consistency is KEY
- 3) Puddle Pour
- 4) Tree ring or swirl pour
- 5) Bottle bottom puddle pour or flower pour
- Bonus: 6 How to pour on a cheeseboard
- 7) What to mix with acrylic paints
- 8) Different types of pouring mediums
Popular acrylic pouring techniques:
Technique 1) Dirty Pour
The dirty pour technique is a never-fail crowd pleaser. It is simple and effective, plus the end result is unique every time, it can be quite addictive.

What supplies do I need?:
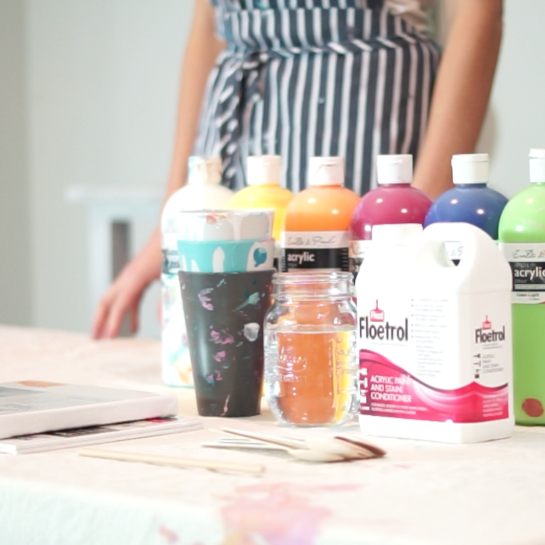
Supplies for a dirty pour include:
- 1 blank canvas
- 10 cups (try to always use reusable cups)
- Approx. 5-8 acrylic paint 50ml tubes in different colours (White essential)
- 500ml Floetrol
- 10-20 Popsticks
- A straw
- A protective sheet you don’t mind getting dirty
- A cardboard box or similar to catch paint drips
- Gloves and other protective gear
How to do a dirty pour:
Step 1) First choose your desired paint color combination. For example, above we have used gold, white, teal plus some purple and orange in one mix, and blues in the other.
Step 2) Mix your paints in separate cups. Don’t mix them altogether! You need one cup per color that you have chosen. E.G. A half cup of purple mixed paint, half cup of orange, half cup of white etc. That’s why you need so many cups.
Recipe: (1 part acrylic paint to 2 parts floetrol and a dash of water) mix well. You want to fill your cups around half full or more.

Step 3) Now you should have a bunch of cups with a mixture of paint ready for pouring. Test how “creamy” the consistency is of the paint by putting a spoon or popstick in and lifting it up to watch the paint fall off back into the cup.
Important! Paint Mix Consistency Advice: The consistency should be falling evenly off the popstick. If it is lumpy, too runny or too thick to drop off the popstick, then you need to make adjustments to your recipe until the paint falls nicely off the popstick back into the cup. This can take some practice. You want it to be like pouring cream.
Step 4) Prep your canvas. Using just white paint mixed with floetrol and water (usually) sometimes people will use a different color. White is one of the best though because it’s neutral. Spread this over the whole canvas so the paint you pour will have something to mix into not just dry canvas.

Step 5) Prepare your cup for acrylic pouring. Grab one empty cup and begin layering your paints mixes in it one by one. Just a dash of each usually and then repeat them over and over until the cup is filled nicely with all different colors.
IMPORTANT do not mix this!
Once you have finished layering just give the cup a little shake to meld the colors together.
It will look something like this:

You can give the cup a very small stir, or gentle shake with a stirring stick (popstick) but don’t do it too much or it will all just combine and turn a yucky brown or yellow color.
Definitely don’t do so much stirring that you mix the paints up, but just enough to make a marbled effect in the cup.
Tip for layering: You can either have an order or just be completely random with it! It depends what effect you want. Don’t forget to layer plenty of white paint, and lighter or neutral colors to help create contrast with the brighter hues. Be minimal with black paint it can dominate!
Step 5) Pour the cup of paint slowly onto the canvas surface. Allow the paint to fall out of the cup at a slow and even pace. Watch cells form and patterns emerge!
To cover the full surface there are a couple of ways. Make sure you evenly pour the mixture across the surface. Try not to pile up too much paint in one spot you want an even surface covered.
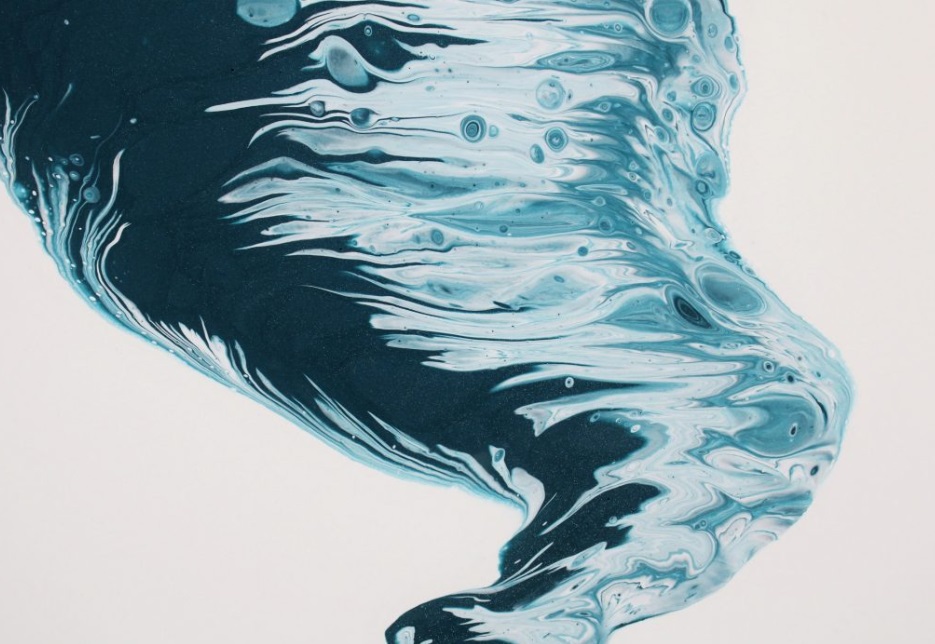
Step 6) Once most of the surface is covered, stop pouring, pick up the canvas and slowly tilt it to help the paint spread across the whole surface. If you have too many gaps mix up another cup of paint and do some more.
Step 7) Finally, you can then leave the painting to dry. Put it on baking paper so it doesn’t dirty the floor!


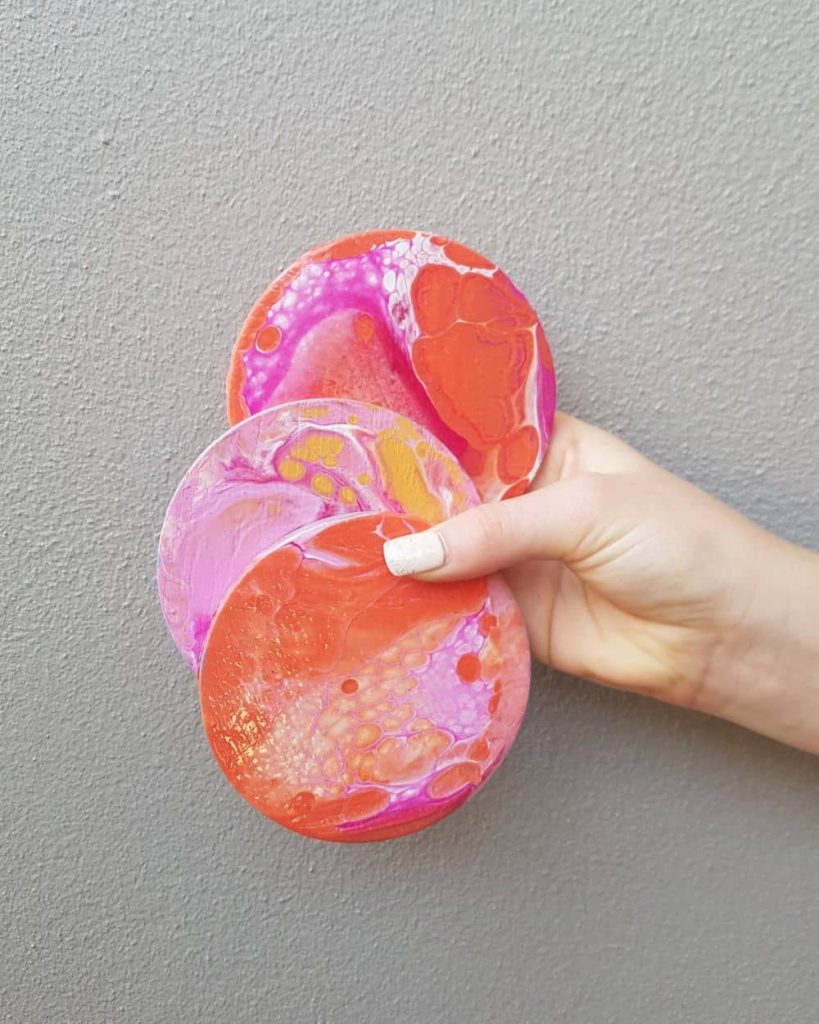

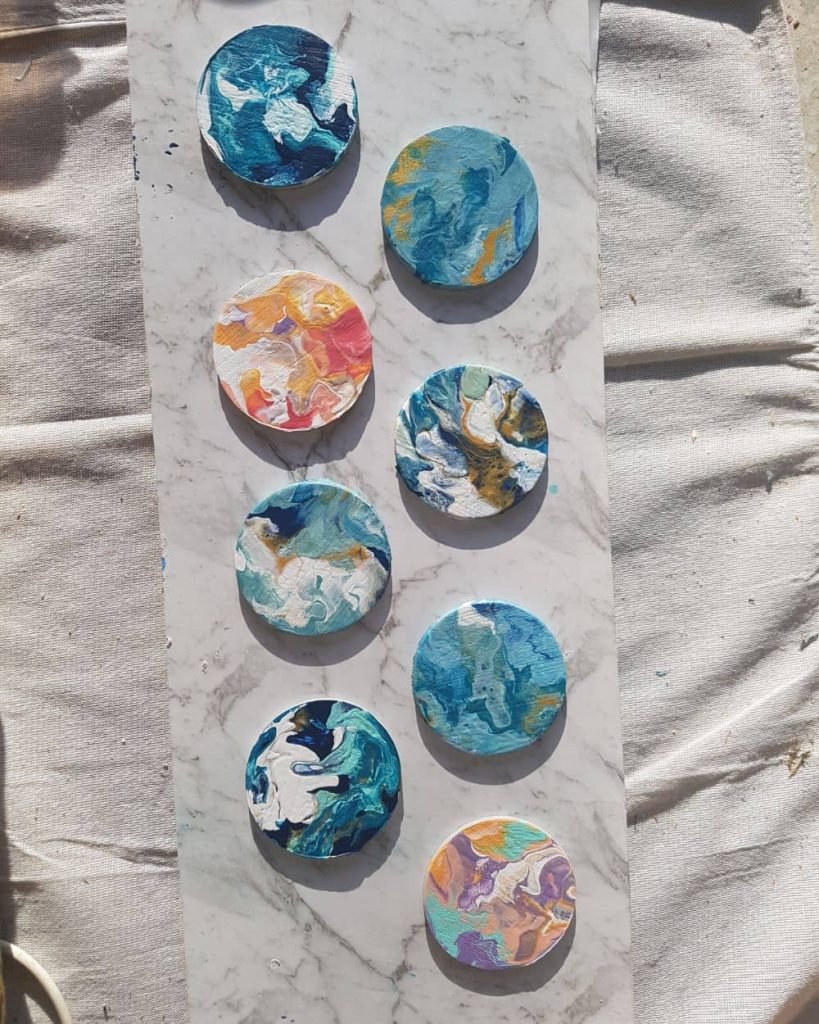

How much do I fill the pouring cup?
This depends on the size of your canvas and the size of your cups! For a small canvas fill a regular cup, around 2/3 full – see below.
For a larger canvas you might need 2-3 cups, 2/3 full!
But sometimes finding the right amount is trial and error. You can always mix up a second cup, if the first one doesn’t cover the desired space.
Remember: you can paint on most surfaces, so have fun with new ideas! You can even do this technique over terracotta flower pots for example. But make sure you prime the pots first with a layer of paint primer so it sticks!
For the double dirty pour you can mix together two cups, each having two or more colors and pour using the above technique.
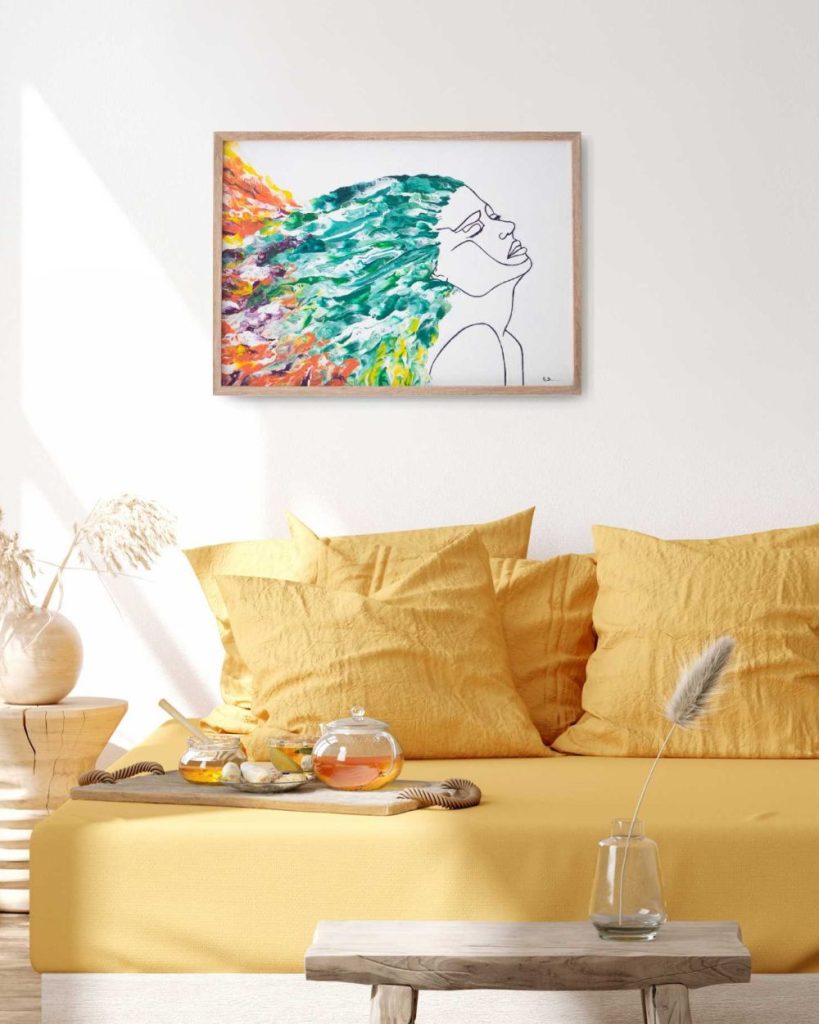
Technique 2) Flip Cup – Most Popular
The flip cup technique is practically identical to the dirty pour technique above.
The only difference is that you flip the cup of paint over onto the canvas, rather than pouring it.
So after you have mixed up your paints and layered them in a cup (Step 4 above) this is what you do:
Step 5) Put your small canvas on top of your cup, hold it in place carefully making sure the edges of the cup are sealed on the canvas. See below.

Then (while supporting the cup and canvas at the same time) flip the canvas and cup together so the cup is now resting on top of the canvas!
Step 5) If your canvas is a little bigger and you need to flip a second cup, you can flip this cup in one swift motion.
If you flip fast, then the paint won’t spill out.
You want to swiftly flip it to the upside down position trying not to let too much paint pour out. Keep a firm hand on top of the cup once you have flipped it, sealing it against the canvas. This is an easy technique to do, much easier than it sounds I promise!

Step 6) You then carefully lift the cup to allow the paint to flow out all at once over the canvas.
When you lift it up you will reveal awesome effects! The layers of paint from inside the cup will randomly spill out over the canvas creating cells and patterns.
NOTE: Hold the canvas carefully, or it will all start running of the side onto the floor. Keep it level.
Step 7) Once the paint is on the canvas, move the painting around by tilting with tiny movements, back and forth until it is spread evenly over the surface. Once it has given the desired result then leave to dry!
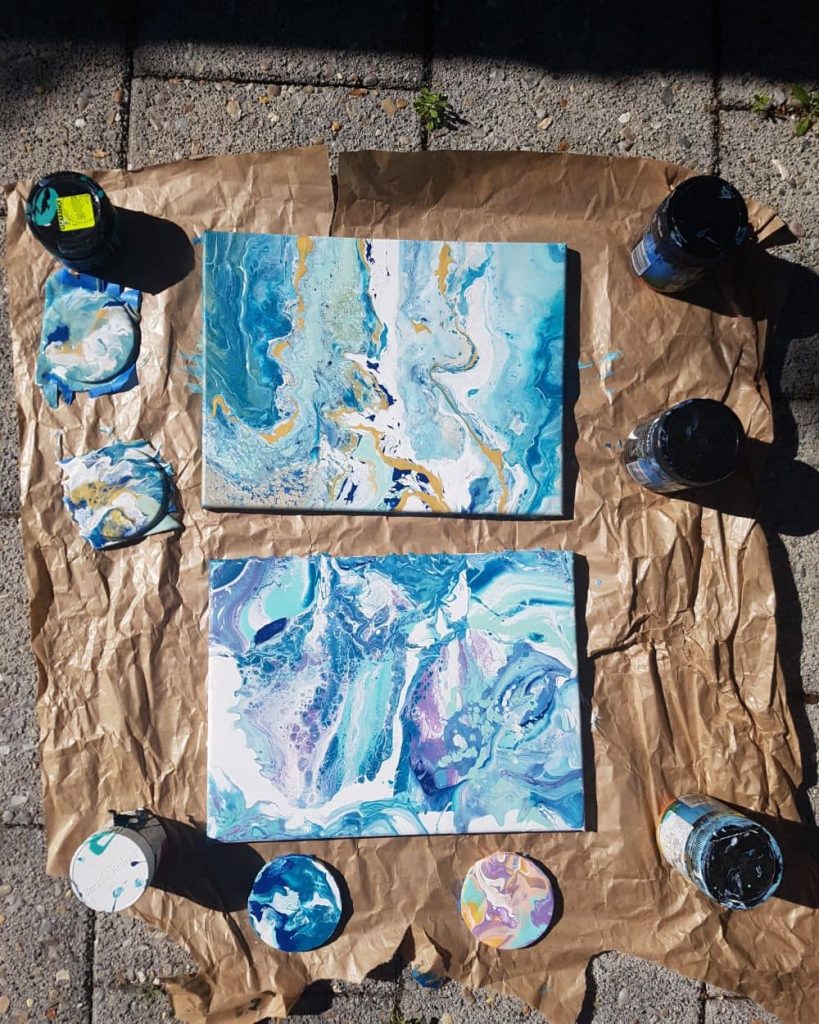
See below for a finished result by two beginners!
Want to learn more? We also have a FREE mini step-by-step course online. Sign up here!
How to get MORE cells
If you would like more cells then you can add a few drops of silicone oil into your paint mix during the mixing phase. You can also use a heat torch or blow torch to reveal more cells by making them pop.
Note: Do not use blow torches or heat guns for too long as it can burn to paint if applied directly to the surface for an extended period. Just follow the safety use instructions of your product and remember less is more. Do not do this inside or near flammable objects.
(Often people use a butane torch from the hardware store or a heat gun it wont cost much more than $30-$60).

Why the right consistency is essential for acrylic pouring
One thing which is often overlooked is getting the right paint mix consistency.
Usually floetrol products come with lumps and sometimes if paint is left out without a lid, it can develop lumps of partially dried paint too.
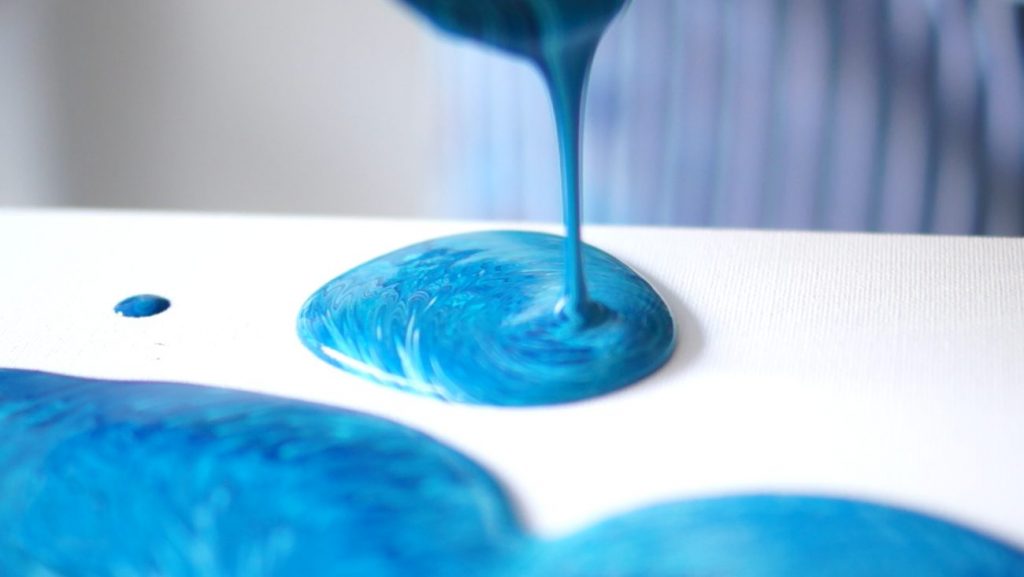
These lumps can ruin an acrylic pour painting by dropping out of the cup into the centre of a beautiful painting and ruining the patterns.
Also if the actual mix of paint that the artist has mixed is too runny or too thick, it can also cause errors in the overall outcome of the techniques.
Getting the right consistency is KEY!
The perfect acrylic pour consistency, is thin enough to run out of a cup evenly and pour, but thick enough that it doesn’t just run off the canvas in a watery way. Some people say the right consistency should be like pouring cream.
Technique 3) Puddle Pour – Easiest!
This is a very simple beginners pour that many people start with.
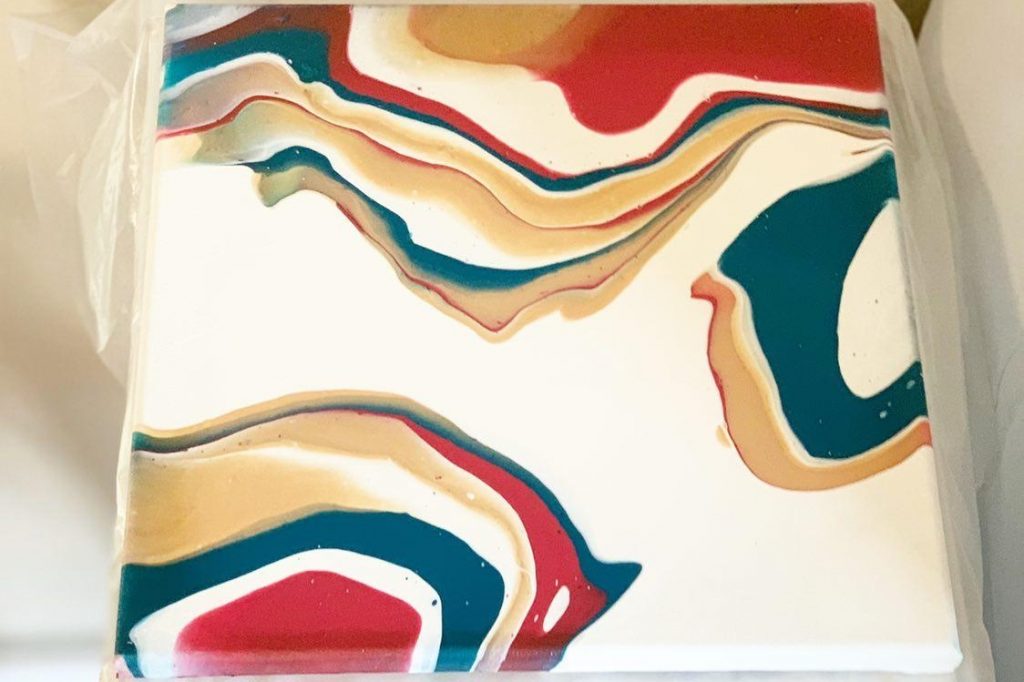
Each color is mixed separately and then poured individually onto the canvas.
Step 1) Firstly, mix each color individually. For all acrylic pouring techniques, the ratio of paint mix is very similar. The ratio here should be the usual 1:2 for acrylic paint and pouring medium. But also add a small dash of water. The water content should never be more than a tablespoon or so because otherwise your paint will go too thin.
Remember you can always add silicone oil (optional) for more cells production. Two to three drops in each color if you want to add this.
Once you have mixed your paint you can follow these simple steps:
- One color is poured as a base, this will become the outer most color after you pour. (Think about choosing a light or dark background so that it contrasts nicely with the other colours you have mixed for the puddle pour.)
- Decide whether you want to do a pattern with your colors, for example, tuquoise, dark blue, white, peach, black. And then repeat the same colors.
- Next, pour your first color and pour it in the centre of the canvas, or if you are doing two-three puddle pours on the one canvas, then pour where you desire each spot to go.
- When pouring, pour in the centre of the last color you poured.
- Finally, you can tip the canvas by picking it up and lightly tilting it back and forth, to help spread the paint across the surface.
Do this until you are happy with the result and then put it away to dry!
Technique 4) Tree Ring or Swirl Pour Technique
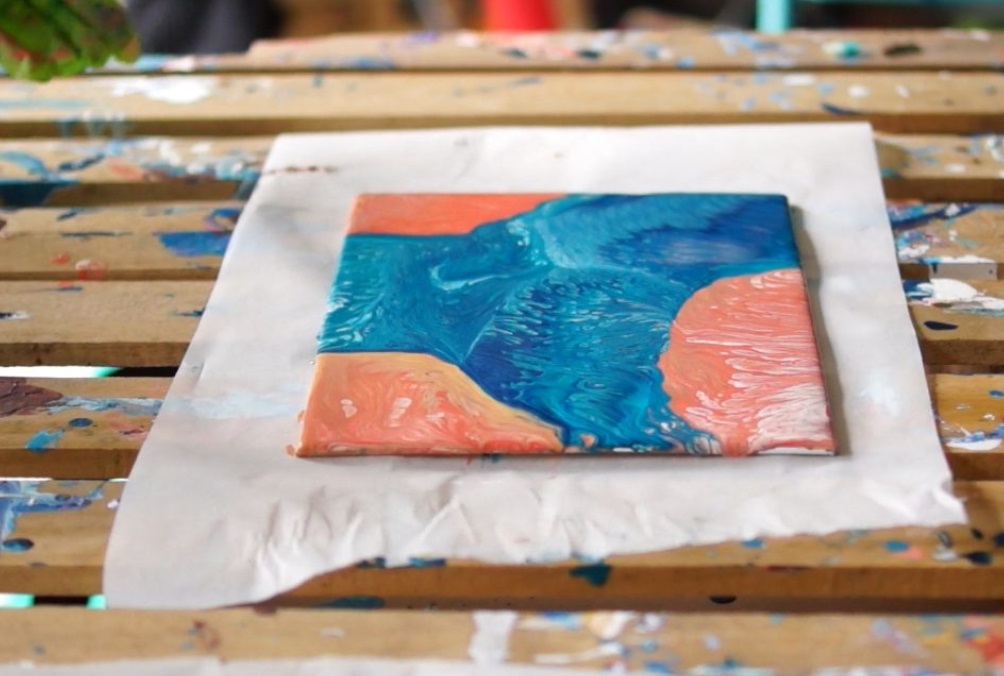
With the tree ring or swirl pour acrylic pouring technique, the paint is carefully applied to the canvas with circular movements, creating a pattern that resembles the annual rings of a tree.
Just like the above two techniques, each paint color is mixed individually, together with the pouring medium, and water in a ratio of approximately 1:2:<1. Then layered in the cup.

The contents of the container are poured very slowly and evenly onto the painting surface, a very small circular motion can be carried out in order to achieve the appearance of growth rings in the wood.
Make sure you are continually pouring in the centre of where you last poured, and not moving around the canvas, or the effect will not work as well. You can also ripple forward with the paint as seen above, to make lines rather than circles.
The painting is then tilted back and forth until the “Tree Ring” has spread over the painting and the result corresponds to the ideas.
Then it can be left to dry.
Technique 5) Bottom Bottom Puddle Pour or Flower Pour
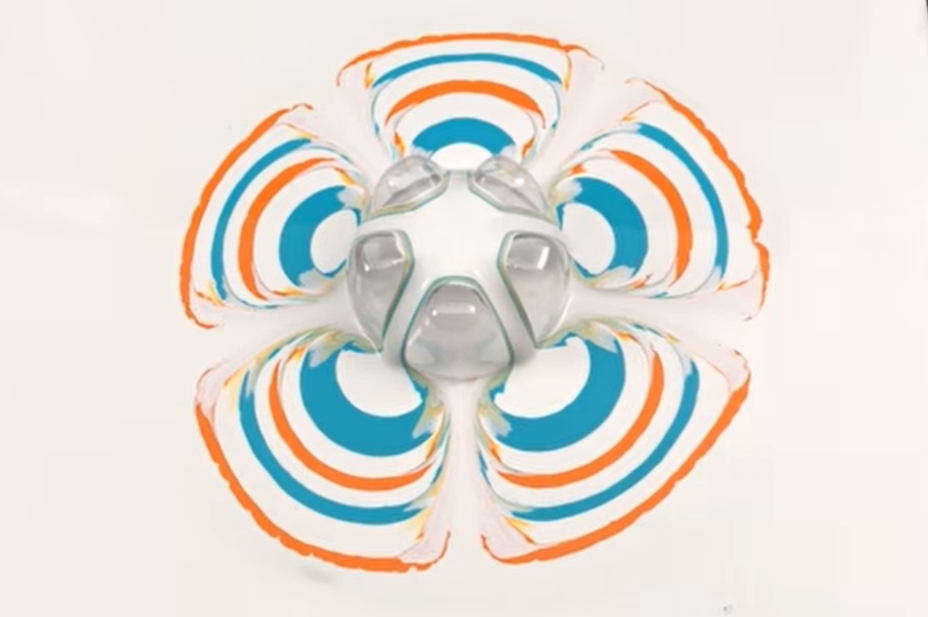
Bottle bottom puddle pour or flower pour is a fun technique involving the bottom of a Coca Cola bottle!
Follow the usual procedures for mixing as above.
Note: You do not need to add silicone as we do not need cells for this technique! It is important that the paint is allowed to act in a natural way without cells to give the desired effect of the bottle bottom puddle pour.
If you don’t want the flower pattern to cover the entire canvas, you can first apply a background color to the canvas. The color will also flow better on the canvas that way.
It is essential that the base for the painting should be level so that the applied pattern does not run. You can check this beforehand with a spirit level.
Take a PET (E.G. Coca Cola) bottle and cut the bottom with scissors or an Exacto (Stanley) knife.
First pour a base colour on the canvas. Try white as a beginner because it helps lighten your painting which makes it look nicer!
Now using the cut plastic bottle bottom, place it carefully in the middle of the paint puddle in the centre of the canvas. Apply the colour slowly to the centre of this.
The raised areas in the base of the bottle are able to create a pattern that resembles a flower or a psychedelic design.
Pour small quantities of each color one after the other onto the bottom of the bottle.
The color now runs over the depressions onto the canvas and generates the flower pattern.
If you like the result, carefully remove the bottom of the bottle.
Now pour some different colors into each other in a circle in the middle of the canvas where the bottle was, so that this area is covered with color as well
In the end, you can change the resulting pattern according to your taste by tilting the canvas very slightly. This gives a unique and fascinating design as with every acrylic pouring technique!
With the other side of a fine artist brush, you can set directional accents by driving from the outside to the inside or from the middle of the flower to the outside.
If you would like a slightly different effect, you can also apply several bottle bottom pours to the same canvas.
Once you are happy with the result you can set the canvas aside and leave to dry.

Technique 6) BONUS technique: The Blow Technique (Ocean style) on a Cheeseboard
For the people who have taken our FREE 5 step acrylic pouring fundamentals course here is the video we promised you.
How to acrylic pour on a household cheeseboard!
Enjoy pouring guys! Let us know in the comments any questions and how you go! 🙂
Frequently asked questions
What do you mix with acrylic paint for pouring?
There are a few things that you need to add to your acrylic paint before you begin pouring. You want to ensure the right consistency as mentioned above so that it flows well on the canvas or any other surface that you will be pouring on.
Firstly, you will want to have a good pouring medium. Pouring mediums are discussed below, as there are a few factors that will ensure that you find a good one.
This will thin down the paint as well, seeing as acrylic paint is often quite thick and does not flow very well on a canvas.
Generally, the guidelines for mixing your paint are as follows;
The best consistency can be created by mixing 2 parts pouring medium (e.g. floetrol) to 1 part paint and a dash of water.
Some people mix 60% PVA glue and 40% water to make their own pouring medium. The acrylic paint should be a soft body paint, which is what most tube paints are.
Most of the time no extra water is needed at this point, and if you do feel that the paint mixture is still a bit thick then you can add water a few drops at a time.
You do not want to add too much and make it too runny. Mix after you add a few drops and recheck the consistency.
This way you will get the optimal acrylic paint for pouring that you are trying to achieve.
It happens to me all too often that the paint is not at the exact consistency for my work, so to avoid wasting precious time I use the method above so I get the right blend every time.
Starting over and over again because the paint has not been mixed correctly is not as fun as it sounds!
What can you use as a pouring medium?
If you are just starting out in the world of acrylic paint pouring then you may want something that is a little cheaper than the expensive, advanced brands.
For this, you can opt for PVA glue, for example, Elmer’s glue which can be purchased cheaply and in large quantities at your local craft store. Bookbinders’ glue is also a cheaper alternative.
However, in all honesty we recommend the Floetrol the most.
At the beginner to intermediate level the best option for a pouring medium is Floetrol.
As we progress to the professional level, you will want a well-rounded and all-purpose medium for your works. This could include Floetrol, GAC800, or Liquitex Pouring Medium.
You can purchase most of these mediums online. There are also other kinds of mediums you can choose from if you are looking for something a little different, such as a gloss medium which can be purchased from brands such as Sax and Sargent Art.




What do they mean when it says one part paint two part cell medium I am really confused